How to Use a Speed Square: A Beginner's Guide
Learn how to use a speed square to mark square lines, 45s and any angle, guide a circular saw safely, and check that your square is true before you trust it.

Here is how to use a speed square in one line: hook its raised lip, the fence, tight against the edge of your board, then draw along the square's edges. The edge that meets the fence at a right angle gives you a 90-degree line, the long diagonal edge gives you a 45-degree line, and pivoting the square on its corner notch against the degree scale gives you any angle in between. The same triangle can guide a circular saw across a board, mark a line parallel to an edge, and check whether a corner is square.
For a beginner working without a shop, it is one of the most useful accuracy tools in the kit, because it replaces several single-purpose tools and fits in a drawer.
What a speed square is
A speed square is a triangular layout tool, usually aluminum or plastic, with a lip along one of the short sides. That lip is the part that makes it work: it registers against the edge of a board so every line you draw starts from the same reference.
Swanson Tool Co., which invented the tool, calls it the Speed Square and states on its guide to reading the Speed Square (read September 27, 2026) that Albert Swanson invented it in 1925. The name is a Swanson trademark, but most people use "speed square" for any tool of this shape, sometimes also called a rafter square or a triangle square.
The parts of a speed square
Before you start marking, find these features on yours. Layouts vary a little between makers.
- The fence (lip). The raised edge that hooks over the board.
- The pivot point. The notch or hole at the right-angle corner. You rotate the square around this point to set angles.
- The degree scale. Swanson's guide describes a 0 to 90 degree scale that "allows user to mark and measure his work in degrees," and notes that each heavy block line is 1 degree wide.
- The inch scale. A ruler along one of the short legs.
- Scribe notches. Small notches along the ruler leg, spaced at set distances, for drawing lines parallel to an edge.
- Common and hip/valley scales. Numbers for roof rafter layout. You can ignore these for furniture and small projects.
How to use a speed square: five everyday tasks
1. Mark a square (90-degree) crosscut line
- Hold the fence tight against the edge of the board, with the square flat on the face.
- Slide it until the leg that sits at 90 degrees to the fence lines up with your measurement mark.
- Draw along that leg with a sharp pencil or, for more precision, a marking knife.
The most common mistake is letting the fence lift off the edge. Keep firm pressure toward the board edge with the hand holding the square, not just down onto the face.
2. Mark a 45-degree line
Keep the fence against the edge and draw along the long diagonal edge instead. Swanson's guide explains why this needs no scale reading: the Speed Square "is a right triangle with a 45 degree hypotenuse." This is the line you want for miter cuts on frames, corner braces and chamfer layout. Our guide to making a picture frame without a miter saw puts this exact mark to work.
3. Mark any other angle
- Hold the pivot point against the board edge at the point where the angle should start.
- Rotate the square, keeping the pivot in place, until the angle you want on the degree scale lines up with the same board edge.
- Draw along the edge of the square that runs from the pivot.
Mark a practice line on scrap first and check it against a known 45 degrees. Reading the scale from the wrong side is a common slip the first few times.
4. Draw a line parallel to the edge
To mark a rip line or a line a set distance from the edge, hook the fence over the edge, put your pencil point in the scribe notch at the distance you want, and slide the square and pencil together along the board. This is much faster than measuring and joining a series of marks, and for short lines it is often more accurate. For long lines, a straightedge or chalk line is steadier than walking a small square along the whole length.
5. Check a corner for square
Put the fence against one edge of an assembly and see whether the other edge lies flat against the square's leg. A gap at one end means the corner is out of square. For a small box, drawer or frame, this is a useful check before the glue sets.
Use a speed square as a circular saw guide
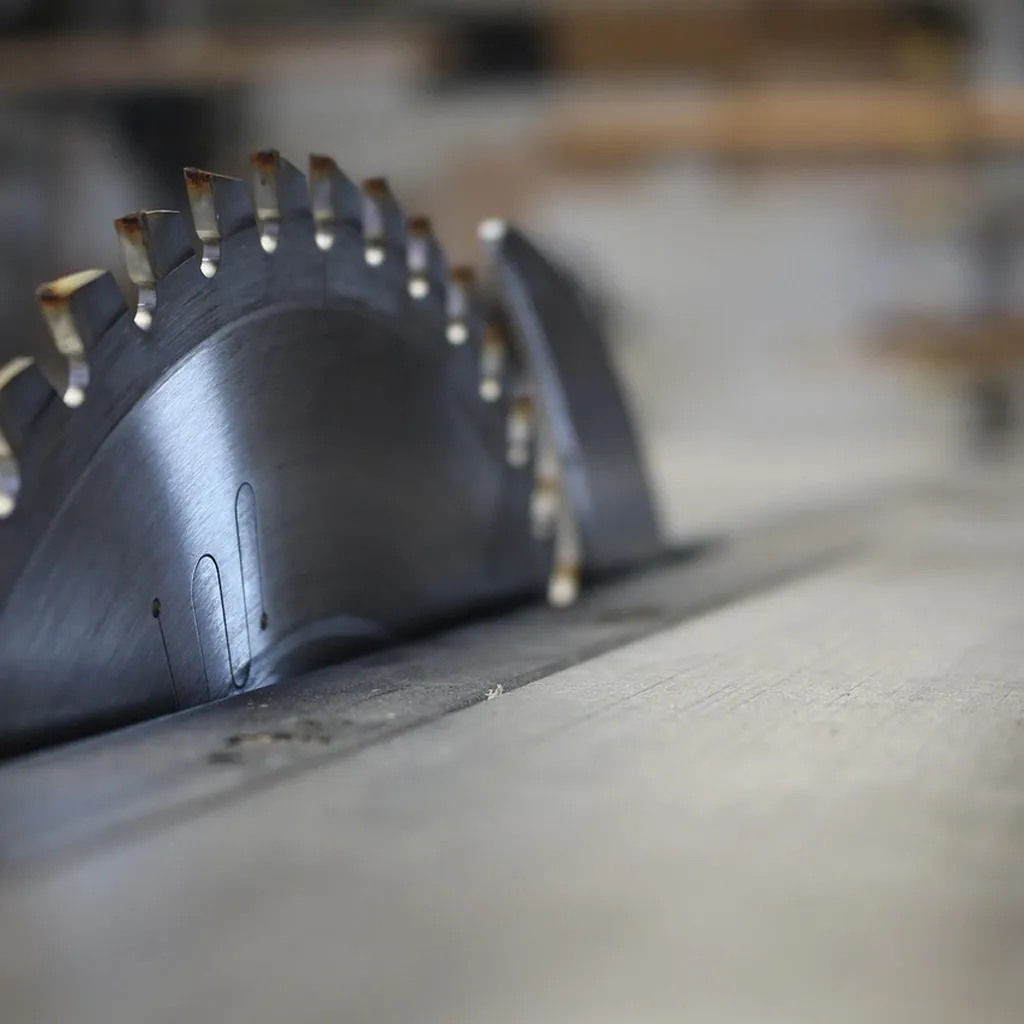
A speed square doubles as a short fence for crosscuts with a circular saw. Swanson's guide describes this use: "Butt the flat edge (blade) of the Speed Square against the shoe of a circular saw and cut alongside the tool."
The basic setup:
- Mark your cut line on the board and clamp the board so it cannot move.
- With the saw not running, line the blade up with the waste side of the line.
- Hold the square's fence hard against the edge of the board where the cut starts, and slide the square up until its edge touches the side of the saw's base plate (the shoe).
- Start the saw, let it reach full speed, and push it through the cut with the shoe riding along the square.
This works for crosscuts on boards narrower than the square is long. For wider boards and plywood, use a longer straightedge or a guide rail. Our comparison of a track saw vs a circular saw covers what each option gives you in accuracy on longer cuts.
Safety when guiding a circular saw with a square
Your hand is closer to the blade here than with a clamped straightedge, so the precautions matter more.
- Keep your hands out of the cut path. OSHA's woodworking guidance on handheld circular saws (read September 27, 2026) says to "keep hands out of the line of the cut." Hold the square by its fence, on the side away from the blade, and keep your fingers clear of the edge the saw runs along.
- Clamp and support the work. The same OSHA page lists as a kickback control: "Properly support all pieces of stock, including the cut and uncut ends, scrap, and finished product." Do not try to hold a short board with the same hand that holds the square.
- Keep the guard working. OSHA's standard for portable circular saws (29 CFR 1910.243) requires that the lower guard "automatically and instantly return to covering position" when the saw is withdrawn from the work. If the guard sticks, stop and have it repaired.
- Wear eye and hearing protection. OSHA lists chips, splinters and broken saw teeth among the things a circular saw can throw, and its woodworking noise guidance calls hearing protection the "final line of defense against noise hazards."
- Follow your saw's manual. Its warnings differ between models and take priority over any general guide, including this one.
Stop condition: if you cannot hold the square firmly against the board without your hand drifting toward the blade path, for example on a narrow or short piece, do not use the square as a saw guide. Clamp a guide board instead, or cut that piece with a handsaw.
Check that your speed square is actually square
This is the step most guides skip. A speed square is only as accurate as its manufacture, and a cheap or dropped one can be slightly out. You can check it with a board that has one straight edge:
- Hook the fence on the straight edge and draw a line along the 90-degree leg.
- Flip the square over so the fence is on the same edge but the square faces the other way, line the leg up with the start of your first line, and draw a second line.
- If the two lines lie exactly on top of each other, the square is square. If they spread apart, the gap between them shows double the square's error, and the square is out.
Do this when you buy it and again after it has been dropped. An out-of-square speed square is fine for rough work, but it will quietly put every crosscut off, which shows up later as gaps and racked frames.
What a speed square will not do
Being honest about limits saves frustration:
- It is short. It is shorter than many boards and panels are wide, so it cannot square a line across a wide panel in one go. A framing square or a longer straightedge is better there.
- Its accuracy depends on the edge you register against. If the board edge is not straight, a square line from it is not square to anything useful. Cut or plane a straight reference edge first.
- Pencil lines are wide. For joinery, switch to a knife line along the square's edge.
For a wider look at the marking tools that pair with it, see our guide to measuring and marking tools for accurate cuts, and for how it fits into a small starter kit, our minimal woodworking tools list.
FAQ
What is a speed square used for in woodworking? Marking square and 45-degree lines, marking other angles with the degree scale, drawing lines parallel to an edge, checking corners for square, and guiding a circular saw on crosscuts.
How do I mark a 45-degree angle with a speed square? Hold the fence against the board edge and draw along the long diagonal edge. The square is a right triangle with a 45-degree hypotenuse, so no scale reading is needed.
How do I know if my speed square is accurate? Draw a line along the 90-degree leg from a straight edge, flip the square, and draw a second line from the same point. If the lines do not match, the square is out.
Can I use a speed square as a saw guide? Yes, for crosscuts on boards narrower than the square. Clamp the board, keep your hands out of the cut path, keep the guard working, and follow your saw's manual.
Do I need the rafter scales on a speed square? Not for furniture or small projects. The common and hip/valley scales are for roof framing. The fence, the edges and the degree scale are what most beginners use.