Measuring and Marking Tools for Accurate Cuts
Your accuracy is decided before the saw touches the wood. Line width, tape tolerance classes, square checks and the transfer habit that beats measuring.

Cut accuracy is lost at the mark, not at the saw. A carpenter's pencil lays down a line wide enough to hide the error you are worried about, a tape measure is allowed a published tolerance that grows with distance, and a square that is not actually square transfers its own error into every part you make. The fix is not a better saw. It is a narrower line, a checked square, and the habit of transferring a dimension directly from one part to another instead of reading a number off a tape twice.
This page names no winner and quotes no price. It explains what each marking tool actually controls, how much error each one contributes, and how to check the ones you already own.
Why This Page Has No Picks
Nobody here has used the tools you are about to look at, so nothing below is a review. No brand is crowned and no price appears. Marking tools also happen to be the category where a ranked list is least useful, because the differences that matter are geometric rather than brand-specific.
Brands are named below only where we are quoting something that brand published itself.
Start With the Only Number That Matters: Your Tolerance
Before you buy anything, decide how accurate the work has to be. This is the step everyone skips.
A shelf that sits on brackets can be a couple of millimeters out and nobody will know. A drawer that has to slide in a carcass cannot. A picture frame miter shows an error of a fraction of a degree as a visible gap, which is why cutting a picture frame without a miter saw is a marking problem more than a sawing one.
Once you know your tolerance, you can tell whether a tool is good enough. Without it, every buying decision is guesswork dressed up as craftsmanship.
The Line Is Part of the Error
A pencil line has width. That width is not decoration, it is uncertainty, and you inherit it.
A carpenter's pencil lays down a broad line. It is designed for framing lumber, where it is entirely appropriate. On a cabinet part it is the single largest error in the chain, because "cut to the line" is ambiguous by the width of the line itself: cut on the near side, the far side or the middle and you get three different parts.
A fine mechanical pencil narrows the line considerably, and it does it without any technique or maintenance. It is the cheapest accuracy upgrade available in woodworking.
A marking knife removes the ambiguity entirely. Instead of drawing a line on top of the fibers it severs them, leaving a physical groove. That groove does three useful things at once: it is as narrow as the blade, it gives a chisel or a saw a wall to register against, and it pre-cuts the surface fibers so they tear less on the cut.
The practical rule that follows: pencil for rough dimensioning, knife for anything a joint depends on. Marking a joint in pencil and then wondering why it does not close is one of the standard entries in the list of common beginner woodworking mistakes.
How Accurate Is a Tape Measure, Really
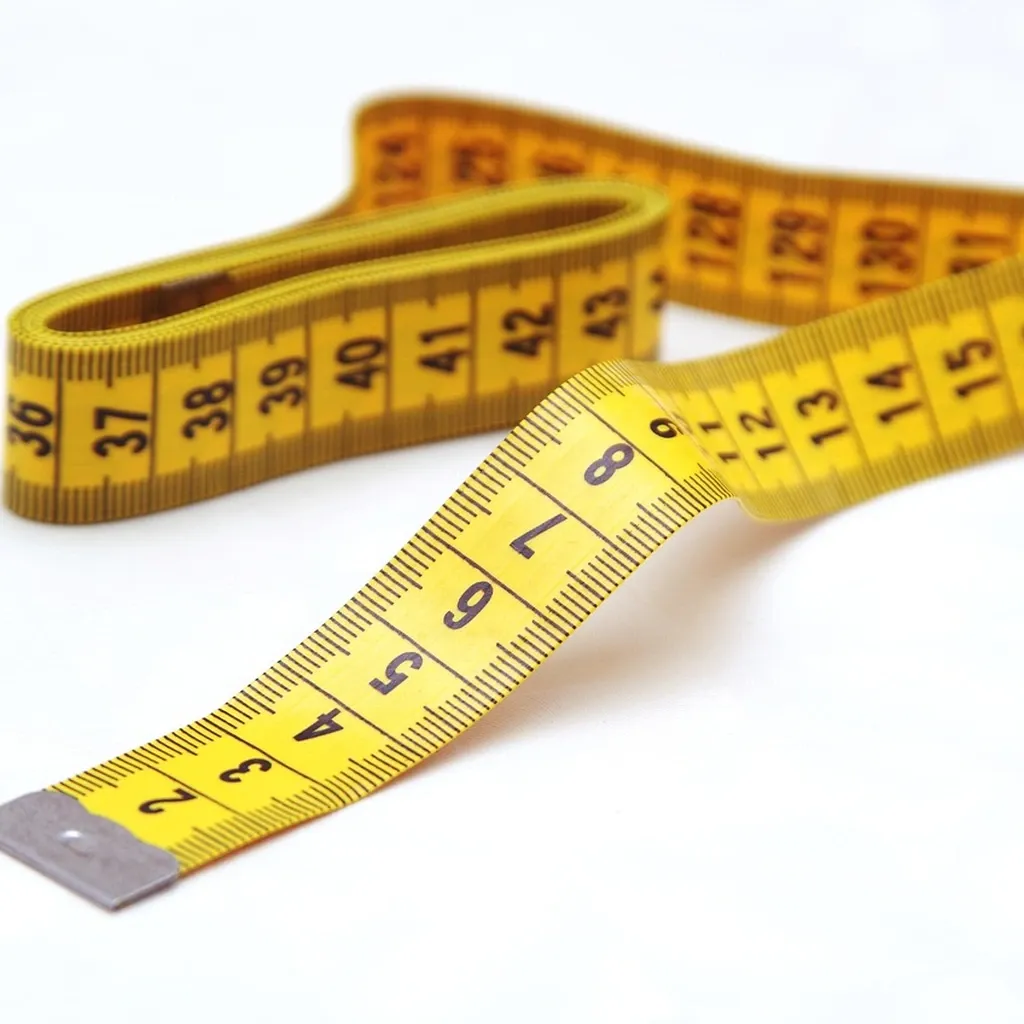
Here is the part almost no beginner guide covers, and it is checkable.
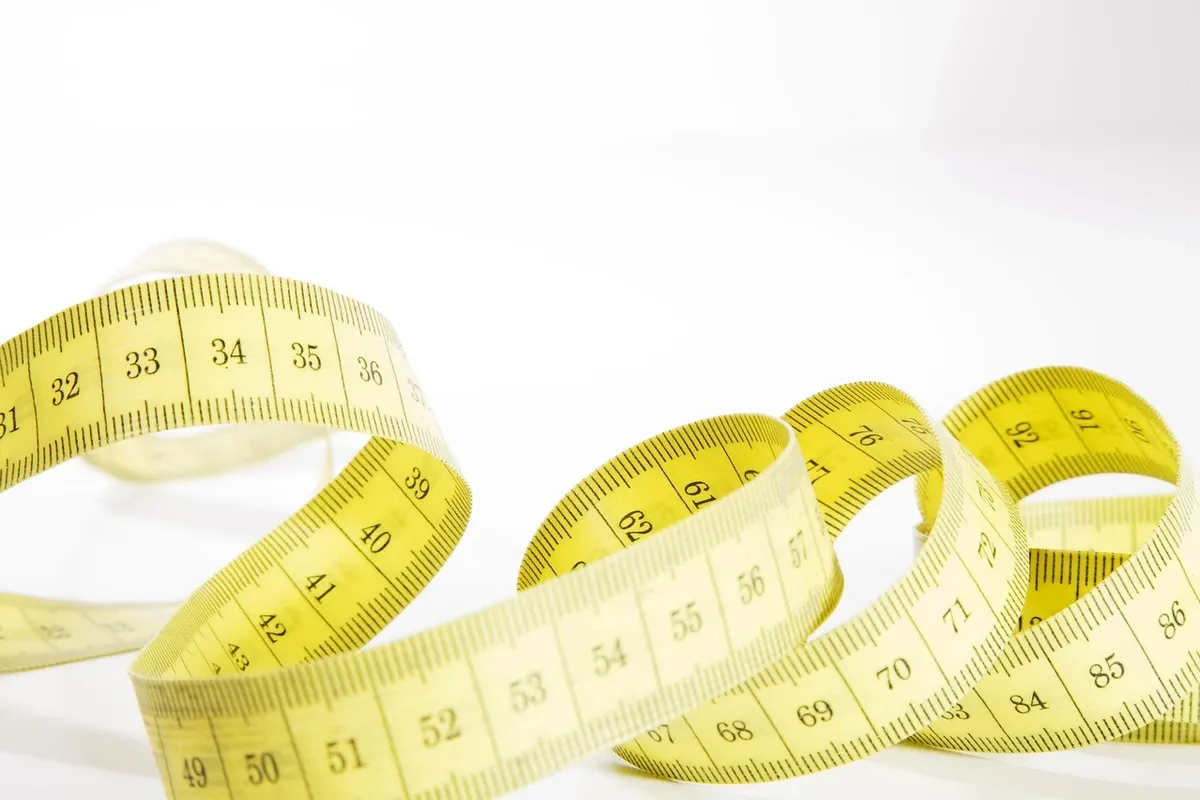
In Europe, measuring tapes are sold in published accuracy classes, and each class has a formula rather than a single number. For EC Class II steel tapes, the maximum permitted deviation is a + bL, where a is 0.3 mm, b is 0.2 mm and L is the length in meters (Richter Messzeuge, published EC Class II accuracy table, read September 8, 2026).
Work that through and it is genuinely useful. At a 1 meter measurement the permitted deviation is 0.5 mm. At 2 meters it is 0.7 mm. At 5 meters it is 1.3 mm. The error is allowed to grow with distance, which means a long measurement is inherently less trustworthy than a short one, by design and by standard.
Two things follow immediately.
One: the accuracy class is a legal maximum, not a promise of a specific error. A given tape may be much better. But a tape sold with no class marked at all, which is normal in the United States, is telling you nothing.
Two: two tapes will not agree. If you measure a part with one tape and your friend measures the mating part with another, both can be within tolerance and the parts can still not fit. Use one tape for a whole project.
And the hook on the end is supposed to move. The rivet holes are slotted so the hook slides by its own thickness, which compensates for whether you are hooking over an edge or pushing against one. That is not a defect and it must not be tightened up. It is also fragile: a dropped tape with a bent hook is a tape that lies.
The Square Is the Tool That Multiplies Its Own Errors
A square defines 90 degrees for everything you build, so an error in the square is copied into every part, in the same direction, forever. It is the one tool worth caring about.
Starrett describes its combination squares as a photo-engraved, hardened and tempered steel rule carrying a head made of cast iron or forged and hardened steel, and explicitly distinguishes them from cheap plastic or die-cast heads (L.S. Starrett Company, combination squares product page, read September 8, 2026). That is a construction claim rather than a numeric tolerance, and it points at the real failure mode in cheap squares: a head that is not square to the blade, or one that flexes and drifts.
You do not need to trust anyone's marketing on this, because you can test a square in thirty seconds.
Take a board with one known-straight edge. Hold the square against that edge and draw a line across the face. Now flip the square over, register it on the same edge at the same place, and draw a second line. If the two lines are on top of each other, the square is square. If they diverge into a narrow V, the square is out by half that angle. The test costs nothing and it works on a square you already own, a square in a shop, and a square you are thinking of buying.
Do this before you blame your saw for anything.
The Marking Gauge, and the Idea Behind It
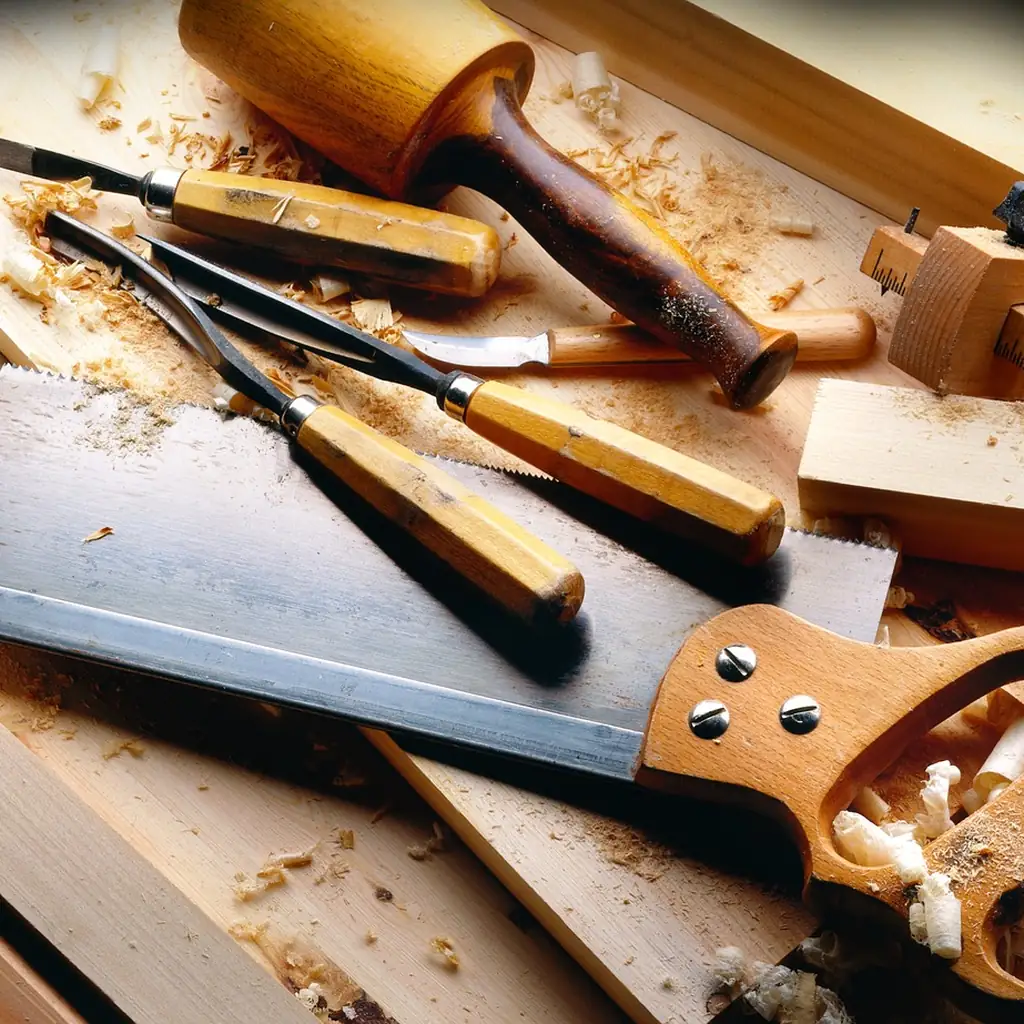
A marking gauge is a fence with a cutter set a fixed distance away from it. You set the distance once and then scribe it repeatedly, on part after part.
Two design details matter. A gauge with a cutting wheel or knife severs the fibers, which leaves a crisp line even across the grain, where a pin gauge tends to tear and follow the grain. And the cutter is usually bevelled on one side only, so the reaction force pushes the fence into the workpiece rather than away from it, which is what keeps the setting honest as you scribe.
The larger idea is the reason this tool exists at all. A gauge does not use numbers. You set it against the part it has to match, not against a rule, and then every scribed line is identical whether or not the setting corresponds to a round figure.
Transfer, Do Not Measure
That is the principle worth taking from this whole page, and it is what separates people whose parts fit from people whose parts nearly fit.
Every time you read a number off a rule and write it down, you introduce an error. Every time you read that number back and mark it, you introduce another. Two readings, two errors, and they do not cancel.
So wherever possible, take the dimension directly from the thing it has to match. Hold the shelf against the case and mark it. Set dividers to the actual gap. Set the gauge against the actual tenon. Use a story stick, which is nothing more than a scrap of wood carrying pencil marks for every important dimension in a project, so that every part is marked from the same physical reference instead of from a number.
This is also the answer to a very practical apartment problem: you can transfer accurately on a kitchen table, and you cannot machine accurately on one. Precision that comes from the layout rather than from equipment is precision that fits in a flat. It is the same reasoning behind the accuracy compromises weighed up in circular saw versus table saw for beginners, where the guide does the work a fence would otherwise do.
The Best Marking Tools for Woodworking Beginners: What Belongs in a Small Kit
Six items, all of them small, silent and cheap relative to any power tool:
- A steel rule with fine graduations, for short measurements where a tape is clumsy.
- A combination square, checked with the flip test, for marking square lines and for measuring depths.
- A fine mechanical pencil for general layout.
- A marking knife for anything a joint depends on.
- A marking gauge for repeated parallel lines.
- A tape measure, used for rough dimensioning and for the long measurements a rule cannot reach.
Add a pair of dividers the day you want to space something evenly without arithmetic, and a bevel gauge the day you have an angle that is not 90 degrees.
This is the highest return per dollar and per cubic inch of any group of tools in woodworking, and it is the group beginners underinvest in most. It makes no noise, needs no outlet, produces no dust and fits in a drawer, which is why it sits near the top of the beginner woodworking checklist and why it belongs in even a strictly hand-tool starter kit.
One Safety Note About Sharp Layout Tools
Marking is low-risk work, with two exceptions worth naming.
A marking knife is a knife. It is short, it is very sharp, and it is used with the blade angled toward a steel rule your fingers are also holding. Keep the holding hand behind the blade path and above the rule edge, cap the blade when it is not in use, and do not leave it loose in a drawer with your hands.
A scratch awl and a divider point are puncture hazards, not cut hazards, and they are the items most likely to roll off a table point-first. Store them tip-down in a block or tip-covered.
Eye protection to ANSI/ISEA Z87.1 is not needed for layout itself. It is needed the moment you pick up the saw the layout was for.
The Short Version
- Decide your tolerance first. A tool is only good enough relative to a stated requirement.
- Line width is error. Carpenter's pencil for framing, fine pencil for layout, knife for joints.
- Tape accuracy is a published formula, not a fixed number, and the permitted error grows with length.
- Use one tape per project, and never straighten the sliding hook.
- Test your square with the flip test before trusting anything it tells you.
- A marking gauge works without numbers, which is why it is more accurate than measuring.
- Transfer dimensions from the actual parts instead of reading and re-reading a rule.
- This kit is small, silent and cheap. It is the easiest accuracy win available in a flat.
Frequently Asked Questions
What marking tools should a beginner buy first? A combination square, a fine mechanical pencil and a steel rule cover most layout immediately. A marking knife is the next addition and it is the one that changes joint quality most. A tape measure is useful but it is the least precise item in the group, so it belongs to rough work.
How accurate is a normal tape measure? More variable than people assume, and the error is allowed to grow with distance. Under the EC accuracy class system used in Europe, a Class II steel tape is permitted a deviation of 0.3 mm plus 0.2 mm per meter, which is 0.5 mm at 1 meter and 1.3 mm at 5 meters. Tapes sold without a class marking carry no published tolerance at all.
Do I need a marking knife or is a pencil enough? A pencil is enough for rough dimensioning. A knife is worth having for joinery, because it severs the surface fibers instead of drawing on top of them, which gives you a narrower reference, a wall for a chisel to register against, and cleaner edges on the cut.
How do I know if my square is actually square? Draw a line across a board using one straight edge as your reference, flip the square over, register it in the same place and draw again. Two lines that sit on top of each other mean the square is good. Two lines that open into a narrow V mean it is out by half that angle.
Why do my cuts still come out wrong when I measure carefully? Usually because the error is not in the measuring. Common causes are a wide pencil line with an unclear cut side, a square that is out, measuring the same dimension twice with a tape instead of transferring it once from the part, and the saw kerf being taken off the wrong side of the line.