How to Cut a 45 Degree Angle Without a Miter Saw
How to cut a 45 degree angle without a miter saw: five methods, what each costs in accuracy, and a two-piece test to check the corner before you glue.

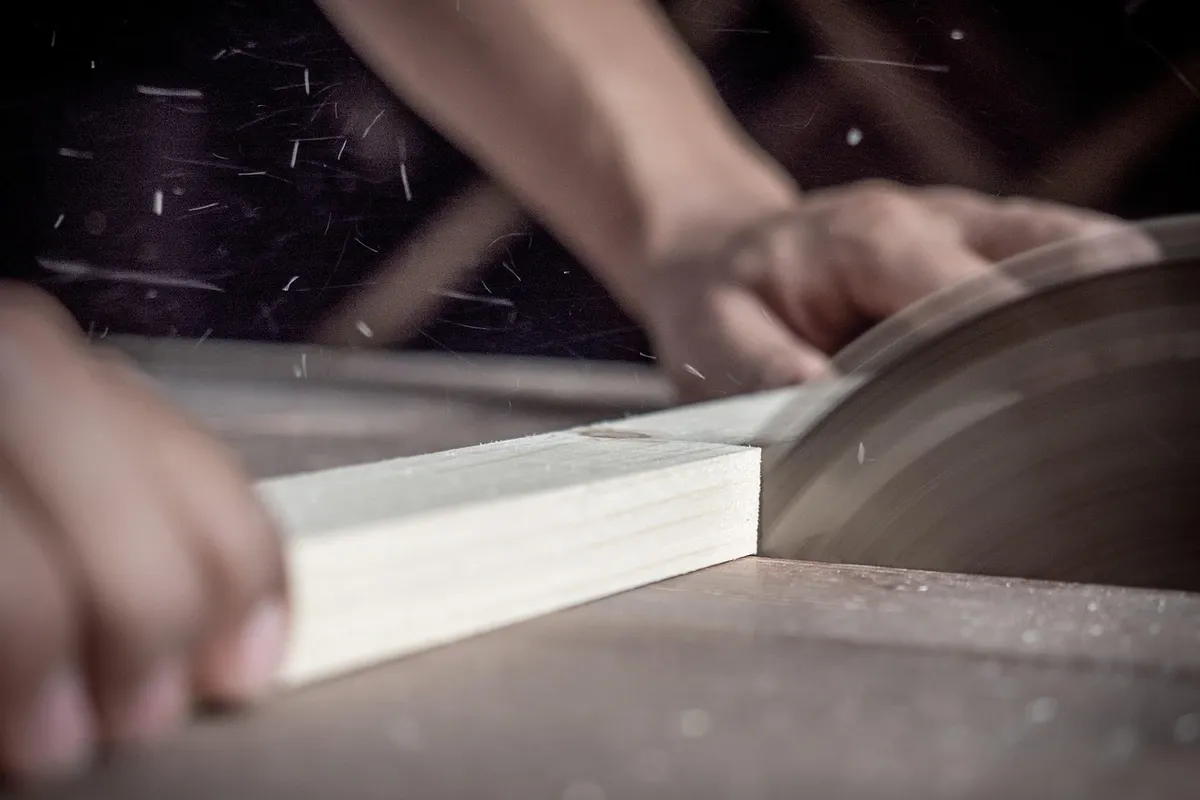
Here is how to cut a 45 degree angle without a miter saw: mark the line with a speed square or combination square, clamp the board so it cannot move, and cut on the waste side of the line with a fine-tooth hand saw, ideally guided by a miter box or a knife groove. For wide boards, a circular saw run against a clamped guide works too. Then test two pieces together against a square before you glue, because small errors in each cut add up at the corner.
That is the whole method. The rest of this guide is about choosing the right version for your space, knowing what each one costs you in accuracy, and fixing a corner that comes out close but not closed.
First, which 45 do you actually need?
Most guides skip this, and it is the reason a lot of first corners fail. There are two different 45 degree cuts:
- A miter is angled across the face of the board. Picture frames, door casing, and baseboard corners on a flat wall use this.
- A bevel is angled through the thickness of the board. Box corners where the joint line sits on the edge, and some trim profiles, use this.
The tool you pick depends on which one it is. A hand saw in a miter box cuts face miters well. A circular saw cuts bevels by tilting its base plate, and it can cut a face miter only if you guide it across the board at 45 degrees. A jigsaw can do both, less precisely. If you are building a frame, you almost certainly need a face miter, and our guide to making a picture frame without a miter saw walks through the whole project once the corners are sorted.
How to cut a 45 degree angle without a miter saw: five methods compared
No method below matches a well-tuned miter saw on repeatability. That is the honest trade. What you get instead is less noise, less dust, less money, and less space. This table ranks the options by what matters in a small home shop.
| Method | Best for | Accuracy (qualitative) | Noise and dust | Main risk |
|---|---|---|---|---|
| Hand saw in a miter box | Trim, frames, narrow stock | Good, limited by the box's slots | Low noise, fine sawdust only | Worn slots let the blade wander |
| Hand saw on a knife line | Any width you can clamp | Good to very good with practice | Low noise, fine sawdust only | Drifting off the line early in the stroke |
| Circular saw on a guide | Wide boards, plywood, bevels | Good if the guide and base are square | Loud, lots of dust | Kickback, hands near the blade |
| Jigsaw with tilted shoe | Rough bevels, curved work | Fair; the blade flexes in thick stock | Loud, moderate dust | Blade deflection, splintered face |
| Mark only, then sand to line | Very small parts, touch-ups | Good, but slow | Quiet, fine dust | Rounding the edge you meant to keep |
If you rent, the first two rows are the ones that respect noise hours and your deposit. A hand saw also lets you cut at a table indoors without turning the room into a dust cloud, provided the surface is protected. Our guide on how to cut wood without damaging your table covers the sacrificial board and clamping setup that keeps the saw off the furniture.
Step 1: Mark a true 45 degree line
Every method lives or dies by the line. A speed square is the most forgiving marking tool here: hold its lipped fence tight against the board's edge, and its long edge gives you a 45 degree line with no setting to get wrong. A combination square does the same with its 45 degree face. Our roundup of measuring and marking tools for accurate cuts explains which square to buy first if you own neither.
No square? Two geometry fallbacks work:
- The equal-distance method. Measure the width of the board. Mark your cut point on one edge, then measure that same distance along the board on the opposite edge and mark it. Join the two marks. Because both legs of the triangle are equal, the line is 45 degrees.
- The folded-paper method. Take a sheet of paper with a factory corner, fold that corner so the top edge lies exactly along the side edge, and crease it. The fold is 45 degrees. It is a template, not a precision tool, but it beats guessing.
Mark with a sharp pencil at minimum. A marking knife is better, because the knife line becomes part of the cut in the next step.
Step 2: Clamp it so it cannot move
A board that shifts a fraction mid-cut ruins the angle, and a board held by hand near a power saw is a safety problem, not just an accuracy one. The Porter-Cable PC15TCS circular saw instruction manual puts it plainly: never hold the piece being cut in your hands or across your leg, and secure the workpiece to a stable platform. The same logic serves a hand saw: your hands on the saw and clamps on the wood.
Use at least two clamps where you can, one on each side of the cut, so the offcut does not sag and pinch the blade at the end. If you are still working out which clamps to own, Clamps 101 covers the types that matter for this kind of holding job.
Step 3: Cut with a hand saw (the quiet method)

This is the method most people in apartments should start with.
With a miter box. Clamp or screw the box down, set the board against the back wall, align your mark with the 45 degree slot, and saw with long, light strokes. Let the saw's weight do the work. Pushing hard makes the blade flex against the slot walls, and that flex is where the angle drifts. A plastic box wears its slots with use, so check the box against a square now and then rather than trusting it forever.
With a knife groove. Score the line deeply with a marking knife. Then, on the waste side only, pare a shallow sloped channel into the knife line with a chisel, leaving the knife wall vertical on the side you keep. Set the saw teeth in that small groove and start the cut with a few gentle strokes. The groove steadies the blade the way a miter box slot does, and it gives you a crisp, fiber-severed edge on the show face.
Either way, saw on the waste side of the line so the line itself survives. You can always remove a sliver; you cannot put one back.
Step 4: Cut with a circular saw (wide boards and bevels)
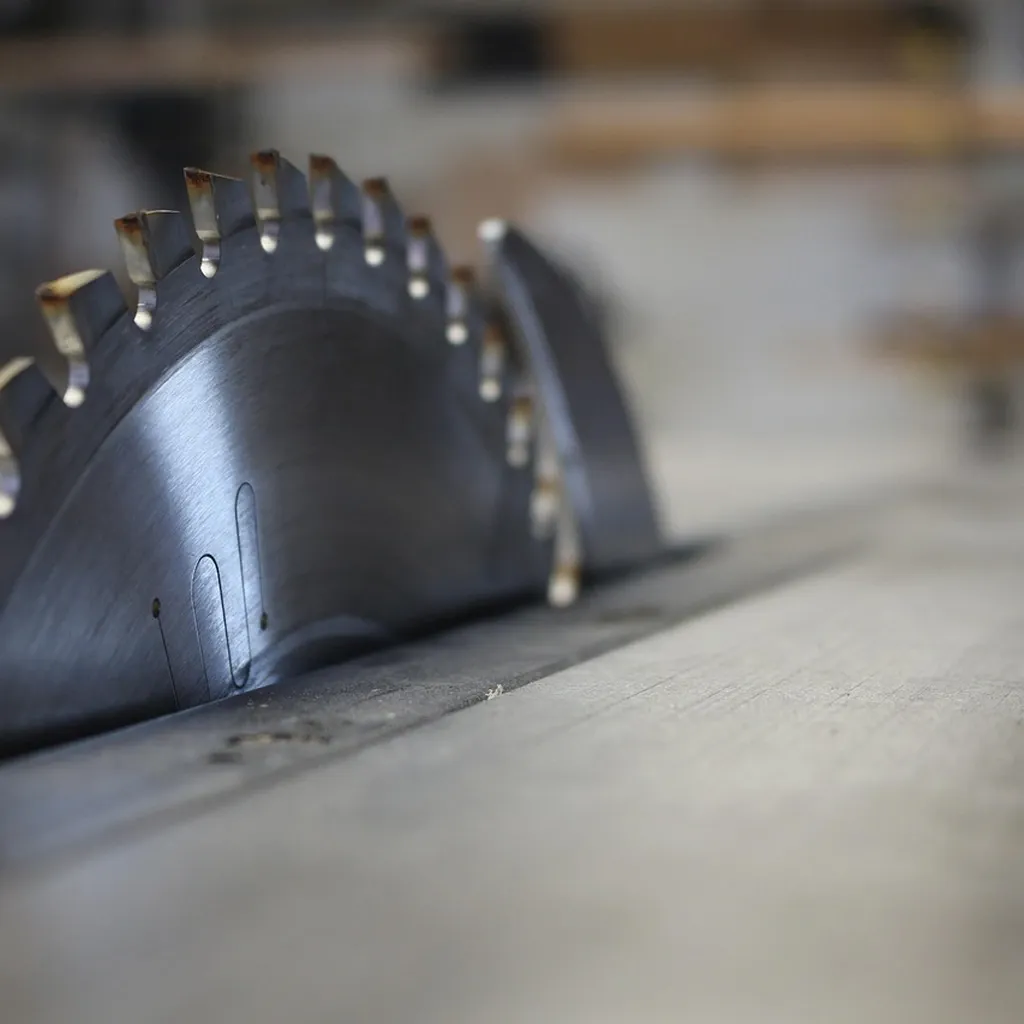
For plywood, shelving, or anything too wide for a miter box, a circular saw is the practical choice. It also carries the most risk on this list, so treat these steps as required, not optional.
- For a bevel: unplug the saw or remove the battery, loosen the bevel adjustment, tilt the base plate to the 45 degree mark, and lock it. Check the actual blade angle against a square before trusting the scale.
- For a face miter: clamp a straight guide at 45 degrees across the board and run the saw's base plate along it.
Safety, sourced rather than assumed. OSHA's Woodworking eTool page on handheld circular saws, which we reviewed on September 23, 2026, names three main hazards: hands too close to the blade at the point of operation, kickback (the blade catching the stock and throwing it back toward the operator), and flying chips, splinters, and broken teeth. OSHA's guidance also calls for properly supporting all pieces of stock, including the offcut, and for always wearing eye and face protection. The Porter-Cable manual adds that you should make sure the lower guard operates, never tie the blade guard in a raised position, and let the saw reach full speed before the blade touches the wood, since starting with the blade against the material can cause kickback.
Protect your hearing too. The NIOSH page About Occupational Hearing Loss, last reviewed April 13, 2026 and read on September 23, 2026, treats noise at 85 dBA or higher as hazardous and notes that noise-induced hearing loss is permanent but can nearly always be prevented. Wear earplugs or earmuffs for any power saw work, and check your building's quiet hours before you start.
If the circular saw feels unstable on narrow stock, stop there. Trim and frame pieces are usually too small to clamp and support safely under a circular saw, and that is exactly when hands end up near the blade. Switch to a hand saw for those pieces.
Step 5: The jigsaw, with honest limits
A jigsaw can tilt its shoe to 45 degrees for a bevel, and it is often the only saw a renter already owns. The limitation is the blade: it is thin and held at one end, so in thicker stock it tends to bend, and the bottom of the cut can wander away from the angle on top. Use it for rough bevels or parts you will sand to the line afterward, not for a show corner. Clamp the work, wear eye and hearing protection, and follow the guard and blade-change instructions in your saw's own manual.
Step 6: Test two pieces before you glue
Here is the part most short answers leave out, and it is the most useful habit in this article. Each 45 degree cut is half of a 90 degree corner. If both pieces are off by the same amount in the same direction, the corner is off by twice that amount. Two cuts at 44 degrees meet at 88 degrees, not 90.
On a four-sided frame the problem compounds: small errors at every corner mean the last joint will not close, and you usually find out only when the glue is already on.
So test early:
- Cut the angle on two scrap pieces of the same stock.
- Put the two cut ends together on a flat surface.
- Check the inside of the corner with a square.
- Look for light in the joint. A gap at the heel or at the toe of the miter tells you the angle is off; adjust by a hair and cut two new scraps.
Adjust your method on scrap, not on the good wood.
Fixing a corner that is close but not closed
Small gaps are normal with hand methods. You have three honest options:
- Sand or plane to the line. Glue sandpaper to a flat board, hold the piece so the mitered end meets the paper at the needed angle, and take a few strokes. Go slowly; it removes material fast on end grain.
- Recut with the knife groove method. Take a fresh, very thin shaving off the end with a new knife line.
- Fill a hairline gap. On painted trim, a small gap filled and painted disappears. On stained or clear-finished wood, filler usually shows, so fix the cut instead.
Whichever you choose, do it before glue-up. A gap you fix on scrap costs nothing; a gap you discover after the glue is on costs a board.
What these methods cannot do
Being straight about the limits: none of these methods will match a well-set miter saw for cutting dozens of identical miters in a row, and repeatability is where hand methods fall furthest behind. If your project is a room full of crown molding with compound angles, a hand miter box will get there, but slowly, and renting or borrowing a miter saw may be the better trade. For a picture frame, a small box, a shelf edge, or a few trim corners, the quiet methods above are enough when you mark carefully, clamp firmly, and test on scrap.
FAQ
What is the most forgiving way to cut a 45 degree angle without a miter saw?
For narrow trim and frame stock, a hand saw in a miter box is the most forgiving, because the box holds the blade at the angle for you. For wide boards, a circular saw run along a clamped guide is more practical, but it needs full safety precautions.
Can I cut a 45 degree angle with just a hand saw and no miter box?
Yes. Mark the line with a square, score it with a marking knife, pare a small groove on the waste side, and start the saw in that groove. The groove guides the blade much like a miter box slot.
How do I mark a 45 degree angle without a square?
Measure the board's width, then mark two points that same distance apart along opposite edges and join them. Equal legs make a 45 degree line. A folded sheet of paper with a square corner also gives a usable 45 degree template.
Why do my 45 degree cuts leave a gap at the corner?
Because the error doubles. If each piece is slightly off in the same direction, the two errors add up at the joint. Test two scrap pieces against a square before cutting your good wood, and adjust your marking or sawing until the scrap corner closes.
Is a circular saw safe for cutting small trim pieces at 45 degrees?
Usually not. Small pieces are hard to clamp and support, which puts your hands near the blade. OSHA lists hands at the point of operation and kickback as major circular saw hazards, so switch to a hand saw for short or narrow stock.