Clamps 101: Which Types You Actually Need First
Capacity, throat depth, clamping force and jaw geometry, explained. How to choose clamps by the job they do, when you have no bench and no garage.

Clamps are chosen by the job, not by the brand, and there are only three jobs. One, holding a workpiece still against a surface so you can cut, drill or chisel it safely. Two, holding two parts together while a fastener goes in. Three, applying even pressure across a glue joint while it cures. In a home with no bench and no vise, job one is the one that matters most, and it is the one nearly every clamp guide treats as an afterthought.
This page ranks nothing and quotes no price. It explains the four specifications printed on a clamp, what each one changes, and which types answer which job, so you can walk the aisle and decide for yourself.
Why This Page Has No Picks
Nobody here has used the clamps you are about to look at, so nothing below is a review. No model is crowned, no price appears, and no brand is set against another. Prices change by country and by week, and a ranked list written today ages badly.
The specifications do not age. A throat depth and a published clamping force will mean the same thing in ten years. Brands are named below only where we are quoting a figure that brand publishes itself.
The Four Specifications On Every Clamp
Capacity, or maximum jaw opening. How far apart the jaws go. This is the number in the product name, and it is the one people over-buy. A clamp's capacity has to exceed the thickness of the stack you are clamping, plus any protective pads. Nothing more.
Throat depth. How far in from the edge of the work the jaws can reach. This is the specification beginners never look at and then curse. A clamp with a shallow throat cannot reach the middle of a panel, so it can only ever pinch the edges. As a published example, Irwin lists a 92 mm throat depth for its heavy-duty one-handed bar clamp (Irwin Tools, model 1964714 product page, read September 8, 2026).
Clamping force. How hard the clamp squeezes, published in pounds or newtons. Irwin states up to 600 pounds of sustained clamping pressure for that same heavy-duty one-handed bar clamp (Irwin Tools, read September 8, 2026). Lighter trigger clamps and spring clamps sit far below that, which is fine, because most of what a beginner clamps does not want to be crushed.
Jaw geometry. Whether the jaws stay parallel under load or tip toward each other. This is the specification that separates a clamp that pulls a cabinet square from one that racks it out of square, and it is covered in its own section below.
Read those four together and a clamp stops being a mystery object with a price on it.
Job One: Holding the Work, Because You Have No Bench
If you work in a flat, this is the job.
A workshop solves work-holding with a bench, a vise and bench dogs. You have a table, a floor and a windowsill. In that situation the clamps are the bench. They are what turn a kitchen table into a work surface, and they are the difference between a controlled cut and a workpiece that spins under a drill bit.
That has three practical consequences most guides skip.
You need clamps with enough capacity to reach around a tabletop, which is usually thicker than the board you are cutting. Measure your actual table before buying, because a clamp that will not close on your table is useless for the job you bought it for.
You need protection between the clamp and the furniture. Steel jaws mark a finished surface, and a clamp tightened hard onto a veneered table leaves a permanent dent. Scraps of plywood or hardboard on both faces solve it, and this is exactly the territory covered in the guide to cutting wood without damaging the table.
You need quick clamps more than strong ones. A clamp you have to spin twelve turns to release is a clamp you will skip when you are in a hurry, and the cut you make with an unclamped board is the one that goes wrong. The one-handed trigger style exists for this reason, and its relatively low force does not matter when the goal is only to stop the board moving.
Work-holding without a bench is the deepest version of this problem, and it has a full guide in woodworking without a workbench. Clamps are the answer inside it.
Job Two: Holding Parts Together While You Fasten
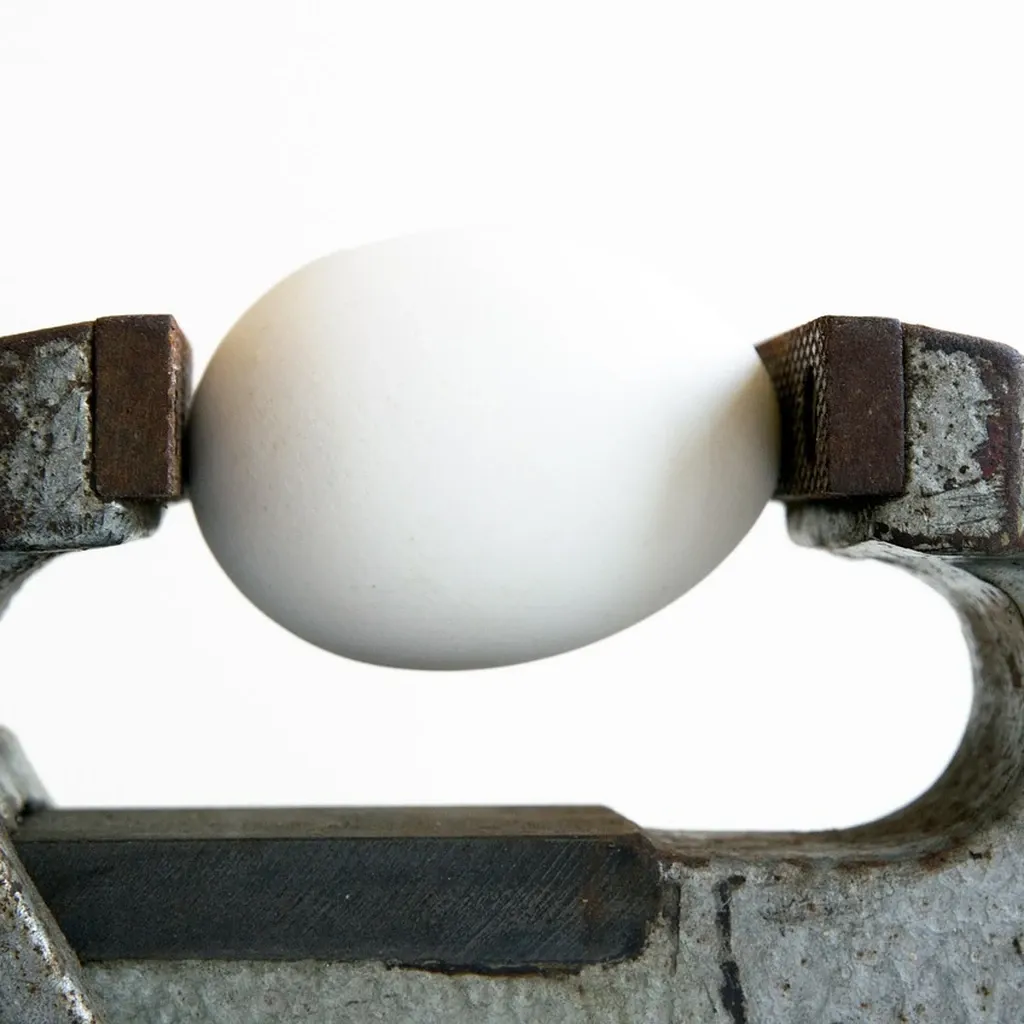
This is dry assembly: two boards held in position while you drill a pilot hole and drive a screw, or while you check a fit.
The requirement here is different again. You want light force and fast repositioning, because you are going to move the clamp a dozen times. Spring clamps and small trigger clamps do this well. Heavy parallel clamps do it badly, not because they are worse but because you spend the evening winding handles.
Corner and right-angle clamps belong here too. They hold two pieces at 90 degrees while you fasten them, which is genuinely useful for the box- and case-shaped things beginners build first, such as a simple wooden box. They also give you a false sense of security about squareness, so check the assembly with a square rather than trusting the clamp.
Job Three: Glue-Ups, Where Pressure and Squareness Both Matter
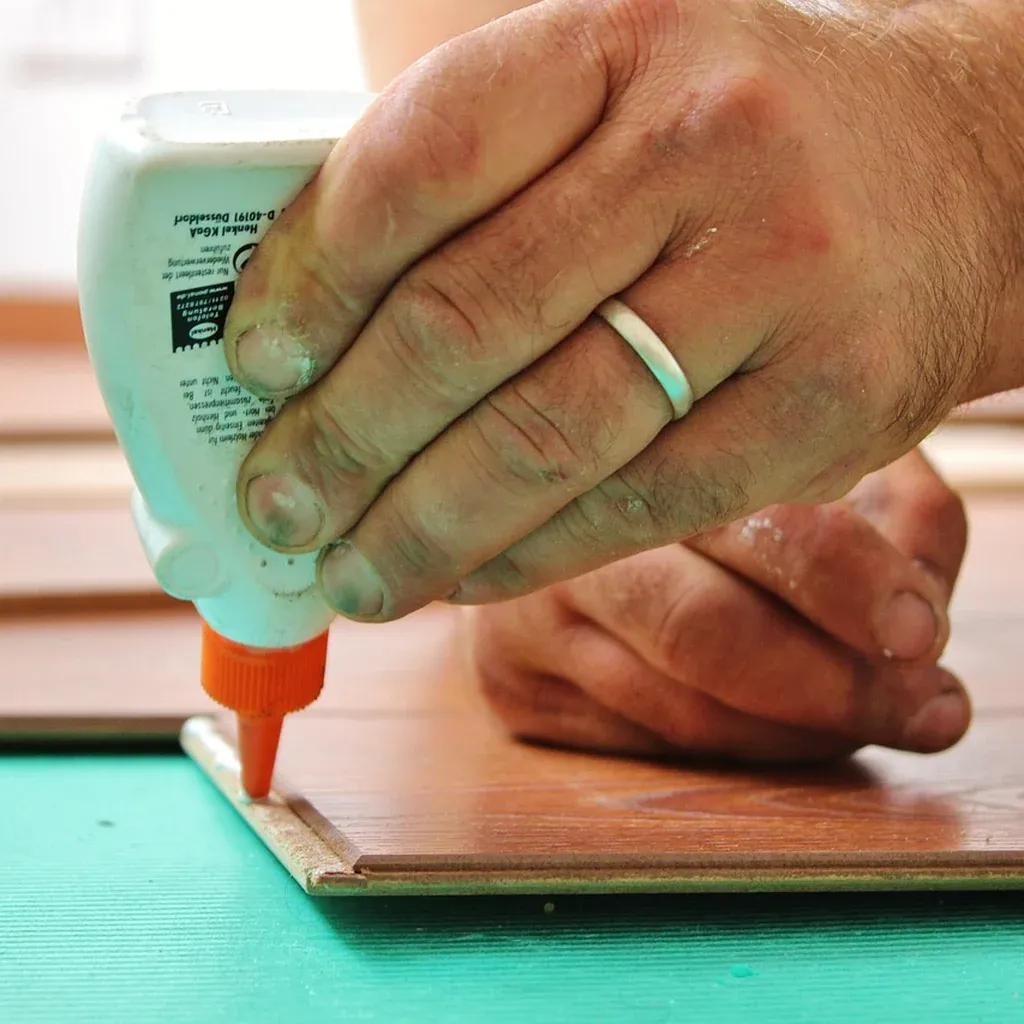
Glue joints are the only clamping job with a real technical requirement, and it is not the one people assume.
More pressure is not better. The purpose of a glue clamp is to bring two surfaces into contact and hold them there without movement while the adhesive cures. What you are looking for is a continuous, even bead of squeeze-out along the joint. A joint that needs crushing force to close is a joint that does not fit, and clamping harder does not fix it; it just makes the joint spring apart later.
Even pressure is better. This is where jaw geometry earns its money. F-style bar clamps concentrate their pressure toward the tips of the jaws and tend to tip under load, which pulls the work out of flat. Parallel jaw clamps hold their jaws square to the bar and spread pressure over a large pad, which is why they are the type associated with cabinet and case work.
Two things reduce your dependence on expensive clamps here. Cauls, which are just stiff scrap bars laid across the joint, spread the pressure of one clamp across a wide area. And fewer, better-fitting joints need less clamping than many badly-fitting ones. Both are free.
Always dry fit and clamp with no glue first. Once glue is on the wood you have minutes, not hours, and discovering a missing clamp at that moment is how a project ends up crooked. That mistake features in the roundup of common beginner woodworking mistakes for a reason.
The Types, and Which Are the Best Clamps for Beginner Woodworking
One-handed trigger clamps. Fast, low to moderate force, released with one hand. The best answer to job one and job two, and the type most likely to be reached for daily.
F-style bar clamps. Simple sliding bar with a screw. Good range, more force than a trigger clamp, jaws that tip under load. A solid general-purpose clamp.
Parallel jaw clamps. Large flat pads that stay square to the bar. The type built for glue-ups and case work. Heavy, bulky to store, and the most expensive per clamp.
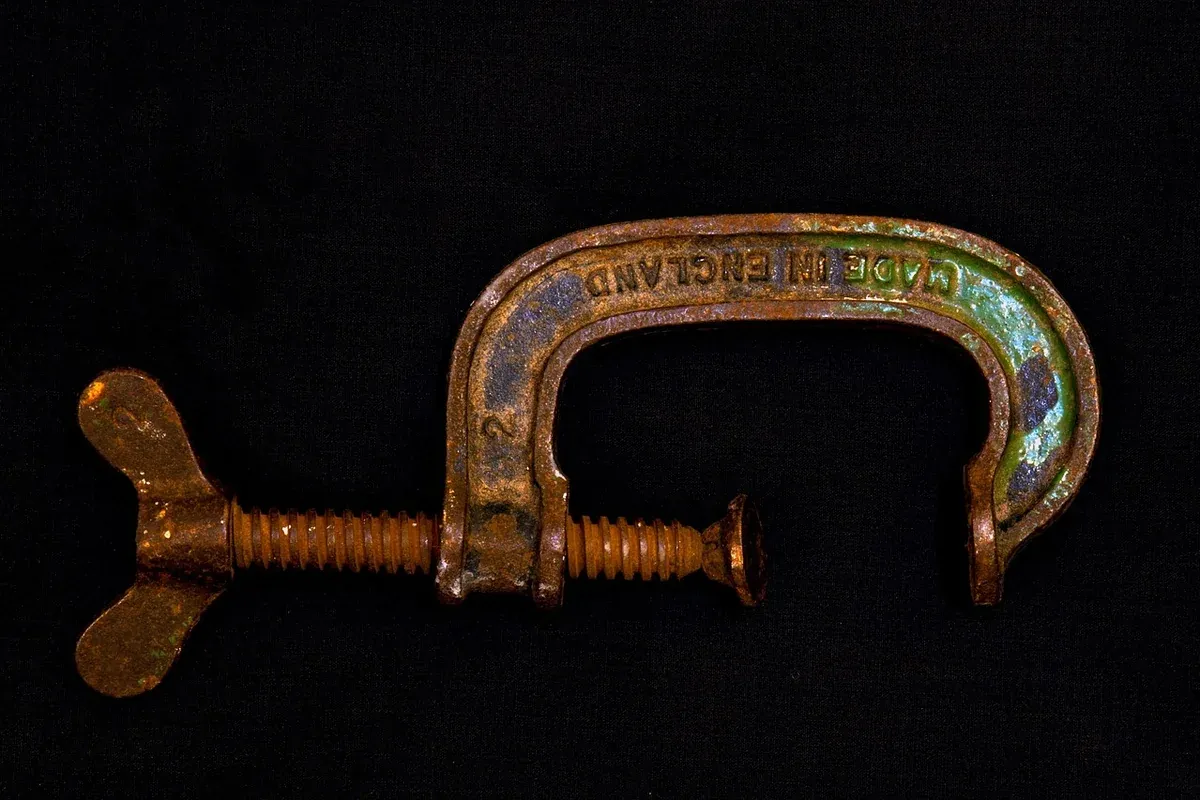
C-clamps, also called G-clamps. Small, very strong, slow to adjust, easy to store. Good for holding one thing very firmly in one place.
Spring clamps. Tiny force, instant on and off. Useful for holding a template or a piece of trim while glue grabs. Not for structural clamping.
Pipe clamps. A pair of fittings you buy separately and mount on a length of threaded pipe, so the length is whatever pipe you buy. The cheapest way to reach long capacities.
Band and strap clamps. A webbing strap that pulls in all four directions at once, for frames and boxes.
Corner clamps. Hold two parts at 90 degrees while you fasten.
Ranked against the three jobs and a small home, the trigger clamps do the most work per unit of money and space, the F-style clamps are the general-purpose backup, and everything else is bought against a specific project.
How Many Clamps, and Where They Live
The old joke is that you never have enough clamps. In a small home, the more useful advice is the opposite: buy in matched pairs, because clamps work in pairs, and stop.
A glue-up needs a clamp roughly every few inches along a joint, which is why cabinet shops own dozens. A beginner making small things needs far fewer, and can borrow pressure from cauls and from gravity.
Storage is the constraint nobody warns renters about. Clamps are dense, awkward and heavy, and a set of long parallel clamps takes real wall or floor space. Buying capacity you do not need converts directly into space you do not have. The storage strategies that work in a flat are collected in small apartment woodworking storage, and clamps are the item that most often breaks a storage plan.
Safety, Which Is Mostly About Job One
Clamping is the single cheapest safety improvement available to a beginner, and it is the one most often skipped because it feels slow.
Clamp before every cut, every drilled hole and every chisel cut. A workpiece that moves under a spinning bit or a saw blade is the origin of most beginner injuries, and it is entirely preventable. When a drill bit binds on breakthrough, the torque goes somewhere: either the board spins or the tool twists in your hands, and a clamped board removes the first outcome.
Check that the clamp is not in the cut path. Hitting a steel jaw with a saw blade damages the blade, the clamp and possibly you.
Do not stand a heavy clamped assembly upright and walk away. Long clamps make an assembly top-heavy and they slide.
Release stored energy deliberately. A heavily loaded clamp on a springy board can snap open. Back the screw off rather than popping the trigger.
Eye protection marked to ANSI/ISEA Z87.1 belongs on your face for the cutting and drilling that the clamping is enabling, not for the clamping itself.
The Short Version
- There are only three clamping jobs: hold the work, hold parts together, hold a glue joint.
- In a home with no bench, the clamps are the bench. Buy for that job first.
- Throat depth, not capacity, is the specification beginners get wrong.
- Published clamping force varies enormously by type, and most beginner work does not want maximum force.
- Parallel jaws stay square; F-style jaws tip. That is the difference that matters in a glue-up.
- Even pressure beats high pressure, and cauls buy you evenness for free.
- Dry fit and dry clamp before glue touches anything.
- Buy in pairs, and count your storage space before your clamps.
Frequently Asked Questions
How many clamps do I need to start woodworking? Fewer than the internet suggests, if you are building small things in a small space. A couple of pairs covering your table thickness and your usual workpiece width will hold work for cutting and drilling, which is the job you will do every session. Glue-up clamps get added when a project actually calls for them.
What is throat depth and why does it matter? It is how far in from the edge of a workpiece the jaws can reach. A shallow throat means the clamp can only grip near the edge, so it cannot apply pressure in the middle of a wide panel. Manufacturers publish it, and it is worth reading before you buy.
Are expensive parallel clamps worth it for a beginner? Only once you are doing glue-ups where squareness matters, such as a cabinet or a case. Their advantage is that the jaws stay parallel under load and spread pressure over a large pad. For holding a board to a table while you cut it, a cheap trigger clamp does the same job better because it is faster.
Can I clamp to a dining table without damaging it? Yes, with pads. Put a scrap of plywood or hardboard between each jaw and the furniture, keep the clamp away from an edge banding or a veneered lip, and tighten only enough to stop movement rather than as hard as the clamp will go. Check the table underside for a lip or apron that changes where a clamp can actually sit.
How tight should clamps be for a glue joint? Tight enough to close the joint and produce a continuous bead of squeeze-out, and no tighter. If the joint needs heavy force to close, the fit is wrong and clamping harder will not save it.