How to Measure and Mark Wood Accurately (No Shop Needed)
How to measure and mark wood accurately with a tape, square and knife: the small habits that stop cuts coming out short, even without a workshop.

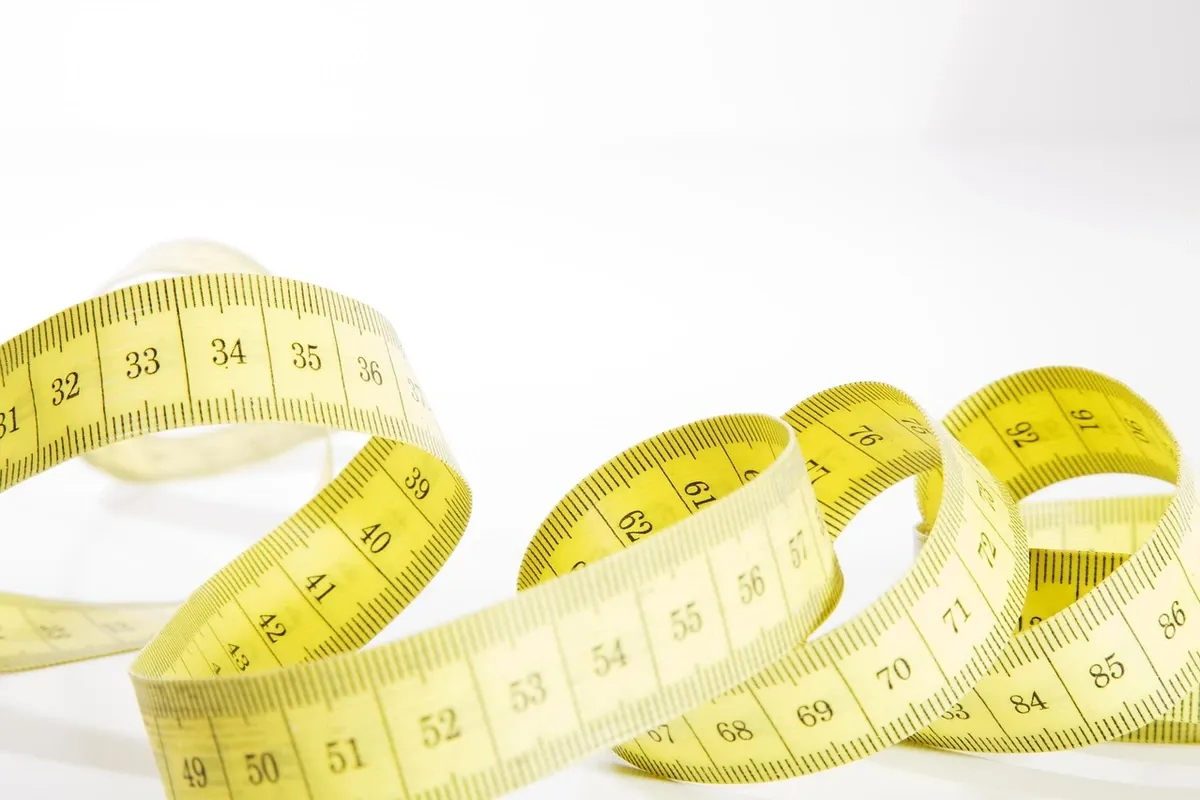
Short answer: To measure and mark wood accurately, square one end of the board first, measure from that end with a tape whose hook you have checked, mark with a sharp pencil or knife using a V-shaped tick whose point sits exactly on the number, carry the line across with a square you have tested, and put an X on the waste side so you cut beside the line, not through it. Where you can, skip the numbers and transfer the length straight from the part it has to fit.
None of that needs a workshop. Measuring and marking is the one stage of woodworking where a small apartment costs you almost nothing: it is silent, it makes no dust, and the tools fit in a drawer. What it does cost is attention. Most "my cut was off" problems start here, before a saw is ever switched on, and they come from a handful of predictable sources.
Why measuring and marking goes wrong (it is rarely the tape)
A cut that comes out wrong is usually several small errors stacked on top of each other. A slightly rough end, a hook that has worked loose, a fat pencil line and a blade on the wrong side of it each add a little, and together they add up to a gap you can see. The fix is to remove each source, not to measure more times with the same habits.
| Where the error comes from | What you notice | The fix (no shop required) |
|---|---|---|
| Unsquared factory end | Parts cut to "the same" length do not match | Square and trim one end first, measure from it |
| Loose or bent tape hook | Every measurement is off by the same amount | Check the hook, or "burn an inch" |
| Reading the tape at an angle | The mark lands just beside the number | Look straight down; roll the tape onto its edge |
| Thick or dull pencil line | You cannot tell which edge is the real line | Sharp pencil, V mark, or a knife line |
| Square that is not square | Joints gap on one side | Do the flip test before you trust it |
| Moving a short ruler along a long board | Long parts end up long or short | One tool that spans the length, or a story stick |
| Cutting on the wrong side of the line | Part is short by the width of the blade | Mark the waste with an X, cut on the waste side |
| Swapping tapes mid-project | Parts that should match do not | One tape and one square per project |
Read that table from the top: the early rows compound into the later ones, so fixing them in order matters.
Step 1: Start from a square end
Lumber from a store rarely arrives with ends that are cut square or clean. The end may be slightly angled, split, or crushed from handling. If you hook your tape on that end, every measurement inherits its error.
Before measuring anything, mark a square line a short distance in from the end, cut or trim to it, and treat that new end as your reference. Then measure every part from a reference end, not from whatever edge happens to be handy. If a project has several parts that must match, cut them all from reference ends in the same session.
Step 2: Check your tape measure before you trust it
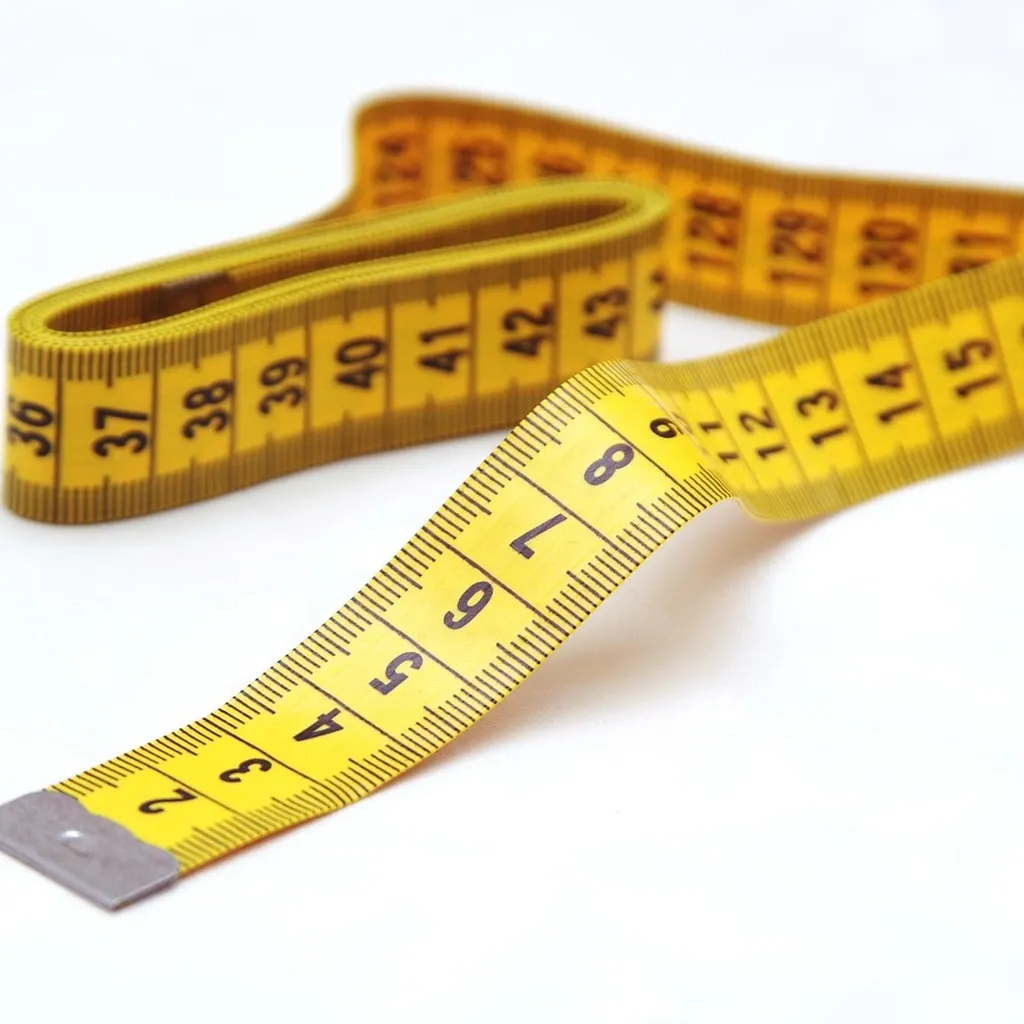
The hook on a tape measure is meant to slide. It moves by its own thickness so that a "hooked" measurement (pulling against an edge) and a "pushed" measurement (pressing into a corner) read the same. That design only works while the rivets are not worn and the hook is not bent. A tape that has been dropped a few times can quietly read wrong.
Two ways to deal with a hook you do not trust:
- Burn an inch. Line up the 1-inch mark with the end of the board instead of using the hook, then subtract 1 from the reading. It is slower and you must remember to subtract every time, but it takes the hook out of the equation.
- Compare against something rigid. Hook and push the tape against a steel rule or a square's blade. If the two readings differ from the rule, the hook is the problem.
Different tapes do not always agree with each other either. Use one tape for the whole project, and do not borrow a second one halfway through.
When you read the tape, look straight down at the mark rather than at an angle. Rolling the tape onto its edge so the graduations touch the wood puts the numbers right against the surface, which makes it much harder to misplace the mark.
Step 3: Make a mark you cannot misread
A single dot or a short dash has width, and on a rough board it can drift. The more reliable habit is a V-shaped tick, sometimes called a crow's foot: two short strokes that meet in a point, with the point sitting exactly on the number. The point is unambiguous in a way a line is not.
Pencil or knife is a question of what the part is for:
- A sharp pencil is fine for rough lengths, shelves, and anything where a small gap will be hidden or filled. Keep the point sharp and hold it tight against the rule or square, tilted into the corner.
- A knife line is thinner and it cuts the surface fibers, which helps reduce splintering along the cut and gives a saw or chisel a groove to register in. It is the better choice for joints, where a pencil line's width becomes a visible gap.
If you are building up a basic kit, our guide to measuring and marking tools for accurate cuts covers what each one is for and which ones you can skip at the start.
Step 4: Carry the line across with a square you have tested
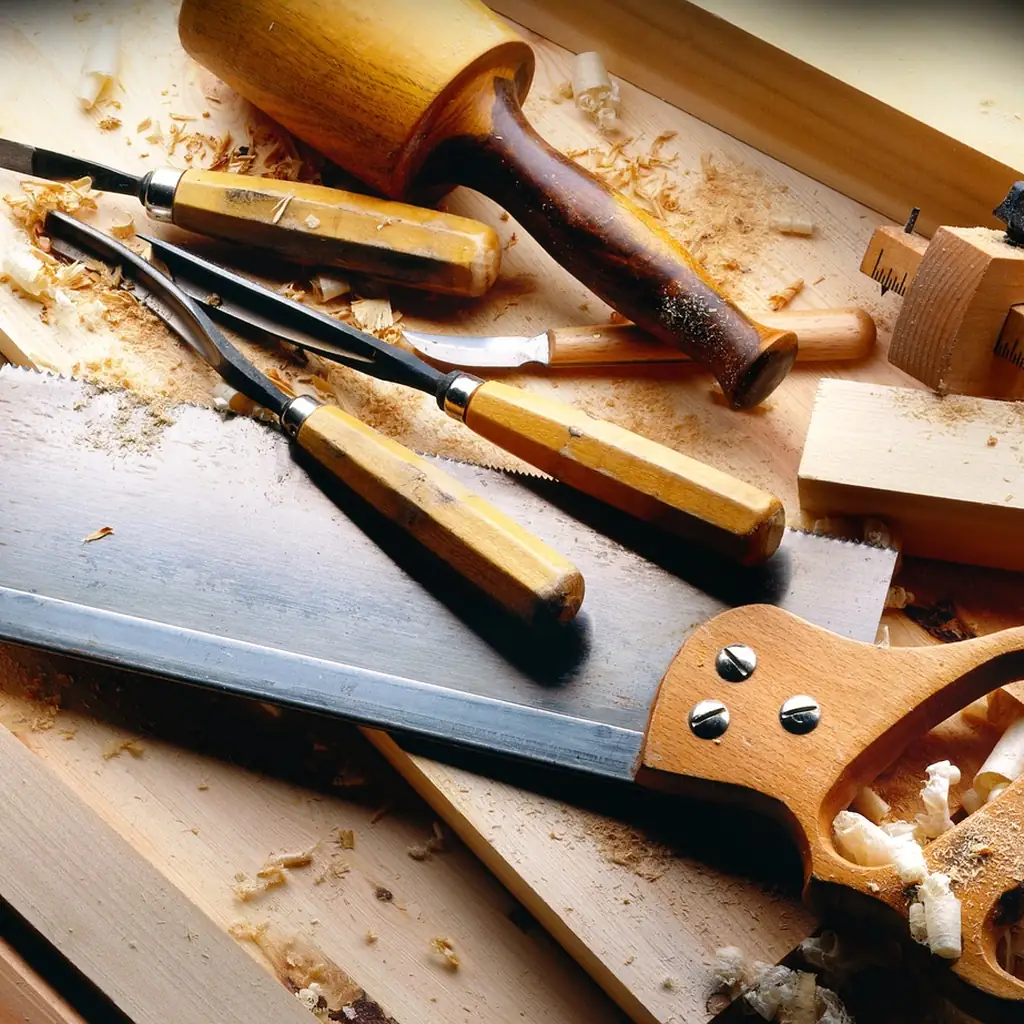
A tick mark tells you where; a square tells you which direction. Press the square's stock firmly against a straight edge of the board, slide it to your tick, and draw along the blade.
Do not assume a square is accurate because it is new. The flip test checks it without any other tools:
- Hold the square against a straight edge of a board and draw a line along the blade.
- Flip the square over, keep it against the same edge, and bring the blade right up to the line.
- If the blade and the line match along their full length, the square is square. If they spread apart, the square is out, and the gap you see is double the actual error.
A square that fails is still useful for rough work, but it should not be the one you trust for joints or for anything that has to sit flat against another part.
Step 5: Mark the waste side, then decide where the blade goes
Every saw blade removes a strip of wood called the kerf. If you cut down the middle of your line, half that strip comes off the part you are keeping. That is how a carefully measured board ends up short.
The habit that prevents it is simple: put an X on the waste side of every line before you cut. Then cut on the waste side, with the blade's edge just touching the line. Whether you leave the line, split it, or remove it matters less than doing the same thing for every part in the project. Consistency is what makes matching parts match.
Measure less, transfer more: the method that needs no numbers
This is the section most measuring guides skip. Every time you read a number off a tape and write it on a board, you create two chances for error: the reading and the marking. The most accurate mark is often the one that never becomes a number at all.
- Direct transfer. Hold the board against the space or the part it has to fit, and mark it right there. If a shelf goes between two sides, set the shelf blank against the actual opening and tick its length.
- A story stick. For a project with repeated dimensions, mark all of them once on a straight strip of scrap wood, then transfer from the stick to every part. The stick cannot misread itself.
- Gang marking. Clamp or hold matching parts edge to edge and mark them together with one square stroke. They share the same line, so they cannot disagree.
Transfer methods matter most on anything where parts must close up, such as the corners of a frame. Our walkthrough on making a picture frame without a miter saw shows why: four slightly different lengths leave a gap no amount of glue will hide.
How to measure and mark wood accurately without a workbench
A workbench helps, but for marking it is not the part that matters. What matters is a flat, stable surface and good light.
- Use a flat surface you can protect. A dining or kitchen table is usually flatter than a pair of sawhorses. Put a sheet of cardboard or scrap board over it so a knife line or a slipped pencil does not mark a rental's furniture. If you plan to cut on that same table later, read how to cut wood without damaging your table first.
- Get light across the board, not only from above. A lamp at a low angle makes a knife line or a faint pencil tick much easier to see.
- Do the marking whenever you like. Marking is silent, so evenings and early mornings are fine even in buildings with noise rules. Save the cutting for the hours your lease or building allows.
Here is what you give up without a shop: a tape, pencil and square on a table is accurate enough for shelves, boxes and most furniture parts that get screwed together. It is less forgiving for tight joinery, where you will want a knife, a tested square and transfer methods rather than numbers. That is a technique gap, not a space gap.
When the mark meets a power saw
The last place accuracy is lost is between the line and the blade. A circular saw's base plate usually has a notch or indicator to line up with your mark, but it is a rough guide, not a precise one. For a straight cut that actually follows the line, clamp a straightedge to the board, offset from your line by the distance between the blade and the edge of the base plate. Our comparison of a track saw vs a circular saw explains how guided setups change what a beginner can expect from a cut.
A mark is only useful if the cut is made safely, and a few rules apply every time a saw is involved:
- Clamp the work. OSHA's Hand and Power Tools booklet (OSHA 3080, reviewed September 23, 2026) tells users to secure work with clamps or a vise so both hands are free to operate the tool, and says guards must never be removed while a tool is in use. Never pin back or tie up a circular saw's lower blade guard.
- Wear the protection your manual lists. The general safety warnings at the front of power tool manuals call for eye protection every time, plus hearing protection and a dust mask where conditions call for them. A circular saw indoors is one of those conditions.
- Understand kickback before you cut. Circular saw manuals describe kickback as a sudden reaction to a pinched, bound or misaligned blade that can drive the saw up and back toward the operator. Support the board so the kerf does not close on the blade as the offcut drops, keep a firm two-handed grip, and stand slightly to one side of the blade's path.
- Stop condition. If the blade binds mid-cut, release the trigger and hold the saw still in the cut until the blade has fully stopped. Do not pull the saw backward while the blade is moving. Find out why it bound before you restart.
FAQ
Should I cut on the line or next to it?
Next to it, on the waste side. The blade removes a strip of wood, so cutting down the middle of the line takes some of that strip from the part you are keeping. Mark the waste with an X and keep the blade on that side of the line for every cut in the project.
Is a pencil accurate enough, or do I need a marking knife?
A sharp pencil is accurate enough for rough lengths, shelves and screwed-together furniture. For joints that have to close tightly, a knife line is thinner and more precise, and it helps reduce splintering along the cut. You do not need a dedicated marking knife to start; a sharp utility knife works.
Why are my pieces different lengths when I measured them the same?
The usual causes are measuring from unsquared ends, a loose tape hook, reading the tape at an angle, or cutting on different sides of the line. Measuring from a squared reference end, using one tape for the whole project, and gang marking matching parts together fixes most of it.
How do I check if my square is accurate?
Use the flip test. Draw a line along the square's blade against a straight edge, flip the square over, and compare the blade to the line. If they match along their length, the square is accurate. Any spread you see is double the real error.
Should I measure in inches or millimeters?
Either works, as long as you stick to one system for the whole project and use one tape. Many woodworkers find millimeters easier because there are no fractions to add, but the bigger accuracy gain comes from transferring measurements directly instead of reading numbers at all.