How to Sand Between Coats of Finish (Low-Dust Method)
How to sand between coats of finish indoors: when it's dry enough, which grit the label calls for, and how to keep dust off the next coat.

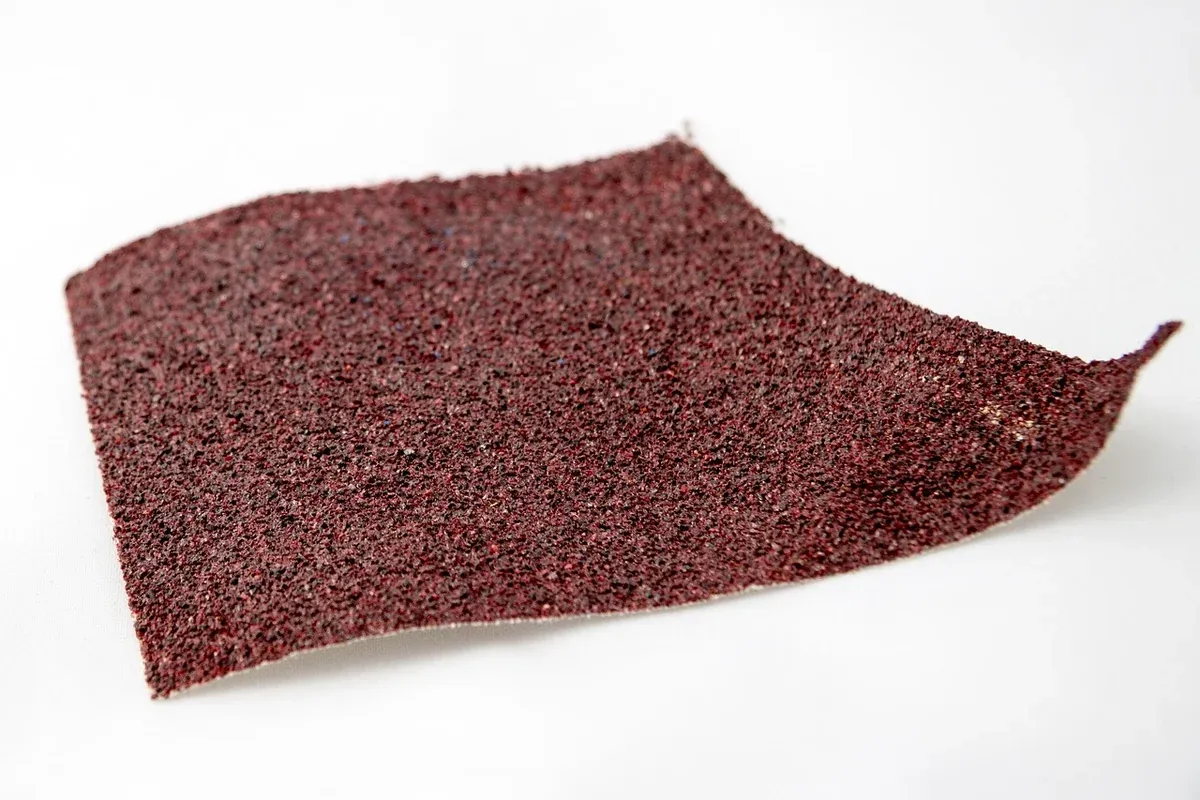
Short answer: how to sand between coats of finish is simpler than sanding bare wood. Wait until the coat is fully dry, then lightly scuff the whole surface by hand with fine paper (Minwax's wipe-on poly directions call for 220 grit), just enough to knock down dust specks and dull the shine evenly. You are not removing the coat. Then remove every bit of dust before the next coat goes on. Done this way, it makes very little dust, so you can do it at a covered table, sand in one spot, and recoat in a cleaner one.
Sanding between coats has two jobs. The first is smoothing: dust settles into wet finish, and raised grain pokes up after the first coat, so the surface feels rough. The second is adhesion. Minwax's Wipe-On Poly product page (read on October 2, 2026) says to "lightly sand entire surface with fine sandpaper (220 grit) to ensure an even finish and proper adhesion." Both jobs need a light touch, which is good news in a small space.
Before you start: check your finish's label
Not every finish wants sanding between coats, and the timing varies a lot by product. Read the label of the exact can you are using before anything else.
| Product type | What the maker's directions say | Source |
|---|---|---|
| Oil-based wipe-on polyurethane | "Let dry 2-3 hours," then sand lightly with 220 grit and "remove all dust" | Minwax Wipe-On Poly page |
| Water-based wipe-on polyurethane | Sand "lightly with very fine sandpaper (220 grit). Remove all sanding dust." | Minwax Water Based Wipe-On Poly page |
| Gel stain (a color coat, not a topcoat) | "DO NOT sand between coats" | Minwax Gel Stain page |
| Any other finish | Follow that product's own label | The can |
The gel stain line matters because people mix up stain coats and finish coats. Stain colors the wood; sanding between stain coats can cut through the color and leave light patches. Sanding between coats is for the clear protective finish on top.
How to sand between coats of finish: step by step
Step 1: Make sure the coat is actually dry
Sanding too soon is the most common mistake, and it creates a mess on the surface rather than in the room. Follow the label's dry time as a minimum, and remember that cool, humid or still air slows drying. When you start sanding, watch what comes off. A fine, powdery dust means the coat is ready. If the paper clogs with gummy bits or the finish rolls up into little balls, stop. The coat needs more time, and continuing will tear it.
Step 2: Set up a sanding spot that catches the dust
This is where small-space sanding differs from shop sanding. Put a drop cloth or a sheet of cardboard under the piece, ideally one you can fold up and carry out. Close the door of the room if you can, and keep the area away from wherever you plan to apply the next coat. If the weather is good and your building allows it, sanding near an open door or window helps, but think about where the dust goes. Our guide to whether woodworking on a balcony is allowed and safe covers dust drifting onto the balcony below.
Step 3: Sand by hand with a block, lightly and evenly
Wrap fine paper around a flat sanding block or a firm sponge. A block spreads pressure evenly, so you dull the whole surface instead of digging in with your fingertips. Sand with the grain, using light strokes. The goal is a uniform dull, slightly cloudy surface with no shiny spots, which tells you every area has been scuffed.
Take extra care on edges and corners. The finish is thinnest there, and it is easy to sand through to bare wood or to the stain underneath. One or two light passes on edges is usually enough.
You do not need a power sander for this. Hand sanding between coats is quiet, controllable and produces far less airborne dust than a sander would, which makes it the better fit for an apartment and for noise hours.
Step 4: Change paper as it loads up
Fine paper clogs with finish dust quickly. Clogged paper stops cutting evenly and can drag across the surface instead of smoothing it. When the paper stops feeling crisp, fold to a fresh face or replace the sheet.
Step 5: Remove every bit of dust, without spreading it
Minwax's directions say simply to "remove all dust," and any you miss gets sealed into the next coat as a bump. A sequence that keeps it contained:
- Vacuum the surface with a soft brush attachment, then vacuum the drop cloth before you move it.
- Wipe the surface with a clean, lint-free cloth. If you use a tack cloth, check that it suits the finish you are using.
- Look across the surface toward a light source at a low angle. Shiny spots mean you missed an area; specks mean dust is still there.
- Fold up the drop cloth dust-side in and take it out, rather than shaking it indoors.
Avoid blowing dust off. It simply lands again, often on the wet coat you are about to apply. For more on keeping fine dust under control between projects, see our guide to containing sawdust in a small apartment.
Step 6: Let the air settle, then apply the next coat
Dust you stirred up while sanding keeps falling for a while. If you can, move the piece to a cleaner room to apply the next coat, or wait a little after cleaning before you open the can. Apply the next coat as the label directs, with the ventilation it calls for.
Do you need to sand before the final coat?
Usually you scuff between each coat, not after the last one. The last coat is the surface you see, so you leave it alone once it is applied. Minwax's wipe-on directions put sanding after the first coat and again before a third coat, if you choose to apply one. The oil-based version says, "Apply a second coat. If a third coat is desired, repeat step 6 before application," and the water-based version says "a third coat is recommended."
If the final coat dries with a dust speck or two, that is a separate fix, and it is worth deciding whether a tiny flaw is better left alone than chased.
Where the dust and the rags go
Sanding between coats creates two kinds of waste, and one of them is a fire risk.
The Minwax Wipe-On Poly page carries this warning: "DANGER: Rags, steel wool, other waste soaked with this product, and sanding residue may spontaneously catch fire if improperly discarded. Immediately place rags, steel wool, other waste soaked with this product, and sanding residue in a sealed, water-filled, metal container." Note that this includes sanding residue, not only application rags. Keep a sealed, water-filled metal container on hand before you start, and check your local rules for final disposal. For general dust and offcut disposal in a building with shared trash, see our guide to what to do with sawdust and scraps in an apartment.
Ventilation while you work
Both Minwax wipe-on pages say: "Use only with adequate ventilation. To avoid overexposure, open windows and doors or use other means to ensure fresh air entry during application and drying." That applies to the coats themselves, so keep the window open while the next coat dries, not just while you sand.
The water-based product's page also carries a warning that it "contains material that may cause reproductive effects and may adversely affect the developing fetus based on animal data," and advises: "If you experience eye watering, headaches, or dizziness, increase fresh air, or wear respiratory protection." If anyone in your home is pregnant, read the full label and ask a doctor before finishing indoors.
What hand sanding between coats costs you
Being honest about the trade-offs:
- It takes time across days. Dry time, sanding, cleanup and the next coat repeat for every coat. Rushing any one of them shows in the final surface.
- Edges are fragile. Sand through on an edge and you may need to touch up the stain and rebuild finish there.
- Some dust will land anyway. In a room that is also lived in, a perfectly dust-free surface is unlikely. Light sanding before the last coat and cleaning thoroughly gets you most of the way.
- Shared spaces need a plan. If you share walls or rooms, our guide to woodworking without annoying roommates or neighbors covers timing and agreements that keep finishing projects from becoming a conflict.
FAQ
What grit sandpaper should I use between coats of polyurethane?
Minwax's directions for both its oil-based and water-based wipe-on poly call for 220 grit, used lightly. Other finishes may differ, so check the label of the product you are using.
How do I know when the finish is dry enough to sand?
Wait at least the dry time on the label. When you start, the finish should come off as fine powder. If it gums up the paper or rolls into small balls, stop and let it dry longer.
Do I have to sand between every coat?
Minwax's wipe-on poly directions call for a light sanding between coats to give an even finish and proper adhesion. Some products have different directions, so follow the label. You normally do not sand after the final coat.
Should I sand between coats of stain?
Not usually. Minwax's Gel Stain directions say "DO NOT sand between coats," because sanding can cut through the color. Sanding between coats applies to the clear finish on top.
Can I use a power sander between coats?
You can, but it is rarely needed and it raises noise and dust. A sanding block with fine paper gives more control over the light scuff this step requires, especially near edges. If you do use a power sander, follow the safety instructions in its manual.