Wipe On Poly vs Spray Finish: What Works by Hand
Wipe on poly vs spray finish for beginners with no spray booth: which is more forgiving by hand, what each costs in time, and the safety steps.

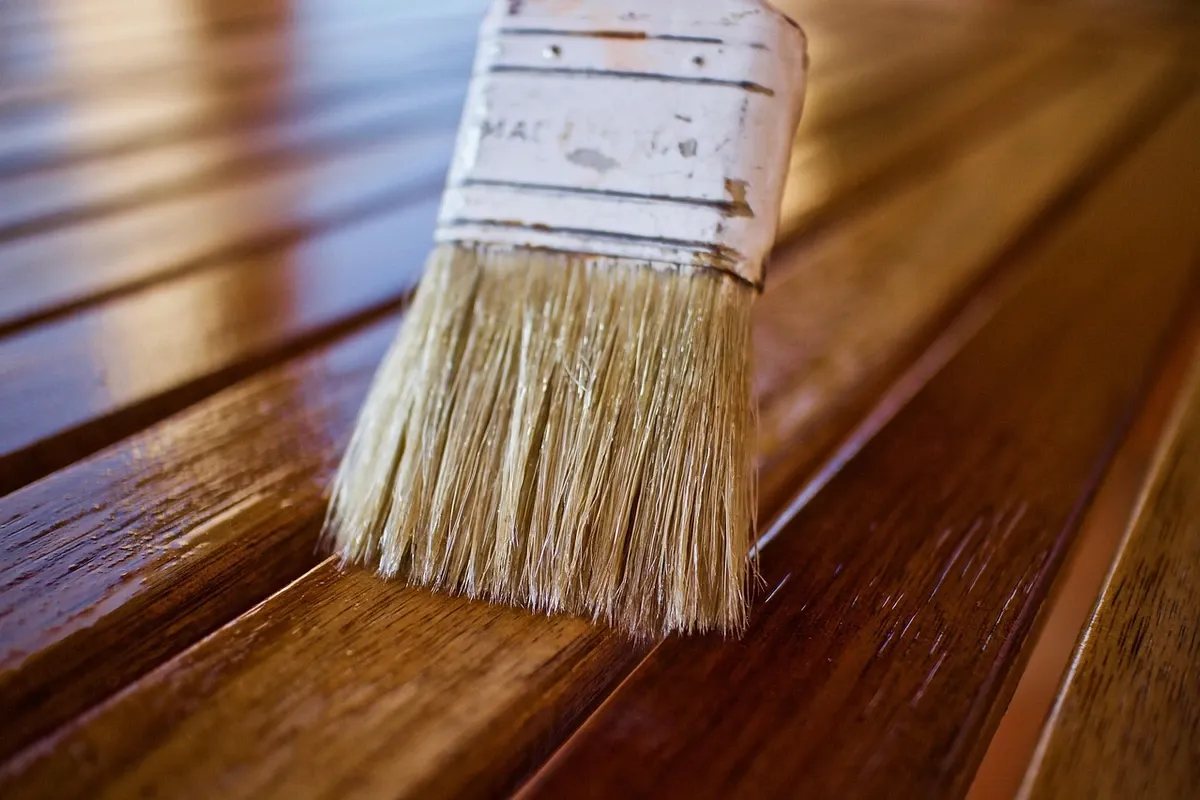
Short answer: in the wipe on poly vs spray finish choice, a beginner working in an apartment is usually better served by wiping. Wipe-on polyurethane goes on with a lint-free cloth, needs no compressor, spray gun or booth, and leaves thin coats that are hard to run or sag. Spraying builds a finish faster and reaches into corners more evenly, but it puts finish into the air as mist, and that mist lands on everything nearby. The cost of wiping is time: thin coats mean more of them.
That is the honest trade. You are not getting a "professional sprayed finish" from a rag, and nobody should pretend you are. What you get is a finish you can control in a small room, with fewer ways to go wrong and less cleanup when something does.
What "wipe-on poly" actually is
Wipe-on poly is polyurethane thinned enough to spread with a cloth instead of a brush. The thinner consistency is the whole point: it levels out on its own, so brush marks and thick drips are much less of a problem.
Minwax, which sells one of the best-known versions, describes its oil-based Wipe-On Poly (product page read on September 28, 2026) as a finish that "provides protection with a classic, hand-rubbed look." Its directions are simple: "Apply a liberal amount of Wipe-On Poly to a clean, soft, lint-free cloth and rub it into the wood." You let it dry 2 to 3 hours, sand lightly with 220-grit paper, remove the dust, and apply the next coat. After the final coat, the label says to "allow 24 hours before light use."
There is also a water-based version. Minwax's Water Based Wipe-On Poly page (read on September 28, 2026) says it has "little odor and cleans up easily with warm water," and recommends a third coat. It lists coverage of 125 square feet per quart, which is far more than a shelf or a box will ever need.
The brand is only an example here. Other makers sell wiping varnishes and wipe-on polyurethanes, and their directions differ. The label on your can wins.
What "spray finish" means for a beginner
"Spray finish" covers two very different things:
- Aerosol cans. Clear finish in a pressurized spray can. No equipment to buy, but you are still creating a cloud of finish mist.
- Spray guns. HVLP (high volume, low pressure) guns, powered by a compressor or a turbine unit. This is the setup behind most factory and pro finishes, and it assumes a place to spray: a booth, a garage with the door open, or outdoor space.
For someone reading a site about woodworking without a shop, the spray gun route is mostly off the table. It needs equipment, storage space and somewhere the overspray can go. So in practice, "wipe on poly vs spray finish" for a beginner is really "rag versus aerosol can."
Wipe on poly vs spray finish, side by side
This table compares the two methods for a small project in a small space. It describes typical behavior, not a guarantee for any specific product.
| Factor | Wipe-on poly | Aerosol spray finish |
|---|---|---|
| Equipment | Lint-free cloth, gloves, fine sandpaper | The can, plus masking and a protected area |
| Coat thickness | Very thin per coat | Thin to moderate, depends on technique |
| Coats to build protection | More coats | Fewer coats |
| Runs and sags | Rare, because coats are thin | Common beginner mistake if you spray too heavily |
| Overspray | None | Mist drifts onto nearby surfaces |
| Corners, spindles, slats | Slower, fiddly with a rag | Reaches in easily |
| Where you can do it | Indoors with ventilation, per the label | Best outdoors or in a well-ventilated space away from anything you care about |
| Main mistake | Leaving wipe marks or lint | Drips, orange-peel texture, dry spray |
Two things stand out. First, most of the spray column's advantages are about speed and shape. Second, most of its costs are about space. If you have little space, the space costs hit harder than the speed benefits help.
Why wiping is the better default in a small space
Overspray is a deposit problem
Spray finish does not all land on the workpiece. Some drifts. On a balcony or in a spare room, that drift can settle on a floor, a wall, a window frame, a neighbor's railing or your own furniture. A drop cloth helps with the floor. It does nothing for the wall behind the piece or the air moving through the room.
Wiping has no overspray. Drips go where the rag goes, and a drop cloth under the work covers almost all of the risk. If your worry is the security deposit, this alone usually settles it. Our guide on containing mess in a small apartment covers the same logic for dust, and it applies to finish too.
Thin coats forgive beginner technique
Most first-time finishing problems come from putting too much on. Thick coats run, sag, trap dust and take longer to dry. A rag makes it hard to lay down a thick coat, which is exactly why wiping forgives mistakes. You can still get lint or streaks, but a light sanding before the next coat usually fixes them.
Spraying well is a skill. Distance, speed, overlap and how heavily you press the nozzle all change the result, and a beginner often learns by making runs on the first project.
You can stop at any time
With a rag, you can finish one face, stop, and come back. With an aerosol, you want to coat the whole piece in one pass while the edges are still wet, which pushes you toward working quickly. For a nervous first finish, being able to slow down matters.
What wiping costs you (the honest part)
Wiping is not free. Here is what you give up:
- Build and time. Thin coats build slowly. A tabletop that sees spills needs more coats than a picture frame, and each coat means drying, sanding and wiping again. Plan on the project taking days, not an afternoon.
- Complex shapes. Chair spindles, slatted shelves and the inside of a box are slower to wipe cleanly. A rag catches on corners and leaves pooling at inside edges.
- Look. Wiped poly generally looks thinner and closer to the wood than a heavy sprayed build. Some people prefer that. If you wanted a deep, glassy coat, wiping will take many more coats to get close, and it may not get there.
None of this means wiping is second-rate. It means wiping suits small, flat, simple pieces best, which is also what most apartment projects are.
How to wipe on poly in a small room
Follow the directions on your specific can. In general terms, the process on the Minwax labels above runs like this:
- Prep the surface. Sand smooth and remove all dust. The label also requires the surface to be free of wax, grease, polish and old finishes in poor condition.
- Set up ventilation first. Both Minwax pages say to use the product "only with adequate ventilation" and to open windows and doors to ensure fresh air entry during application and drying. Do this before you open the can, not halfway through.
- Wear gloves. The water-based page says to avoid eye and skin contact.
- Wipe on a coat. Load a lint-free cloth and rub the finish into the wood, working with the grain.
- Let it dry, then sand lightly with 220-grit sandpaper and remove the dust. Hand sanding with a block is enough here; you are scuffing, not reshaping. If you do use a sander, our note on a random orbital sander for small spaces covers dust and noise.
- Repeat for the number of coats the label recommends, and allow the final coat the full time on the label before using the piece.
A simple first project, such as a set of beginner wood coasters, is a good place to practice. Coasters are small, flat and quick to wipe, and you will learn how many coats it takes to stop a wet glass from marking the wood.
Safety: the parts that are not optional
These steps apply whether you wipe or spray.
Oily rags can catch fire. This is the one to take seriously. The oil-based Wipe-On Poly label warns that rags, steel wool, other waste soaked with the product, and sanding residue can catch fire on their own if discarded incorrectly. Its instruction is to "immediately place rags, steel wool, other waste soaked with this product, and sanding residue in a sealed, water-filled, metal container." Do not leave a used rag balled up on a bench or in a kitchen trash can.
Keep solvent-based finish away from ignition sources. The oil-based label says its contents are "COMBUSTIBLE. Keep away from heat and open flame." In an apartment, that means distance from a gas stove, a water heater or a space heater.
Water-based does not mean harmless. The water-based Wipe-On Poly page still requires ventilation and carries a California Proposition 65 warning about cancer and birth defects. If you are pregnant, or someone at home has asthma or another breathing condition, talk to a doctor before finishing indoors and bring the product's safety data sheet.
Aerosols are pressurized. Read the can's warning panel before use, keep it away from heat, and do not puncture it. Many solvent-based aerosol finishes are labeled flammable, and the mist is what you breathe. If you do spray, do it outdoors where your lease allows. Our guide to what is allowed and safe on a balcony covers the lease and neighbor side of that.
When spraying is worth it
Spraying earns its place when:
- The piece has lots of spindles, slats or tight inside corners.
- You have genuine outdoor space where overspray will not land on anything that matters.
- You are finishing several pieces at once and time matters more than setup.
A reasonable middle path is to wipe the flat surfaces and use an aerosol, outdoors, only for parts a rag cannot reach. Check that the two products are compatible first; the labels or the makers' support lines will tell you.
FAQ
Is wipe-on poly as durable as spray finish?
Durability depends mostly on the product and how many coats you build, not on whether it went on with a rag or a nozzle. Wipe-on coats are thinner, so you need more of them to reach the same protection. Minwax describes its oil-based Wipe-On Poly as protecting wood against water, household chemicals, food stains and wear.
Can I spray finish indoors in an apartment?
Spraying indoors creates overspray and a cloud of finish mist in the room. Most beginners are better off wiping indoors and saving aerosols for outdoor space, and only where the product label and your lease allow it.
How many coats of wipe-on poly do I need?
Follow the label. Minwax's oil-based Wipe-On Poly lists two recommended coats, with a third optional, and its water-based version recommends a third coat. Surfaces that see spills and wear benefit from more.
Why does my wipe-on poly look streaky?
Streaks usually come from uneven wiping, too little finish on the cloth, or dust. Let the coat dry, sand lightly with fine sandpaper, remove the dust, and wipe the next coat with the grain.
What do I do with the rag after using oil-based wipe-on poly?
Do not throw it in the trash wadded up. The Minwax label says to put soaked rags and sanding residue immediately into a sealed, water-filled, metal container. Then check your local rules for disposal.