Lap Joint vs Butt Joint: Which Is Stronger?
Lap joint vs butt joint for small furniture: why the lap holds better, what it costs you to cut by hand, and when a reinforced butt joint is enough.

In the lap joint vs butt joint comparison, the lap joint is the stronger of the two. A butt joint puts the end of one board against another and relies on glue or fasteners in end grain, which holds poorly. A lap joint overlaps the two parts, usually with half the thickness cut from each, so they share a wide, flat glue surface and interlock against sideways movement. For small furniture that gets pushed, leaned on or racked, such as a stool, a side table frame or a bench, the lap joint is the better choice. For a box or shelf where something else carries the load, a reinforced butt joint is often enough.
The trade-off is time. A butt joint takes one square cut. A lap joint takes careful layout, sawing and chisel work on both parts.
What each joint is
A butt joint is two pieces meeting with nothing cut into either one. The square end of one board sits against the face or edge of the other. Everything holding it together is added: glue, nails, screws, dowels or pocket screws.
A lap joint is two pieces that overlap. In the most common version, the half lap, you remove half the thickness from each piece where they meet, so the finished joint is flush on both faces. Variations you will see in beginner plans:
- Corner half lap: two pieces meet at an L, as at the corner of a frame.
- Tee half lap: one piece ends partway along another, as where a middle rail meets a leg.
- Cross half lap: two pieces cross in an X or a plus shape, as with stretchers under a small table.
- Full lap: one piece sits in a notch cut in the other without being cut itself.
Family Handyman's guide to the half lap joint points out that its "broad flat surface" suits glue, but also that "a basic half lap joint must be reinforced with some kind of adhesive or fastener." In other words, a lap is not self-locking the way a dovetail is. Its strength comes from the overlap and the glue together.
Why a butt joint is weak on its own
The weak point is end grain. Imagine the end of a board as the cut ends of a bundle of drinking straws. Glue wicks into the open ends instead of forming a solid layer, so there is little long-grain surface for the bond to grab. Screws have a similar problem: their threads grip end grain less well than face or edge grain.
A glued butt joint may look solid when you first assemble it, and it can survive if nothing ever pries it apart. The trouble comes with racking, the side-to-side rocking a stool or a table frame gets every day. That force levers the joint open, and a butt joint with no reinforcement has nothing to resist it.
That is why butt joints in furniture almost always come with help: pocket screws, dowels, corner blocks, or a back panel that keeps the whole case square.
Why a lap joint holds better
A lap joint fixes both problems at once:
- More glue area, less end grain. The two parts meet face to face across the full overlap, not end to face. That gives the glue a large surface to hold, most of it side grain.
- A shoulder that resists movement. The cut shoulders on each piece bear against each other, so the joint cannot slide or twist as easily. Even before the glue sets, a well-fitted half lap holds its shape.
- Fasteners work better. A screw or dowel through a lap passes through the face of both pieces, not into end grain.
Lap joint vs butt joint by the load small furniture faces
"Stronger" depends on the force. This table compares the two joints by what beginner furniture actually does.
| Load on the joint | Butt joint, glue only | Butt joint with screws or dowels | Half lap, glued |
|---|---|---|---|
| Weight pressing down on a supported part | Weak unless something else carries it | Fair | Good |
| Racking (side-to-side rocking) | Poor | Fair | Good |
| Twisting a frame out of square | Poor | Fair | Good, the shoulders resist it |
| Pulling the parts straight apart | Poor | Fair | Good with glue, better with a screw or dowel added |
| Speed to make by hand | One square cut | One square cut plus drilling | Layout, saw cuts and chisel work on both parts |
These ratings are relative comparisons, not measured load figures. Strength also depends on the species, the fit, the glue and how the whole piece is braced.
What a lap joint costs you (the part most comparisons skip)
Most articles stop at "lap is stronger." In a small-space shop with hand tools, there are three real costs worth knowing before you choose.
1. You remove half the wood at the joint. On a half lap, each part is half its thickness where the joint sits. On thick frame stock that barely matters, but on thin stock the joint area is thinner and more likely to crack if the lap is cut too deep or the part is short grain at that point. Keep laps out of thin, narrow parts that carry load.
2. Fit decides the strength. A lap joint's advantage depends on the faces meeting fully and the shoulders sitting tight. A loose lap with gaps filled by glue gives up much of that advantage. By hand, that means careful knife lines and slow paring to the line.
3. Cross-grain gluing on wide parts. When two pieces cross at right angles, their grain runs in different directions. Wood moves across its width with seasonal humidity and hardly at all along its length. On narrow frame parts that movement is small and a glued lap is fine. On wide boards glued across each other, the movement can stress the joint over time. For wide parts, a lap with a screw and no glue, or a different joint, is the safer choice.
How to cut a half lap by hand
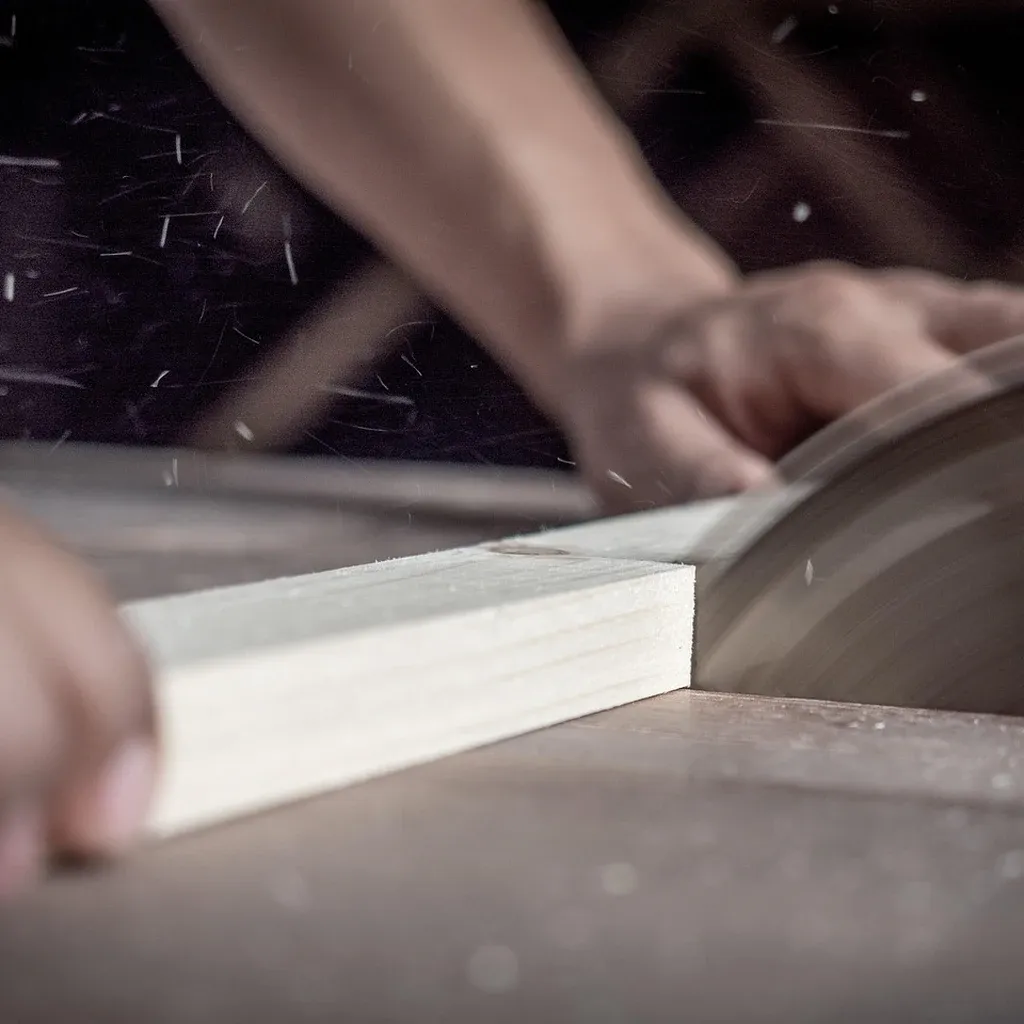
You can cut a half lap with a saw, a chisel and a square. Our guides to choosing a Japanese pull saw for beginners and wood chisels for new woodworkers cover the two tools that do most of the work.
- Lay out with a knife. Place one part across the other and knife the shoulder lines from the actual width of the mating piece, not from a tape measure. Gauge the depth at half the thickness on both edges.
- Clamp the part down. Hold it to a table or workbench so both hands are free for the saw and chisel.
- Saw the shoulders to depth. Saw on the waste side of the knife line, stopping exactly at the depth line on both edges.
- Add relief cuts. Make several saw cuts in the waste between the shoulders, to the same depth. On a corner lap, you can instead saw the cheek from the end grain.
- Chop and pare out the waste. Work in from both edges toward the middle, finishing with light paring cuts to the gauge line.
- Test the fit and adjust. Pare the high spots until the parts close fully with hand pressure. A fit that needs a hammer is too tight and can split the part.
- Glue and clamp, adding a screw or dowel through the overlap if the piece will be racked hard.
Family Handyman also describes cutting laps with a circular saw, making multiple passes at a set depth and clearing the waste with a chisel. If you use that method, the saw's guard and kickback rules apply in full. OSHA's woodworking guidance on handheld circular saws (read September 27, 2026) says to "keep hands out of the line of the cut" and to "properly support all pieces of stock," and describes kickback as the blade catching the stock and throwing it back toward the operator. Clamp short parts firmly rather than holding them, wear eye and hearing protection, and follow the warnings in your saw's manual, which take priority over any general guide.
Chisel safety for lap joints
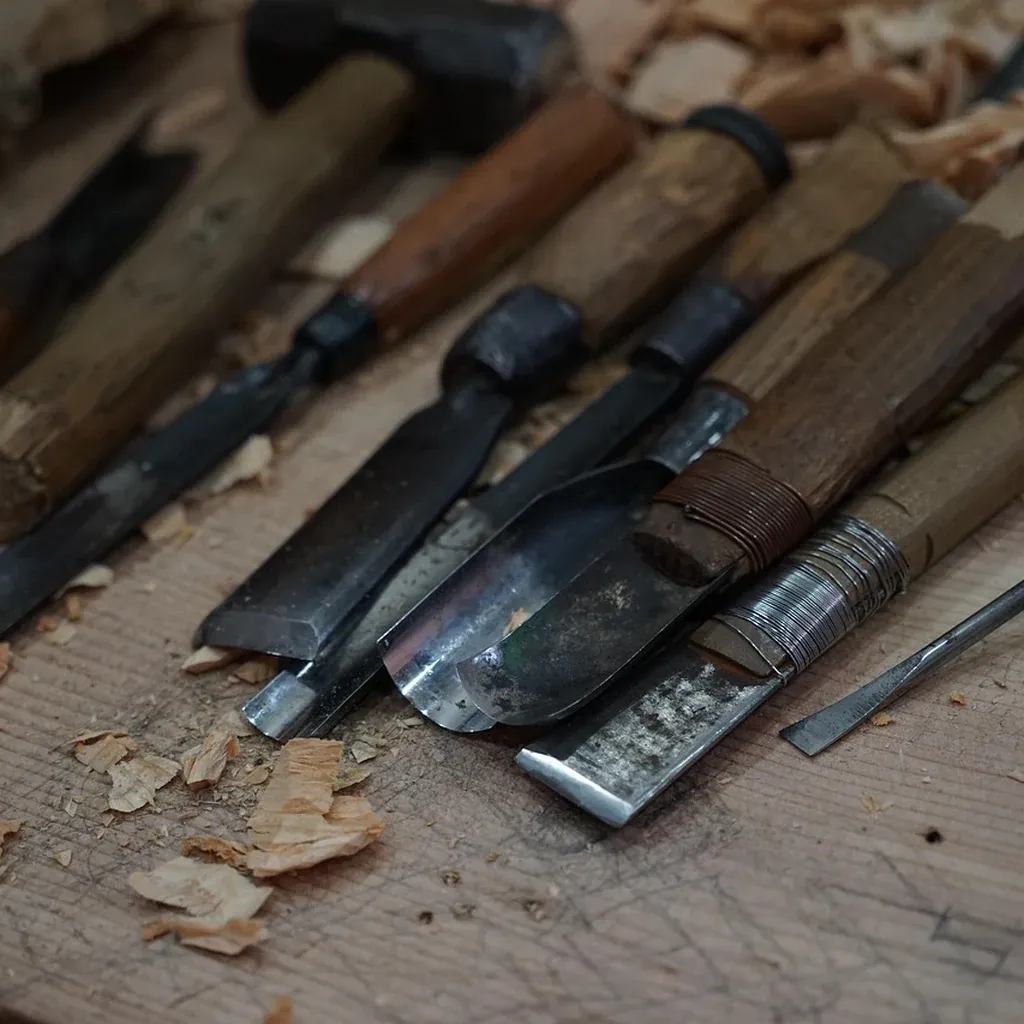
Most of a hand-cut lap is chisel work, and a sharp chisel slipping toward a hand is the main injury risk. The Canadian Centre for Occupational Health and Safety's safety tips for wood chisels (read September 27, 2026) advise: "Keep your hands and body behind the cutting edge," "Chip or cut with the blade pointing away from yourself," and "Clamp the stock so it cannot move." It also recommends making "finishing or paring cuts with hand pressure alone" and wearing eye protection where particles could fly. Never hold the part in one hand while chiseling with the other.
Which should you use for small furniture?
Use a reinforced butt joint when something else keeps the piece square: a box with a glued-in bottom, a bookcase with a back panel, a shelf on cleats. Screws, dowels or pocket screws do the holding, and the joint takes one straight cut. Speed and simplicity win here.
Use a lap joint when the joint itself has to resist racking: stool and bench frames, table stretchers, face frames that carry doors, and picture frames that get handled. A small step stool is a good example of a piece where the frame joints take real sideways load; see our DIY step stool guide for beginners for how such a build comes together.
Step up to a mortise and tenon or a dovetail for chairs and heavily used pieces that take repeated racking over years. Those are stronger again, and a half lap is a good way to build the layout and chisel skills they need.
FAQ
Is a lap joint stronger than a butt joint? Yes. A lap joint overlaps the parts for a large face-to-face glue surface and shoulders that resist racking. A butt joint relies on end grain, which holds glue and screws poorly.
Do lap joints need glue or screws? Yes. A basic half lap is not self-locking, so it needs glue, a fastener, or both. For pieces that will be racked hard, glue plus a screw or dowel through the overlap is common.
Can I cut a lap joint without power tools? Yes. Knife the layout, saw the shoulders to depth, remove the waste with a chisel, and pare to a snug fit. It takes longer than a butt joint but needs no machine.
When is a butt joint good enough? When the piece is braced by something else, such as a box bottom, a back panel or cleats, and the joint is reinforced with screws, dowels or pocket screws.
Is a half lap as strong as a mortise and tenon? No. A mortise and tenon is generally stronger for chairs and other furniture under repeated racking. A half lap sits between a butt joint and those joints in strength and difficulty.