DIY Step Stool Beginner Woodworking Guide
A diy step stool beginner woodworking build should never rely on glue alone. Joinery, reinforcement, and the load test to run before you stand on it.

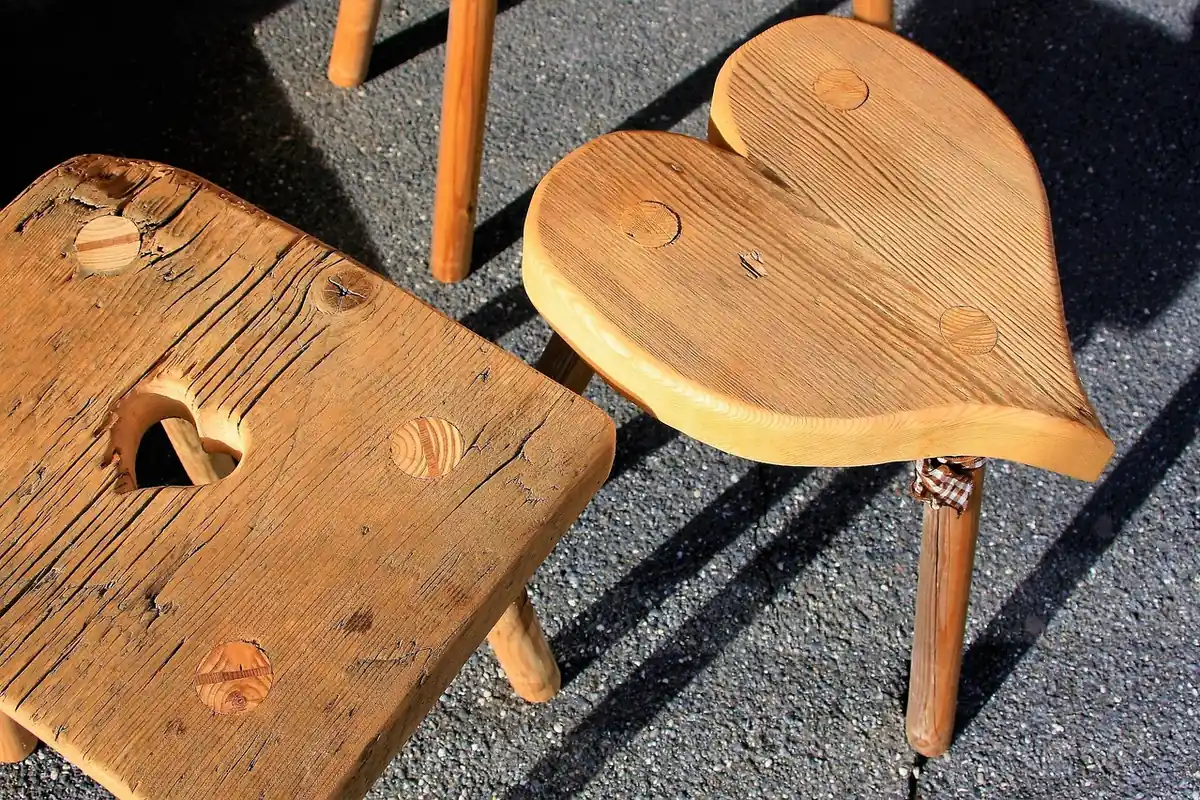
A step stool a person will stand on should never rely on a plain butt joint held by glue alone. The legs and frame need glue reinforced with screws or corner braces, so the joints resist the sideways racking force of stepping on and off rather than working loose over time. Every stool should also be tested by pressing down hard by hand on each corner and rocking it firmly on a stable floor, before it is ever stood on.
This is not a casual first build, and it is worth saying that plainly before anything else. A plant stand or a decorative box that fails just makes a mess. A step stool that fails drops a person, possibly from a height, onto a hard floor. Everything below is written with that fact as the starting point, not a footnote at the end.
Why this is not a casual first build
A box or a shelf carries decorative weight, spread out and mostly static. A step stool carries a person's full body weight, applied suddenly and off-center as a foot lands on it, and it has to do that reliably, more than once, without the joints slowly working loose the way a lightly used decorative piece can get away with. That is a genuinely different engineering problem, even though the tools and cuts involved look similar to an easier build.
If you have already built a simple box, you know the basic moves: cutting square, gluing, joining faces. This project asks more of every one of those steps, because the margin for a weak joint here is a person's safety, not just a wobble nobody notices. Read the whole guide before cutting anything, and do not skip the testing section near the end. It is not optional.
Tools and materials you need
- A hand saw suited to crosscuts, plus a miter box or a clamped cutting guide to keep every cut straight and square
- Wood glue
- Screws, in addition to glue at every structural joint (glue alone is addressed directly in the next section)
- A drill or hand screwdriver, and a small bit to pre-drill screw holes so the wood does not split
- A combination square or speed square, used constantly through cutting and assembly, not just once at the start
- Clamps, enough to hold the frame square while the glue sets and the screws go in
A cordless drill/driver speeds up driving the screws if you have one, and a circular saw with a straightedge guide will cut the panels faster than a hand saw. Neither is required; every step below has a hand-tool path.
Joinery: why a plain butt joint alone is not enough
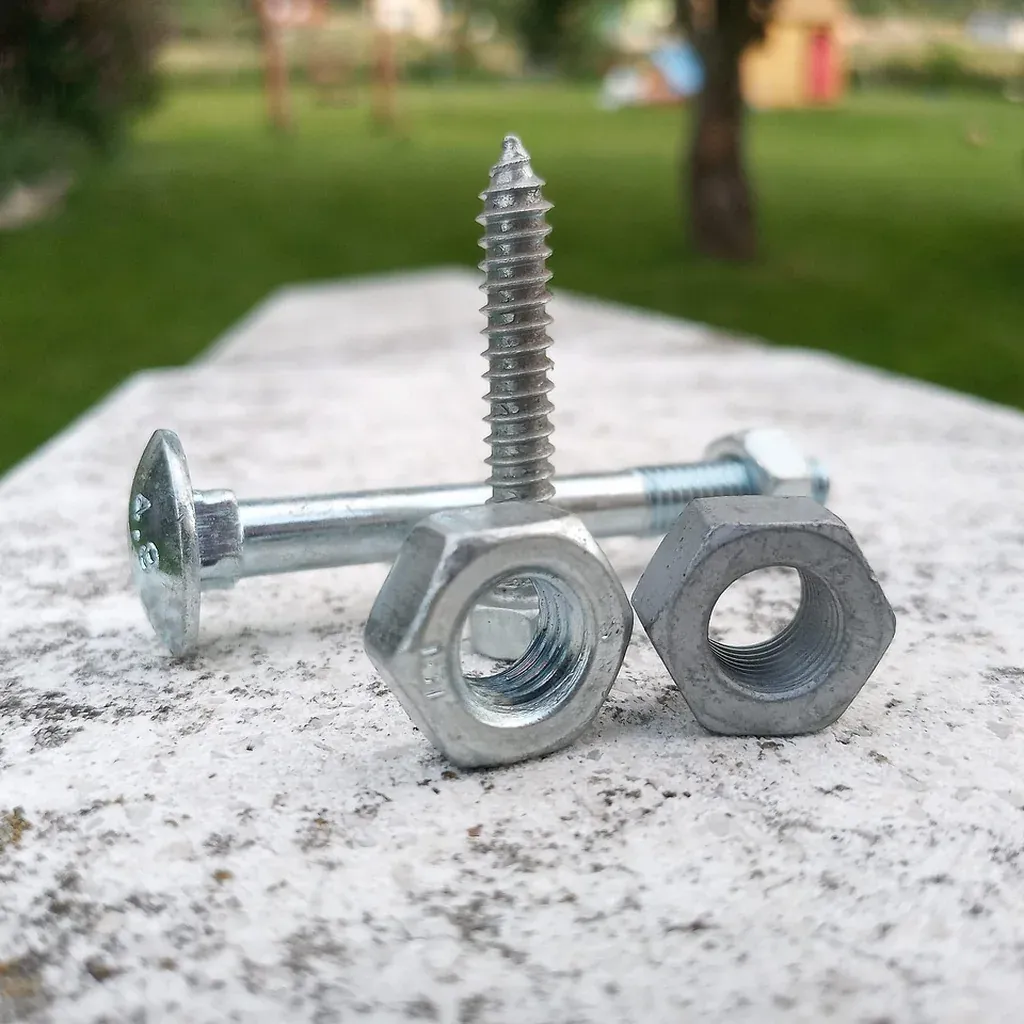
A butt joint is simply two flat faces glued together, edge to face or face to face, with nothing interlocking to resist the joint being pulled or twisted apart. Glue bonds those two flat faces well against a straight pulling-apart force, but general joinery guidance is consistent that a plain glued butt joint performs poorly against lateral, or racking, force: the kind of side-to-side twist a joint experiences every time a person steps onto a stool and shifts their weight.
That racking force is exactly what a step stool's leg-to-frame joints see, over and over, every time it is used. A joint that would hold fine under a steady, straight-down load can still work loose under repeated racking, because the glue bond is being flexed rather than simply pulled, and a flexed glue joint fails gradually: a little give today, a little more next week, often with no visible warning until it lets go.
What actually strengthens the joint is reinforcement that resists that twisting motion mechanically, not just adhesively. Two approaches, used together, do this:
Screws through the joint, in addition to glue. A screw clamps the two faces together and resists the joint being pried open by racking force in a way glue alone cannot, because it is a mechanical fastener working alongside the adhesive bond, not relying on the bond by itself.
Corner blocks or braces. A small triangular block of wood, glued and screwed into the inside corner where a leg meets the frame, spreads the racking load across a much larger glued and fastened surface than the leg-to-frame joint alone provides. This is standard, widely documented furniture-building practice for exactly this kind of load, not a step-stool-specific trick.
No specific weight figure is given anywhere in this guide, and none should be trusted from any source that has not actually load-tested the piece in front of you. What matters is the mechanism: reinforced joints resist the racking force a standing person applies, and unreinforced ones can fail under that same force, gradually or suddenly. Build every joint as if it needs to survive being twisted, not just pulled.
Cutting the legs and top
[SAFETY] Leg and frame pieces for a step stool are cut from stock that is thick enough to be strong but still short enough, once trimmed to final length, to be awkward to hold securely by hand. A short blank braced only against a knee or a palm gives a saw very little to register against, and a slip sends the blade toward the hand holding the piece.
Cut every piece using a miter box or a clamped straightedge guide, never freehand. Clamp the workpiece, or the guide itself, to a stable surface so nothing can shift mid-cut, and keep your fingers well clear of the saw's path at all times. If a piece is too short to grip securely once it reaches its final length, cut it from a longer piece of stock first and trim the last small amount while there is still enough length to hold safely.
If your setup cannot hold a piece steady enough to cut it with confidence, stop and either have that cut made at the lumber counter when you buy the stock, or find a more stable surface and proper clamps before continuing. This is not a project to rush through with an improvised setup, given what the finished piece is going to be asked to hold.
Assembling for strength
Dry-fit the entire frame before any glue goes on: every leg against the top, and against any stretchers or braces in your design. Check the frame is square with a combination square at each corner before committing to glue, since a step stool assembled slightly out of square racks more easily under load than one built true.
Glue and screw each joint in the order that lets you keep checking square as you go, rather than gluing all four corners at once and discovering the frame is twisted only after the glue has set. Add corner blocks or braces at every leg-to-frame joint, glued and screwed in place, following the reasoning in the joinery section above. This is the step that separates a step stool from a lightweight decorative box built the same way; do not skip it to save time.
Let the assembled frame cure fully before moving on to the mandatory test below. General woodworking guidance on wood glue typically distinguishes between the time it takes to set, often within an hour, enough to handle carefully, and the time it takes to fully cure, commonly closer to 24 hours. A stool should not be tested, let alone stood on, until it has had the full cure time, not just the set time.
Testing before you trust it

[SAFETY] This step is mandatory, not optional, and it happens before the stool is ever stood on, no exceptions.
- Press down hard by hand on every corner of the top, one at a time, with your full arm weight if you can manage it while the stool sits on a stable, level floor. Feel for any give, flex, or movement at each joint as you press.
- Rock the stool firmly on that stable, level floor, pushing it side to side and front to back. It should feel planted, not shift or teeter, and you should not feel or hear any creak, click, or looseness at the joints while doing this.
- Check every joint visually and by feel for any gap that opens and closes as you press or rock, since a joint that flexes visibly under hand pressure will flex the same way, or worse, under a standing person's full weight and movement.
- Do not stand on the stool until it passes all three checks cleanly. If anything flexed, creaked, or moved during testing, go back and reinforce or rebuild that joint, then repeat the full test again from the start before trying it a second time.
Only once the stool passes this sequence, on the actual floor it will be used on, is it reasonable to trust it with your weight.
Ongoing safety: re-checking joints over time and when to stop using a stool
A step stool that passed its initial test does not stay safe forever without attention. Wood moves with humidity, joints see repeated stress every time the stool is used, and screws can work loose in wood over months of use, especially in softer species.
Repeat a version of the test above periodically, and every time before you rely on the stool for something at height: press down hard on each corner and give it a firm rock on a stable floor. Treat any of the following as a clear stop-using signal until the stool is repaired and retested:
- Visible gaps at any joint that were not there when the stool was built
- New wobble or rock that was not present when the stool passed its original test
- Any flex or give felt at a joint under hand pressure, even if it feels minor
- A creak or click at a joint during use or during the hand-pressure test, since sound is often the first sign of a joint working loose before visible movement shows up
- Cracked, split, or visibly damaged wood anywhere in the structure
None of these mean the stool is a lost cause; most are fixable by reinforcing or rebuilding the affected joint using the same glue-plus-screws-plus-corner-block approach covered above. What matters is stopping use immediately once any of these appears, rather than continuing to stand on a stool that is telling you something is wrong.
FAQ
Is a butt joint ever strong enough for a step stool on its own? No, not reliably. A plain glued butt joint resists straight pulling force reasonably well but performs poorly against the sideways racking force a step stool's joints see every time someone steps on and off. Reinforcing every structural joint with screws and corner blocks, not glue alone, is what this guide recommends throughout.
How much weight will this step stool hold? This guide does not state a weight figure, and no figure appears anywhere in it, including here. No load testing was performed on any specific build, and any number would be a guess presented as fact. What is covered instead is the mechanism: reinforced joints resist the racking force of normal use, and unreinforced ones can fail under that same force. Test every stool by hand, as described above, before trusting it with your weight.
Do I have to use screws if I already have strong wood glue? Yes, for a load-bearing piece like this one. Glue and screws address different kinds of force: glue bonds the flat faces together, while screws resist the twisting, racking motion that glue alone tends to fail under gradually. Use both at every structural joint.
How often should I re-check a step stool I already built? Give it the hand-pressure and rocking test periodically, and always before relying on it for something at height, since joints can loosen gradually with humidity changes and repeated use. Any new wobble, visible gap, creak, or flex means stop using it until the joint is repaired and retested.
Can I build this with only hand tools, no power drill or saw? Yes. A hand saw with a miter box or clamped guide handles every cut, and a hand screwdriver will drive the screws, though a drill/driver makes that step faster if you have one. Nothing in this build requires a power tool as the only method.
If you have not built a beginner project yet, a few good starting projects are ranked here, and this guide to cutting and clamping without a workbench covers holding stock steady safely without a dedicated bench. For the fasteners and hand tools worth owning for a build like this one, see the minimal tool kit guide, and if you are starting from zero without a garage or shop at all, this guide is the place to begin.