Sanding Wood by Hand Without a Sander: A Quiet Method
Sanding wood by hand without a sander: the block, grit order and checks that give a smooth, even surface, quietly and with no outlet in a small space.

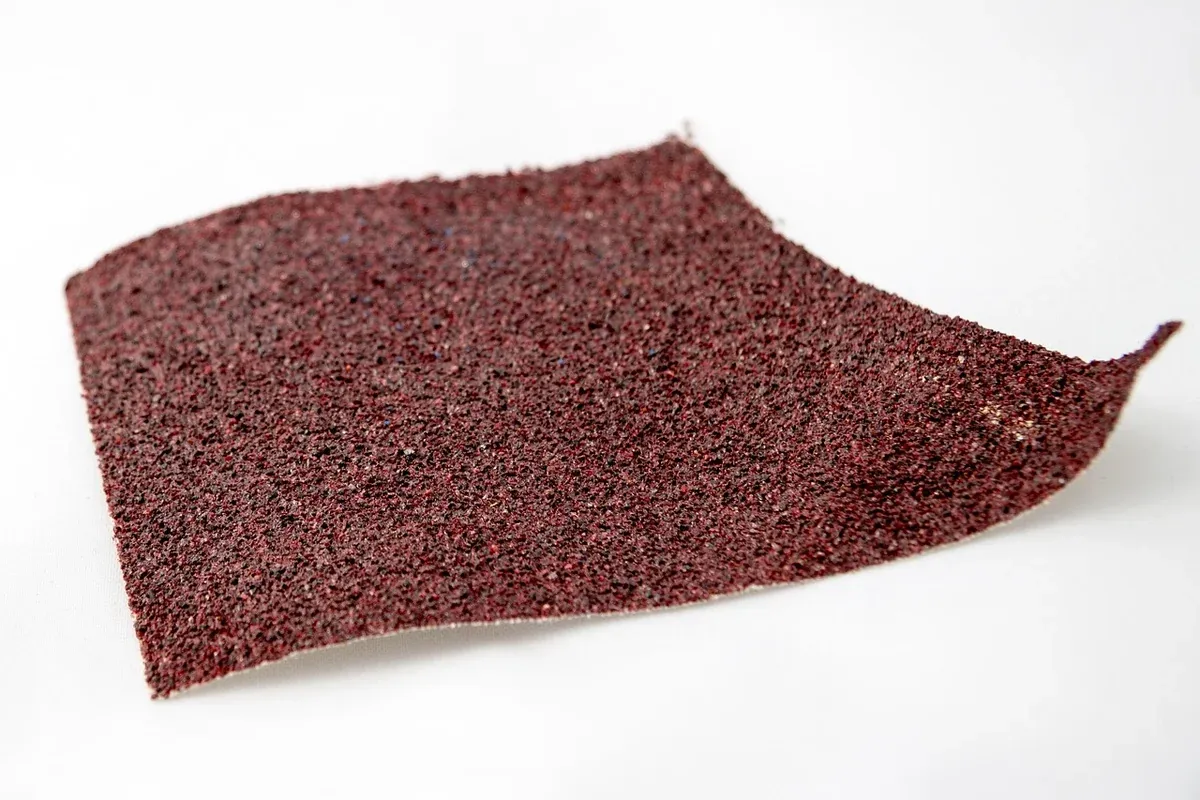
Sanding wood by hand without a sander works well for small projects: wrap the paper around a flat block, start with a coarse grit only if the surface needs it, work up through the grits in order, and always finish with strokes that follow the grain. Clear the dust between grits and check each stage before moving on. You give up speed. A large tabletop takes real effort by hand. In return you get a quiet, low-cost method that needs no outlet, and it's hard to leave the swirl marks a badly used power sander can.
Below: the tools, the grit order, the stroke technique, how to tell when a grit is done, and where hand sanding stops being the right choice.
What you need (almost nothing)
- Sandpaper in three or four grits. Sheets in a coarse, a medium and a fine grit cover most projects. Aluminum oxide paper is the common general-purpose choice for bare wood. For resinous softwoods like pine, paper labeled "open coat" or "anti-clog" loads up with sticky dust more slowly.
- A sanding block. A store-bought rubber or cork block, or a scrap of wood about the size of your palm with one flat face. Gluing a thin layer of cork or felt to the face gives the paper a slightly forgiving backing without losing flatness.
- A utility knife and a straightedge for cutting sheets to size.
- A soft brush, a vacuum, or a lightly damp cloth for dust between grits.
- A pencil. It's the most useful checking tool you have, as you'll see below.
You don't need a workbench. A folding table with a non-slip mat, or a board clamped to a table edge over a protective sheet, is enough for most small parts.
Why a block matters more than the paper
Sanding with paper folded under your bare fingers feels natural and gives you uneven results. Family Handyman's hand-sanding guide (read September 25, 2026) explains that a block "distributes sanding pressure more evenly and maintains a flatter surface." Without a block, your fingertips press harder than the gaps between them, so you sand shallow grooves into the surface. You won't see them until finish goes on and the light hits the surface at an angle.
Use the block on every flat surface. Save bare-hand sanding for curves, rounded edges and moldings, where a flat block would flatten the shape you want to keep. For a gentle curve, wrap the paper around something with a matching curve, such as a dowel or a piece of foam, rather than just your fingers.
Sanding wood by hand without a sander: the grit order
Each grit's job is to remove the scratches left by the grit before it. Start too fine and you'll spend an hour doing what a coarser grit would do in minutes. Skip too far ahead and the finer paper can't reach the bottom of the deep scratches, which then show up as fine lines under finish, especially under stain.
Family Handyman gives two typical sequences: 80, 120, then 220, or 100, 150, then 220, depending on how rough the wood is to start with. The same guide notes that 220 grit "is the finest grit you'll need" for most woods, with very dense species sometimes needing one more step at 320 or 400.
How to choose where to start:
- Rough-sawn wood, deep marks, old finish, or a surface you're flattening: start coarse (around 80).
- Store-bought boards that are already smooth but have mill marks or pencil lines: start in the middle (around 100 to 120).
- Plywood and veneered panels: start fine and go easy. The face veneer is thin, and coarse paper can cut through it quickly, which you can't repair invisibly. Sand these lightly with a fine grit and keep the block flat so you don't round over the edges.
Keep a separate block for each grit if you can. It stops coarse grit particles ending up on your fine paper and scratching a surface you've just smoothed.
Stroke technique
Go with the grain for every grit that matters. Scratches across the grain cut across the fibers and show up badly under finish. Family Handyman allows angling across the grain, up to about 45 degrees, with the coarsest grit to remove defects faster, but says you must sand with the grain before moving to the next grit to remove every cross-grain scratch.
Use long, even strokes. Run the block the full length of the board where you can, overlapping each pass a little. Short, scrubbing strokes in one spot dig a shallow dip you'll see later.
Let the paper cut. Moderate, even pressure works better than leaning hard. If the paper stops cutting, it's either clogged or worn. Tap it out or brush it clean, and replace it when it has stopped cutting. Cheap paper used past its life is where most of your time goes.
Don't let the block tip over the edges. Keep the block fully on the surface as you reach an edge. If it rocks over, you round the edge you meant to keep crisp.
The pencil check: how to know a grit is finished
This is the most useful habit in hand sanding, and it's where most of the time is saved or wasted.
- Before you start each grit, draw light pencil squiggles across the whole surface.
- Sand with the block until every pencil mark is gone.
- When the last mark disappears, the whole surface has been worked evenly at that grit. You haven't over-sanded one area and missed another.
Then wipe off the dust, look at the surface with a light held low to the side, and check for any scratches from the previous grit. Only move on when they're gone. A low, raking light shows scratches that overhead light hides.
Before a water-based finish: raise the grain

Water makes loose wood fibers swell and stand up, so a surface that felt smooth can feel rough after the first coat of a water-based finish. Many woodworkers deal with this by wiping the wood with a lightly damp cloth after the final grit, letting it dry, and then sanding very lightly with the final grit to knock the raised fibers back down. It's one extra step, and it saves sanding between coats later.
Faster ways to smooth wood without power
Sandpaper is not always the best hand tool for the job. Two alternatives can save you a lot of effort:
- A hand plane can take a rough board flat and smooth in a fraction of the time coarse sandpaper would, and a well-set plane leaves a surface that often needs only the finer grits afterward. Our hand plane buying guide for new woodworkers covers what to look for in a first one.
- A card scraper, a thin steel rectangle with a burred edge, removes fine shavings and handles tear-out and tricky grain well. It's quiet and makes shavings instead of fine dust.
Using either one means you start sanding at a finer grit, which is where hand sanding is quickest.
Dust: quieter isn't the same as harmless
Hand sanding is much quieter than power sanding, which matters with neighbors and roommates, but it still makes fine dust. OSHA's wood dust overview (read September 25, 2026) says that breathing wood dust particles "may cause allergic respiratory symptoms, mucosal and non-allergic respiratory symptoms, and cancer."
In a small space, that means:
- Wear a well-fitting particulate respirator rather than a loose paper dust mask.
- Sand near an open window, or outside on a balcony if your building allows it.
- Clean up with a vacuum or a damp cloth. Sweeping or blowing dust off just puts the fine particles back into the air.
- Keep sanding sessions short and clean up between them so dust doesn't build up on shelves and fabric.
Our guide to containing sawdust in a small apartment covers setting up a sanding corner so the dust stays there.
Honest limits: when hand sanding stops making sense
Hand sanding costs you time and effort, and it's worth being clear about where that becomes a bad deal.
- Large, flat surfaces. A tabletop or a stack of cabinet doors takes a long time to sand by hand through several grits. It can be done, but it's tiring, and tired hands sand unevenly.
- Heavy stock removal. Flattening a cupped board with coarse paper is slow and tends to leave a wavy surface. Use a plane, or choose flatter wood to begin with.
- Repetitive production. Making twenty identical parts by hand means twenty times the effort.
For those jobs, a random orbital sander earns its place, even with the noise and dust it brings. Our look at the random orbital sander for small spaces covers what to check if you get to that point. For coasters, boxes, cutting boards, shelves and most first projects, hand sanding is enough, and it makes sense in a building with thin walls.
FAQ
Can you sand wood smooth without a power sander? Yes. A flat block, sandpaper in three or four grits, strokes along the grain, and a pencil check at each grit will give you a surface ready for finish. It's slower than a power sander, especially on large surfaces, but the result can be just as smooth.
What grit should I finish at when sanding by hand? For most woods, 220 grit is as fine as you need to go before finishing. Very dense woods may benefit from one extra step at a finer grit. Plywood veneer should be sanded lightly with a fine grit only.
Should I sand with or against the grain? With the grain. A coarse grit can go across the grain at a slight angle to remove defects faster, but finish every grit with strokes along the grain so the scratches line up with the wood fibers and disappear under finish.
Why use a sanding block instead of my hand? Your fingers press unevenly and sand shallow grooves into the surface, which show up under finish. A flat block spreads the pressure and keeps the surface flat.
How do I stop sanding dust spreading in an apartment? Sand near an open window or outdoors, wear a particulate respirator, and clean with a vacuum or damp cloth rather than a broom. Sweeping puts the finest dust back into the air.