How to Sharpen a Hand Saw (or When to Replace It)
How to sharpen a hand saw step by step, how to tell whether yours can be sharpened at all, and when replacing it is the smarter move.

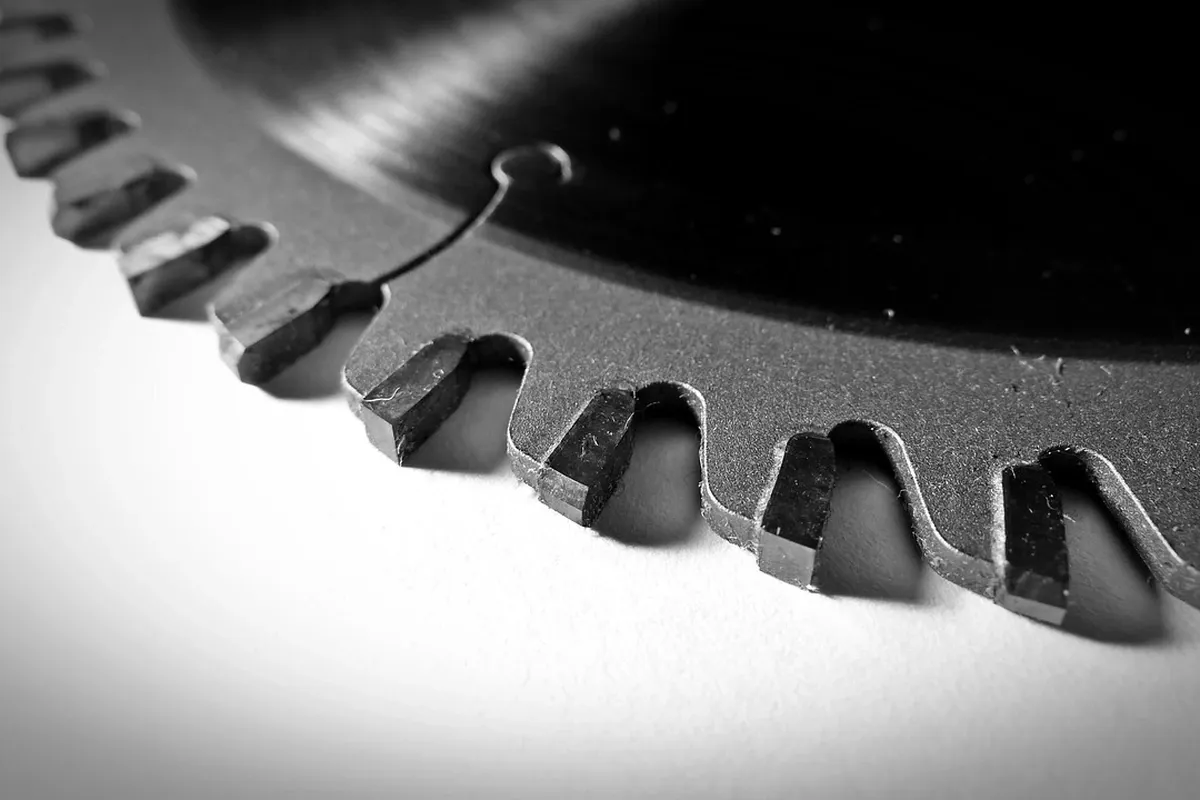
Short answer: how to sharpen a hand saw depends first on whether the teeth can be filed at all. Many modern saws have hardened teeth that a file will not cut, and those get replaced, not sharpened. If your saw has ordinary steel teeth, the process is: clamp the blade, joint the teeth level with a flat file, reshape any uneven teeth, reset them if the saw binds, file each tooth with a triangular file that fits the gaps, then lightly dress the sides and test cut. It is slow, quiet work that suits an apartment.
The harder question for most beginners is not the technique. It is whether the saw in your hand is worth the time. This guide starts with that decision, then walks through the steps and is honest about where a first attempt usually goes wrong.
First: can your saw be sharpened?
Hand saws come in two broad kinds.
Hardpoint (hardened-tooth) saws. Most inexpensive saws sold at hardware stores today have teeth that have been hardened after cutting. They stay sharp a long time, but a normal saw file skates over them instead of cutting. They are sold as disposable: when they are dull, you replace them. The teeth often have a darker, slightly blue or gray tint compared with the rest of the blade, and the packaging or the maker's listing usually says whether a saw is resharpenable.
Resharpenable saws. Traditional Western saws, older secondhand saws and many premium backsaws use steel soft enough to file. Lie-Nielsen, which makes resharpenable backsaws, describes its saw blades (read on September 27, 2026) as made from Swedish steel "tempered to Rockwell 52 for durability and ease of sharpening." That trade-off is the whole story: steel soft enough to file is steel that dulls sooner.
Japanese pull saws are their own case. Many have hardened teeth and replaceable blades, and their tooth shape is finer than a Western file is designed for. For most pull saws, the practical answer is a new blade. Our guide to choosing a Japanese pull saw covers why replaceable blades are part of their appeal.
A quick test. In a hidden spot near the handle end, draw a saw file lightly across one tooth. If it bites and leaves bright metal, the teeth are filable. If it skids with no effect, the saw is hardpoint.
Sharpen or replace: a decision table
| Your situation | Best move | Why |
|---|---|---|
| Hardpoint saw, dull | Replace | A file will not cut the teeth |
| Pull saw with replaceable blade, dull | Replace the blade | Tooth geometry and hardness resist home filing |
| Resharpenable saw, slightly dull, teeth even | Sharpen (touch-up filing only) | A few light strokes per tooth restores it |
| Resharpenable saw, teeth uneven or broken | Full sharpen, or a professional saw sharpener | Needs jointing and reshaping, which is where beginners struggle |
| Old secondhand saw, rusty, kinked blade | Usually replace | A bent plate is hard to fix at home |
| You own one saw and need it working this week | Replace or use a sharpening service | Learning to file takes practice cuts you may not have time for |
The honest version: learning to sharpen is a real skill, and your first attempt will likely cut worse than a new saw for a while. It is worth learning if you like hand tools and own a saw worth keeping. It is not worth it to save a cheap hardpoint saw, because you cannot.
What you need
To sharpen a resharpenable saw you need:
- A way to clamp the blade. A saw vise is ideal. Without one, clamp the blade between two straight boards with the teeth just above the boards, and clamp the boards to your table. The blade must not vibrate as you file.
- A flat mill file for jointing the tops of the teeth level.
- A triangular saw file sized to your saw. Finer saws with more teeth per inch need smaller files. File makers state which teeth-per-inch range each file suits, so check your saw's tooth count first.
- A saw set (a plier-like tool) if the teeth need resetting.
- A fine sharpening stone to dress the sides afterward.
- Good light. Sharpening is mostly about seeing small bright spots on tooth tips.
All of this is quiet. Filing makes a light rasping sound, far below anything a power tool produces, so it works at any hour an apartment allows conversation.
How to sharpen a hand saw, step by step
1. Clean the blade
Wipe off dust and pitch. Remove light surface rust with fine abrasive and a little oil or wax, working along the blade. Rust on the sides makes a saw drag and bind in the cut, so this step affects performance, not just looks.
2. Clamp it low
Set the blade in your vise or between boards with only the teeth and a little of the gullets showing. The closer the clamp is to the teeth, the less the blade chatters under the file.
3. Joint the teeth
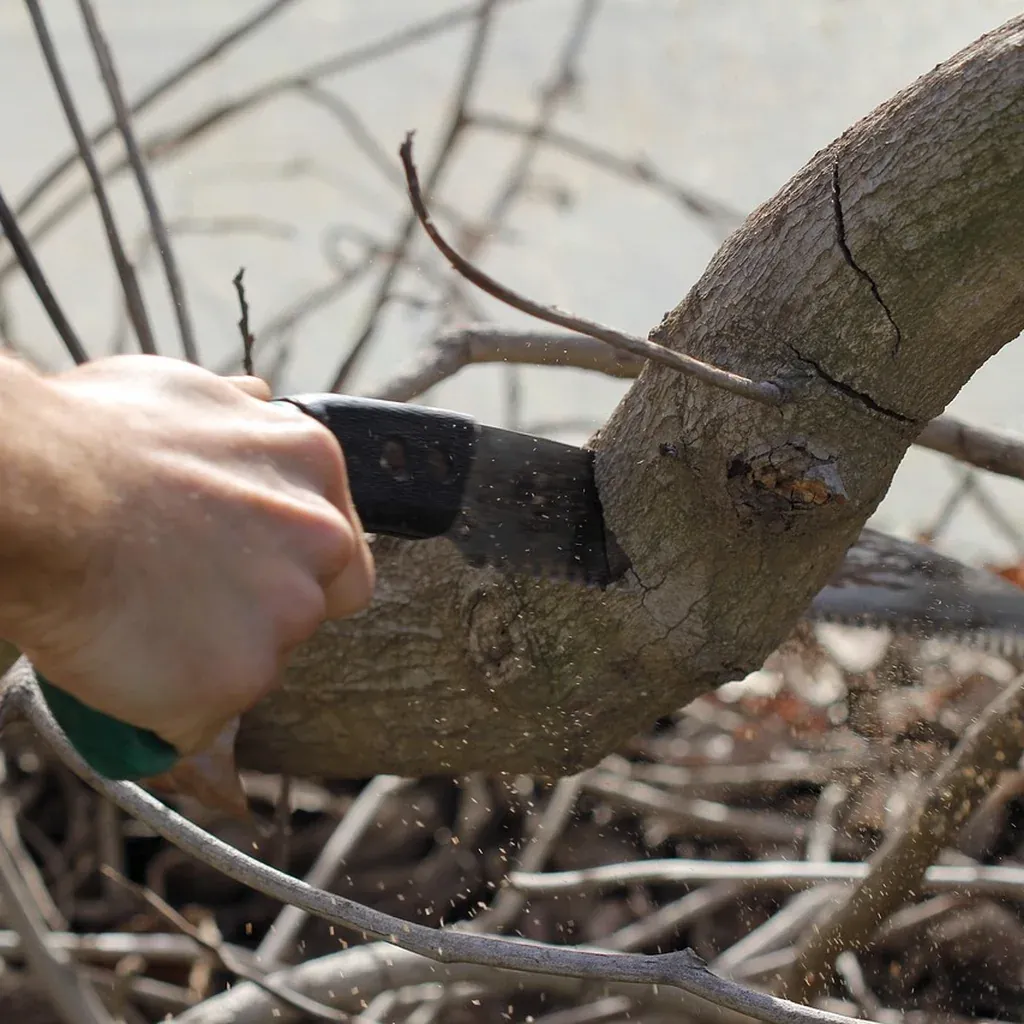
Lay the flat file along the tops of the teeth, keep it square to the blade, and make one or two light passes from end to end. The goal is to put a tiny flat on the tip of every tooth so they all end up the same height. Those flats also act as your guide in the next steps: shiny flat means "not filed yet." Take off only as much as needed to touch every tooth.
4. Reshape if the teeth are uneven
If jointing left some teeth with big flats and others with tiny ones, the teeth are uneven in size. Reshaping means filing straight across in each gap until the teeth are regular again. This is the step beginners find hardest, and if your saw needs heavy reshaping, it is a fair point to consider a professional sharpener instead.
5. Set the teeth, only if needed
Set is the small outward bend of alternate teeth, left and right. It makes the cut slightly wider than the blade so the saw does not bind. A saw does not need resetting every time you sharpen. If it cuts freely without binding, skip this step. If it binds, use a saw set to bend alternate teeth to the same amount on each side.
6. File the teeth
Match what is already there. The existing teeth show you the angles the saw was designed with.
- Rip saws (for cutting along the grain) are filed straight across, with the file square to the blade, so each tooth acts like a small chisel.
- Crosscut saws (for cutting across the grain) are filed with the file angled across the blade, so each tooth ends in a knife-like point. The angle varies by saw; follow the bevel you can see on the existing teeth.
Work every other gap from one side of the saw, then turn it around and file the gaps you skipped from the other side. Use the same number of smooth, even strokes in each gap, and stop filing a tooth as soon as its shiny jointed flat disappears. Filing past that point shortens the tooth and undoes the jointing. A light pencil or marker line on every other tooth helps you keep your place.
7. Dress the sides and test
Run a fine stone lightly along each side of the teeth to remove the burr from filing. Then make a test cut in scrap. A good result starts easily and cuts straight without being steered.
What goes wrong on a first attempt
- The saw pulls to one side. Usually uneven set or more filing on one side. A light pass of the stone along the side it drifts toward can help.
- The saw is harder to start than before. Often uneven tooth height. Rejoint lightly and file again.
- Teeth got shorter in one area. You filed past the flats there. Rejoint the whole saw and bring the rest down to match.
- It still feels dull. Check that the file actually cut. A skating file on some teeth can mean a hardened section or a worn file.
When replacing is the better answer
For a beginner in a small space, replacement is often the sensible call, and there is no shame in it. A hardpoint saw cannot be sharpened, a pull saw usually takes a replacement blade, and a badly worn or kinked saw can take hours to rescue. Sharpening is the right move when you own a good resharpenable saw and want to keep it for years. Our hand tool starter kit guide and the minimal tools list both treat saw files and a saw set as later purchases, not starting ones, and our list of tools you don't need as a beginner explains why.
Safety while sharpening
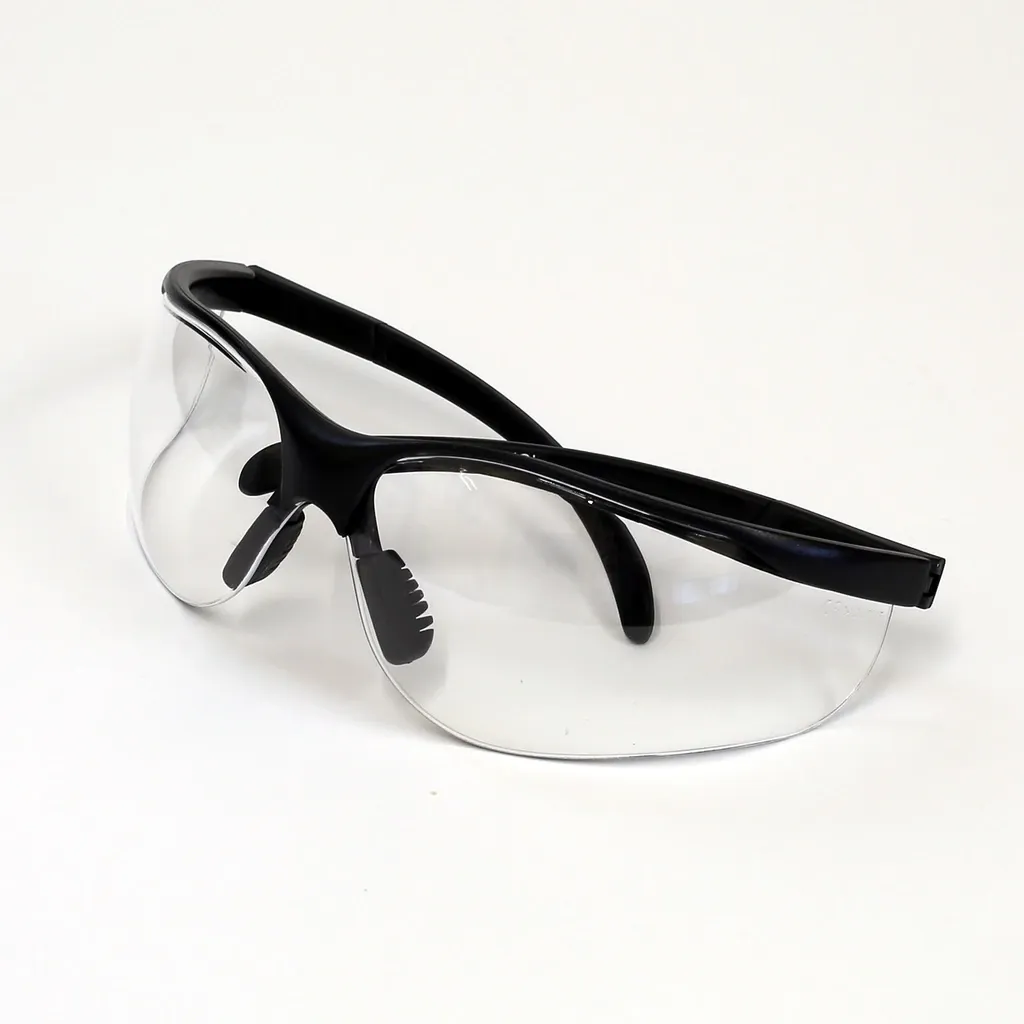
Saw teeth are sharp even when they cut badly. Clamp the saw so it cannot shift, keep your non-filing hand away from the tooth line, and wear eye protection, since small metal filings come off the file. Wipe filings off the bench rather than brushing them with your hand.
FAQ
How do I know if my hand saw can be sharpened?
Try a saw file on one tooth near the handle. If it cuts bright metal, the saw can be sharpened. If the file skates, the teeth are hardened and the saw should be replaced. Packaging or the maker's listing often states it too.
How often does a hand saw need sharpening?
It depends on how much you use it and what you cut. Signs it is time: it is harder to start a cut, you have to push harder, or it wanders. Many hand tool users touch up a saw with a few light file strokes before it gets truly dull.
Can you sharpen a Japanese pull saw?
Many pull saws have hardened teeth and replaceable blades, so the usual answer is a new blade. Some are designed to be sharpened with special files, but that is specialist work.
Do I need to set the teeth every time I sharpen?
No. Only reset when the saw binds in the cut. Several sharpenings can pass between settings.
Is sharpening a hand saw worth it for a beginner?
Only if you own a resharpenable saw you want to keep. For a cheap hardpoint saw, replacement is the only option.