Wood Joints Without Power Tools: A Beginner's Guide
Cut clean wood joints without power tools using just a saw, chisel, and marking gauge. A quiet, renter-friendly guide to five beginner joints that hold.

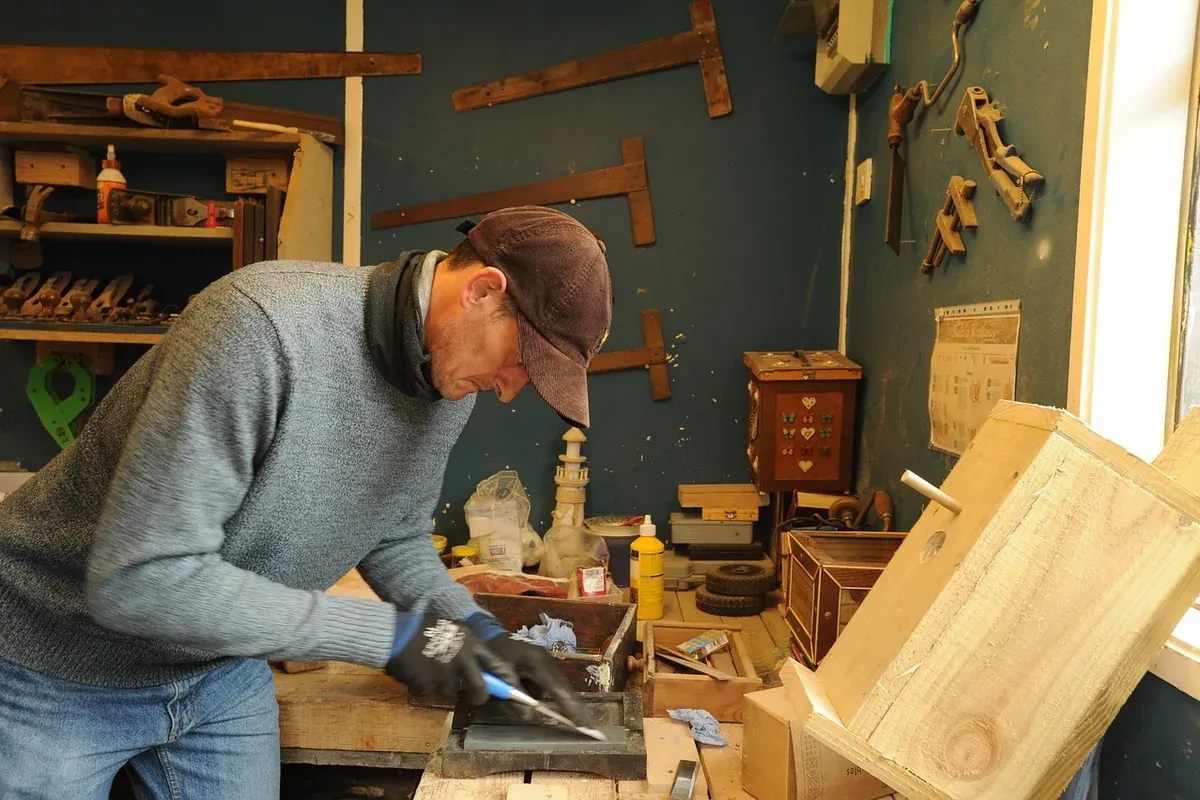
You can build solid furniture with wood joints without power tools. A handsaw, a sharp chisel, a marking gauge, and a block plane will cut a butt joint, a rabbet, a dado, a half-lap, and a basic mortise and tenon. Hand tools realistically get you to about 1/32 inch of accuracy, which is fine for a shelf, a box, or a small table. A crisp show-surface dovetail is possible too, but it takes real practice before it looks the part.
That is the honest version. Nobody needs a table saw, a router, and a garage to make things that last. What you do need is a small set of tools you can actually control, a clear idea of which joint suits the job, and a realistic sense of the tolerance each one holds by hand. This guide walks through five joints in order of difficulty, tells you what each is good for, and is upfront about where hand work gets slow or frustrating.
Why hand-cut joinery suits small spaces and rentals
Hand tools are quiet, and that matters more than most guides admit. A handsaw and a chisel make roughly the sound of a kitchen drawer, so you can work in an apartment in the evening without a landlord conversation. There is no motor noise, no dust plume thrown across the room, and nothing that needs a dedicated circuit.
They are also cheap to start with and easy to store. A saw, one or two chisels, a marking gauge, and a plane fit in a drawer, which is the whole reason hand joinery fits the renter who has no workshop. If you want a first build to practice on, small non-structural pieces are ideal: see these woodworking projects for renters that won't damage anything for options that suit a hand-tool-only kit.
The trade-off is speed. Hand-cutting a joint takes longer than machining one, and long production runs will wear you out. For one shelf, one box, or one side table, the time difference barely registers, and you keep both the quiet and the low cost.
The five tools that actually cut the joints
You do not need a wall of tools. Five items cut everything below:
- A saw. A Japanese pull saw is the easiest entry point because it cuts on the pull stroke, so the thin blade stays straight instead of buckling. SUIZAN's own product spec for its standard 6 inch dozuki lists a 0.3 mm blade with a 0.5 mm kerf (read 12 September 2026), which is why the cut is so fine. If you are choosing one, here is what to look for in a Japanese pull saw for beginners.
- A chisel or two. A 1/2 inch and a 3/4 inch bench chisel handle almost everything. Sharp is not optional here: a dull chisel is the single most common cause of both bad joints and cut fingers.
- A marking gauge. This scores a precise line for the saw and chisel to follow. Marking to a scored line rather than a pencil line is the biggest single jump in accuracy you can make.
- A marking knife and a square. For laying out shoulders that meet cleanly.
- A block plane. For trimming a joint to a tight fit and flattening edges.
If you want a shopping list rather than a piecemeal build-up, this hand tool starter kit for beginners covers the same ground with buying detail.
Joint one: the butt joint
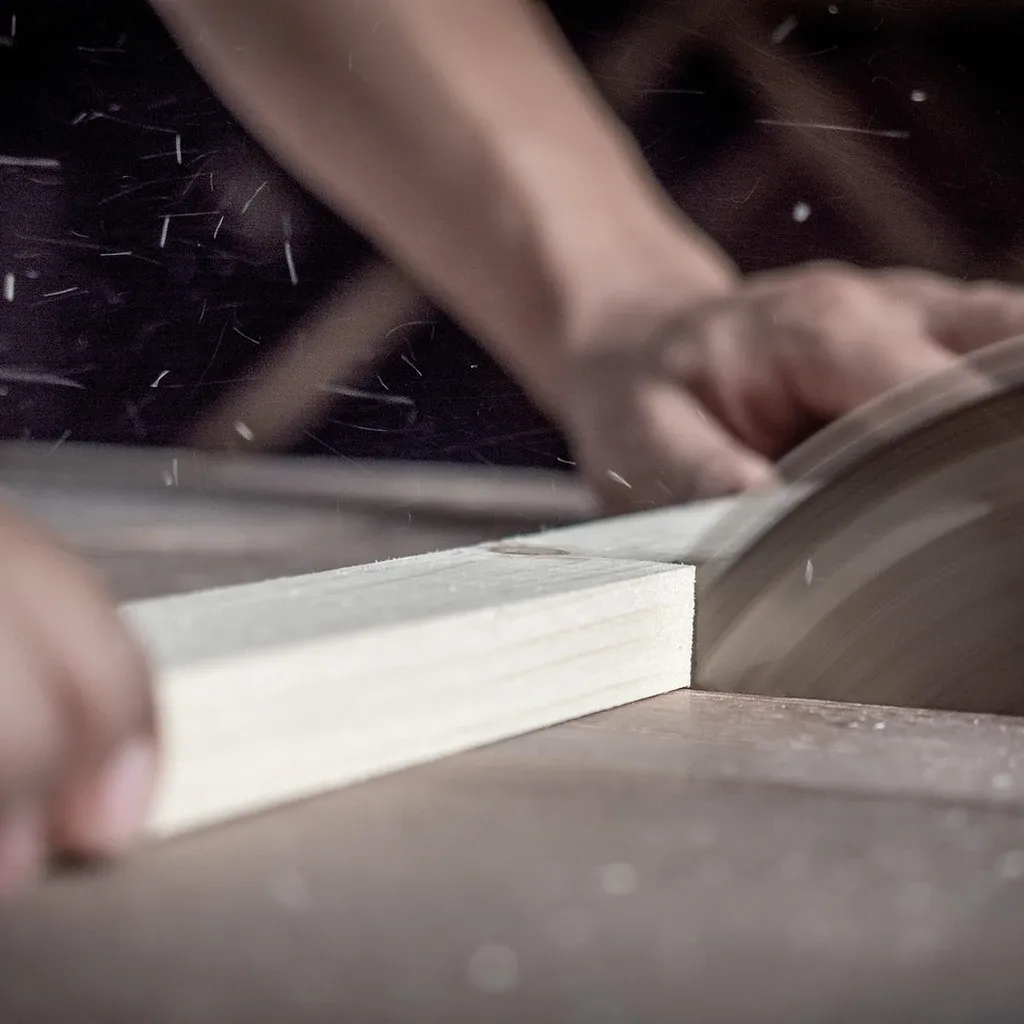
The butt joint is two pieces meeting square, end to edge or edge to edge, held with glue plus screws or nails. It is the simplest joint to cut and the weakest on its own, because a glued end grain surface holds poorly.
Cut it by squaring the end with a saw, then cleaning the cut with a block plane or a few chisel pares until it sits flat against the mating face. Realistic hand accuracy is easy here, since the only demand is a square, flat end. Reinforce it. A butt joint with two screws is perfectly sound for a simple box, a drawer of scrap-wood shelving, or a frame that carries no real load. Do not use it where the joint takes weight in shear, such as a shelf that must hold books.
Joint two: the rabbet
A rabbet is an L-shaped step cut along an edge or end, most often used to seat the back of a cabinet or the bottom of a box. It gives far more glue surface than a butt joint and locates the parts so they cannot slide, which makes assembly easier.
Cut it by scoring both walls of the step with a marking gauge, sawing down the vertical wall to depth, then removing the waste with a chisel worked from the end. A block plane cleans the floor of the step. By hand you can hold this to roughly 1/32 inch, which is tight enough that a back panel drops in with a light tap. The common mistake is sawing past the gauge line on the show face, so stop the saw a hair shy and finish with the chisel.
Joint three: the dado (housing joint)
A dado, called a housing joint in British usage, is a square channel cut across the grain that a shelf sits into. It is the workhorse joint for bookcases and cabinets because the shelf is supported along its whole width, not just at the ends.
Mark both walls with a knife and square, saw down each wall to a consistent depth, then pare the waste out with a chisel and check the floor is flat. The difficulty by hand is keeping the floor even across the full width, so test the fit with the actual shelf rather than a ruler. Aim for a fit that needs firm hand pressure, not a mallet: too tight and glue has nowhere to go and the joint can split the side. A dado plus glue easily holds a loaded bookshelf, which a butt joint never will.
Joint four: the half-lap
A half-lap removes half the thickness from each of two pieces so they overlap flush, used for frames, workbench aprons, and any place two rails cross. It is strong, resists racking well, and is far more forgiving to cut by hand than a mortise and tenon.
Set the marking gauge to exactly half the stock thickness and score from the same reference face on both pieces, so any error cancels out. Saw the shoulders, saw or chisel to the gauge line, and pare flat. The self-correcting layout is what makes this joint a good confidence builder: even if your gauge is not dead on half, both halves are wrong by the same amount and still finish flush. This is the joint to practice before attempting anything cut to a shoulder line.
Joint five: the mortise and tenon
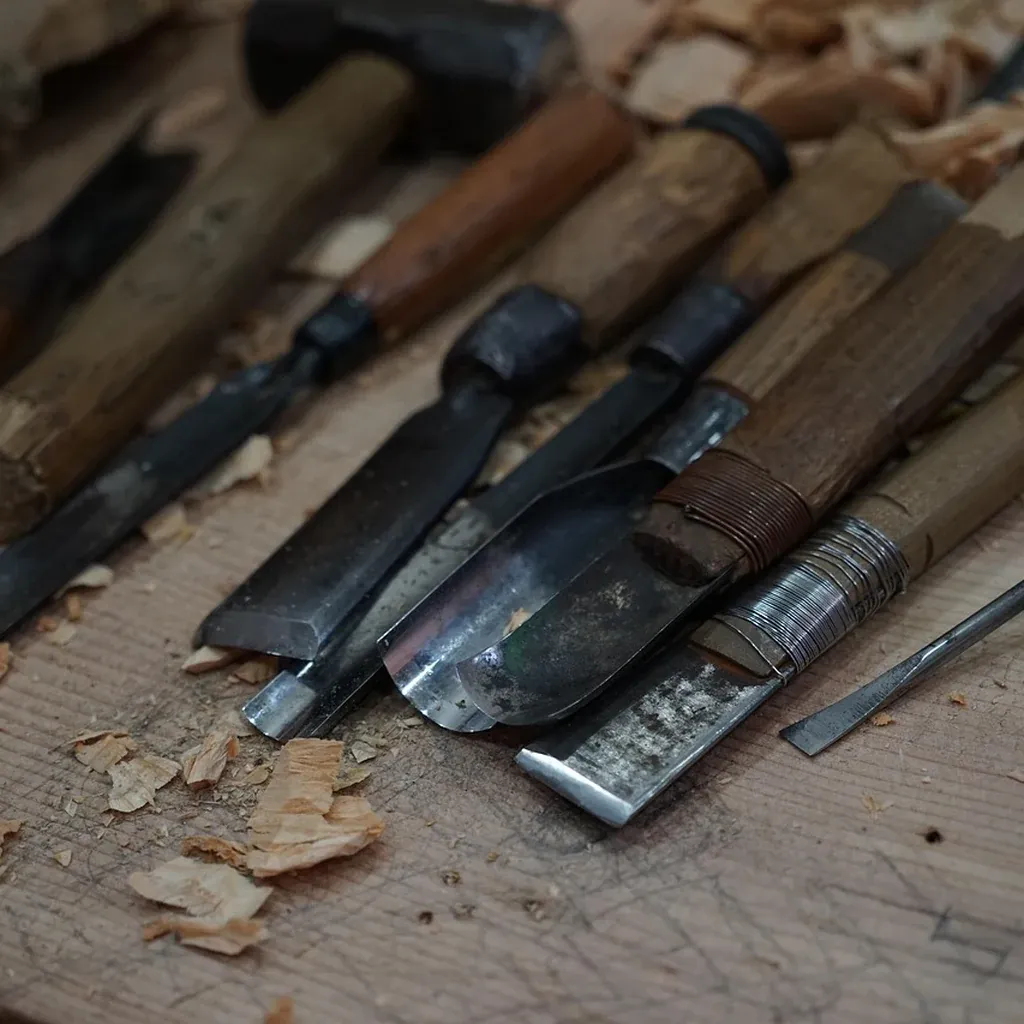
The mortise and tenon is the strongest joint here and the reason hand-tool furniture lasts generations. A tenon (a tongue) fits into a mortise (a matching hole), giving a large long-grain glue surface that resists pulling apart. It is the standard joint for table legs, chair frames, and doors.
Cut the tenon first by sawing cheeks and shoulders to gauge lines, then cut the mortise to match. The mortise is the slow part by hand: you chop it with a chisel in stages, levering out waste and keeping the walls vertical. Realistically, expect your first few to be loose or slightly racked, and expect each one to take a while. A tenon that is a shade fat can be trimmed with a chisel or plane, so cut fat and sneak up on the fit. This is where hand work is genuinely demanding, and there is no shame in reinforcing an early one with a peg or a dab more glue.
What accuracy you actually get from wood joints without power tools
Store blogs tend to imply that any joint is a weekend away. Here is the calibration those pages leave out.
| Joint | Difficulty by hand | Strength | Realistic hand accuracy | Best for |
|---|---|---|---|---|
| Butt | Very easy | Weak (needs fasteners) | Square end, easy | Simple boxes, light frames |
| Rabbet | Easy | Moderate | About 1/32 inch | Cabinet backs, box bottoms |
| Dado | Moderate | Strong | About 1/32 inch across width | Bookshelves, cabinets |
| Half-lap | Moderate | Strong | Self-correcting, flush | Frames, crossed rails |
| Mortise and tenon | Hard | Strongest | Loose at first, improves | Tables, chairs, doors |
The pattern is simple: the joints that reinforce with a fastener or a wide glue surface are the ones that forgive a beginner, and the joints cut to a visible shoulder line are the ones that reward practice. A dovetail belongs in that second group. It is entirely a hand-tool joint, but a clean one is a milestone, not a starting point, so leave it until the half-lap feels routine.
Safety: the two hazards that are easy to underrate
Hand joinery is low-noise, but it is not zero-risk, and two hazards deserve plain statements.
Your eyes and lungs, from dust. Sawing and paring produce fine wood dust. The US Occupational Safety and Health Administration states that wood dust is an irritant to the eyes, nose, and throat, and that the International Agency for Research on Cancer classifies wood dust as a Group 1 carcinogen linked to nasal cancer (read 12 September 2026). Hand tools make less airborne dust than machines, but fine paring and any sanding still put it in the air, so wear eye protection and a dust mask, and keep the space ventilated. In a small home, capturing dust at the source matters: here is how to contain sawdust in a small apartment without spreading it through your living space.
Your hands, from sharp edges. A chisel is sharpest when it is safest to use, because a dull one needs force and force is what slips. Always keep both hands behind the cutting edge, clamp the work so you are not holding it against the blade, and pare away from your body. A sharp tool cutting a controlled shaving is far less dangerous than a blunt one being forced.
A sensible order to learn in
Start with a rabbet or a dado on scrap, because both teach you to saw and pare to a gauge line without demanding a perfect show face. Move to the half-lap, which teaches shoulder work with a layout that forgives a small error. Then attempt a mortise and tenon, accepting that the first few will be practice. Only then chase a dovetail. Working in that order, you build furniture that holds from the very first joint, rather than stalling on the hardest cut and giving up on wood joints without power tools altogether.
FAQ
Can you really make strong furniture without power tools? Yes. A glued dado holds a loaded bookshelf, and a mortise and tenon is the strongest joint in this guide. Strength comes from the joint choice and glue surface, not from whether a machine or a hand cut it.
What is the easiest joint to cut by hand? The butt joint, cut square and reinforced with a screw or nail, is the simplest. For a joint that is both easy and strong, the half-lap is the best beginner target because its layout self-corrects.
Do I need a mallet to cut a mortise? Yes, a wooden or nylon mallet drives the chisel when chopping a mortise. For paring and for the other joints here, hand pressure on the chisel is usually enough.
How accurate can hand-cut joints be? With a marking gauge and a sharp chisel, most beginners reach about 1/32 inch, which is tight enough for shelves, boxes, and small tables. Show-surface joints like dovetails need more practice to look clean.
Is hand-tool woodworking quiet enough for an apartment? Yes. A handsaw and chisel are roughly as loud as everyday household activity, with no motor noise, which is why hand joinery suits renters and small spaces far better than power tools do.