Hand Tool Starter Kit for Beginners: What to Look For
A starter kit defined by four operations rather than a shopping list, with the specifications and in-store checks that separate usable tools from junk.

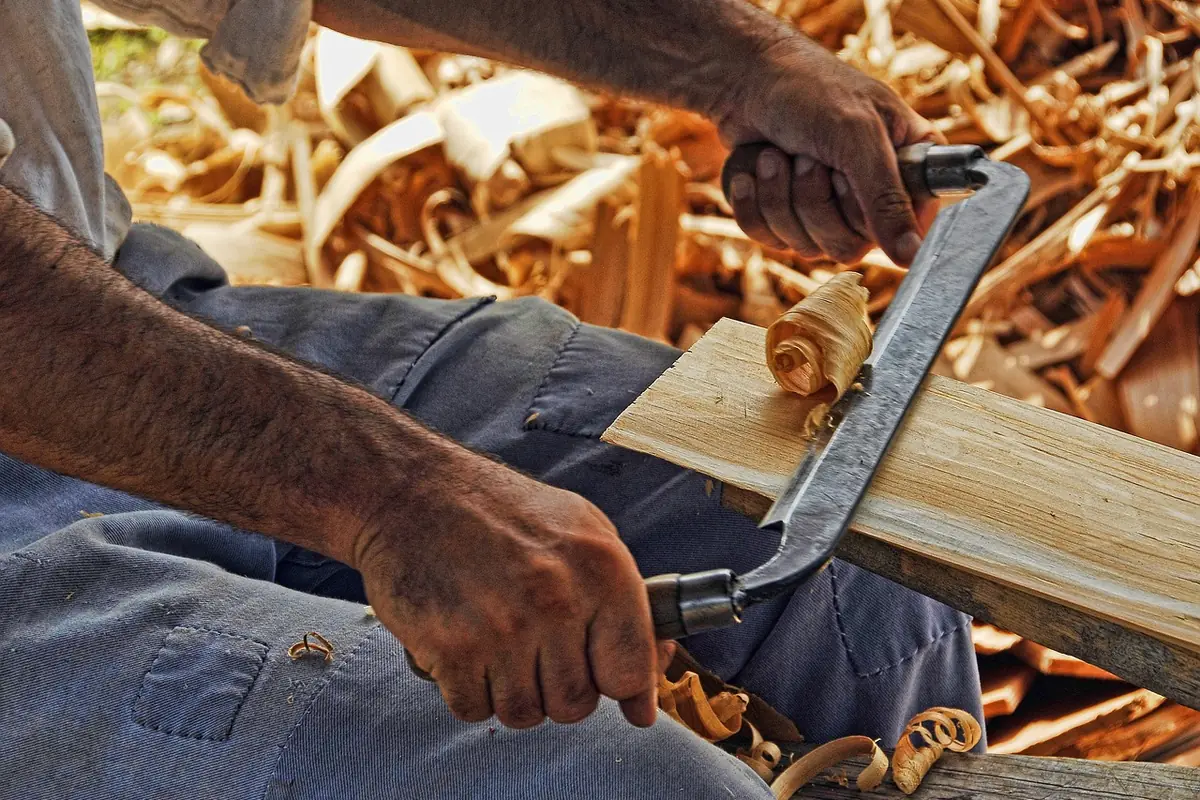
A hand tool kit is four operations, not a list of products: mark it, cut it, pare it, hold it. Buy one honest tool for each and you can build real furniture. Buy a boxed set and you will own thirty pieces that do those four things badly.
This page does not rank products or quote prices. It gives you the specifications that separate a usable tool from one that will teach you bad habits, and the checks you can perform on a tool before you own it.
Why This Site Publishes No Picks or Prices
Being straight about it: we have not tested hand tools, so nothing here is presented as a review, and no product is named, ranked or linked. Prices in this category move constantly and vary by country, so a number written today is wrong for most readers within months.
What we can do instead is more useful anyway. A specification is checkable and durable in a way a pick is not. If you know that a saw's tooth count determines how it behaves in a crosscut, you can evaluate any saw in front of you, including ones that did not exist when this was written.
The rest of this article is written that way: what the specification means, why it matters at a beginner's skill level, and what to check with the tool in your hand.
Operation One: Mark It
Accuracy is decided before any cutting tool touches wood, which is why this is first rather than an afterthought.
A combination square, and the test that qualifies it. The specification that matters is that it is actually square, and you can verify it. Against a board with one known straight edge, draw a line along the blade, then flip the square to the other side of the same starting point and draw again. If the two lines diverge, the square is out by half the gap. A square that fails this makes every joint you cut consistently wrong, and beginners nearly always blame their sawing.
Look for a blade that locks firmly without shifting when you tighten it, and a stock face that sits flat rather than rocking.
A marking gauge, for scribing a line parallel to an edge. The distinction worth knowing is between a pin gauge, which drags a point through the fibers, and a wheel or knife gauge, which slices them. A wheel gauge is easier to control across the grain at beginner level.
A marking knife or a hard pencil. A knife line is thinner and gives a chisel or saw a physical start. Pick one and use it consistently.
Operation Two: Cut It
Tooth count is the specification that decides how a saw behaves, and it is written on the blade or the packaging as teeth per inch (TPI) or points per inch.
Higher TPI means more, smaller teeth: a slower, smoother, easier-to-control cut, better for thin stock and for finish cuts. Lower TPI means fewer, larger teeth: faster and rougher, for thick stock. For a beginner cutting boards under an inch thick, a higher tooth count is far more forgiving.
The second specification is tooth geometry: rip teeth are filed like a row of chisels and cut along the grain, crosscut teeth are filed like knives and sever fibers across it. A saw used against its geometry works badly, and beginners often conclude the saw is blunt.
Pull saws versus push saws is the third choice. A Japanese-style pull saw cuts on the pull stroke, which keeps the blade in tension. That allows a thinner blade, a narrower kerf and less effort, and it is generally easier to track a line with at the start. A Western push saw has a thicker blade that resists buckling and can be sharpened repeatedly, where many pull saws have replaceable blades instead. Neither is correct; know which you are buying.
A ryoba is a pull saw with rip teeth on one edge and crosscut teeth on the other, which is why it appears on so many starter lists: one tool covers both geometries.
Operation Three: Pare It
Chisels are where a starter kit is most often oversold. Sets of ten exist because sets of ten sell, not because ten sizes get used.
The specification to look for is bevel-edged bench chisels, meaning the sides are ground away to a bevel so the chisel can reach into an acute corner such as a dovetail. Firmer and mortise chisels are heavier tools for different work.
Sizes: a small handful covering narrow to wide does nearly everything a beginner builds. Adding sizes later is easy; you will know which one you kept wishing for.
Buy sharpening with the chisels, in the same transaction. This is the part beginners defer and it is the part that decides whether the chisels work at all. A chisel out of the box is usually not sharp enough to pare end grain, and a blunt chisel is more dangerous than a sharp one, because it needs force and force is what makes it skip out of the cut and into your hand.
Whatever sharpening medium you choose, the specifications that matter are that it is flat and that it covers both a coarse grade for shaping and a fine grade for finishing. Safety inside this step: hold the work in a clamp or a vise, keep both hands behind the cutting edge, and pare away from your body, always.
Operation Four: Hold It
Every hand tool assumes the wood is not moving, and a hand is not a clamp. This is the operation people leave out of a starter kit and then fight for a year.
You do not need a traditional bench with a vise. What you need is a stable surface and a way to fix work to it, and the practical options for a home without a workshop are set out in woodworking without a workbench.
For a starter kit, a small number of clamps covers most of it. F-clamps give you depth of reach and adjustable pressure. Quick-release clamps trade some clamping force for one-handed operation, which is genuinely useful when the other hand is holding a part in place. Sash or bar clamps are for glue-ups wider than a board.
Two habits that belong here rather than in a safety block at the end: if a piece is too small to clamp, it is too small to cut on its own, so cut it while it is still part of a longer board and separate it afterward. And check where the saw or chisel goes when it leaves the wood, because the far side of the cut is where the clamp, the table and occasionally a hand are.
What Is Genuinely Optional at the Start
A hand plane. A block plane is useful for fitting and trimming end grain, and a bench plane flattens and smooths. Both are real tools. Neither is needed to build a box, a shelf or a frame, and both add a sharpening and setup learning curve on top of everything else.
If you do buy one, the specifications that matter are a flat sole, a blade that beds solidly without rattle, and an adjuster that moves the blade without slop. A used plane with a cracked body or a badly pitted sole is not a bargain.
A brace and bit or an eggbeater drill is the quiet alternative to a cordless drill, and it is a genuine option in a building where noise is the constraint.
More clamps. Always. Let the project tell you which.
Buying Used, and What It Actually Requires
Buying used is real advice for hand tools in a way it is not for power tools, because a steel chisel or plane body does not wear out on a hobbyist timescale.
The honest caveat: buying used well requires knowing what a good example of that tool feels like, which a beginner does not yet. The failure mode is spending on something that needs skills and equipment you do not have to make usable.
The reasonable version for a first kit is to buy the tools whose condition you can assess by eye, and to buy new where you cannot. What to reject regardless of price: a cracked or bent tool body, a plane sole with deep pitting, a chisel ground back to almost nothing, and anything with rust in the working surfaces rather than on the paint.
The Short Version
- Four operations, not a product list: mark, cut, pare, hold.
- Verify the square with the flip test before you trust anything built with it.
- Tooth count and tooth geometry decide how a saw behaves. Higher TPI is more forgiving on thin stock; rip and crosscut teeth are not interchangeable.
- A ryoba covers both geometries in one blade, which is why it recurs on starter lists.
- A few bevel-edged bench chisels, plus sharpening bought at the same time. A blunt chisel is the dangerous one.
- Clamps are part of the kit, not an accessory to it.
- A plane is optional at the start, however much it looks like the center of a hand tool kit.
- Buying used works for steel and works badly for things whose condition you cannot yet assess.
Frequently Asked Questions
How many tools do I actually need to start? One per operation: a square, a saw, a chisel or two, and clamps, plus glue and sandpaper. That set builds a box, a shelf, a frame or a stool, and the projects on this site are scoped around exactly that.
Is a Japanese pull saw better than a Western hand saw? Better for different things. A pull saw's thin kerf and pull stroke make it easier to start a line accurately, which suits a beginner. A Western saw's thicker blade is more robust and can be resharpened rather than replaced. Choose the one you can maintain.
Do I need to sharpen tools right away? Yes, from the day you buy a chisel or plane. New edges are usually workable rather than sharp, and every hand tool skill you are trying to learn is harder with a dull edge.
Is hand tool woodworking realistic in an apartment? It is arguably the only fully realistic version. No outlet, very little airborne dust compared with power sanding, no vibration through the floor, and no noise complaints. Builds such as a floating shelf without power tools and a picture frame without a miter saw exist for exactly that reason.
Should I buy a boxed starter set? Generally not. Sets are sold on piece count, so the money goes to items you will not use, and the square or saw in the box is usually the weakest tool in it. Buy the four operations individually. The wider case for buying in that order is in the minimal tool kit, and the sequencing for a first build is in the beginner checklist.