How to Store Wood and Tools in a Small Apartment
How to store woodworking tools and lumber in a small apartment without them taking over a room, including the storage rules wood needs that tools don't.

Storing woodworking tools and lumber in a small apartment comes down to three separate problems, not one: vertical wall storage for small hand tools (pegboards, wall racks, or a slim cabinet), a closet or under-bed spot for a folded portable bench and larger power tools, and a flat, dry, out-of-the-way place for lumber that keeps boards from warping while they wait to become a project. Most storage advice online treats "tool storage" and "wood storage" as the same question. They're not, because lumber has physical requirements, staying flat and dry, that a drill or a chisel doesn't.
Why tool storage and wood storage need separate answers
Search this topic and most results focus almost entirely on tools: pegboards, wall racks, multi-purpose furniture, drawer organizers. That's genuinely useful, but it skips lumber almost entirely, and lumber is the harder half of this problem. A tool sits wherever you put it and stays that shape. A board doesn't. Stand a length of pine on end in a corner for a few weeks and there's a real chance it bows or twists before you ever get to use it, which wastes both the material and the money spent on it. This guide covers both halves, and treats them as the two different problems they actually are.
Storing tools: the easier half
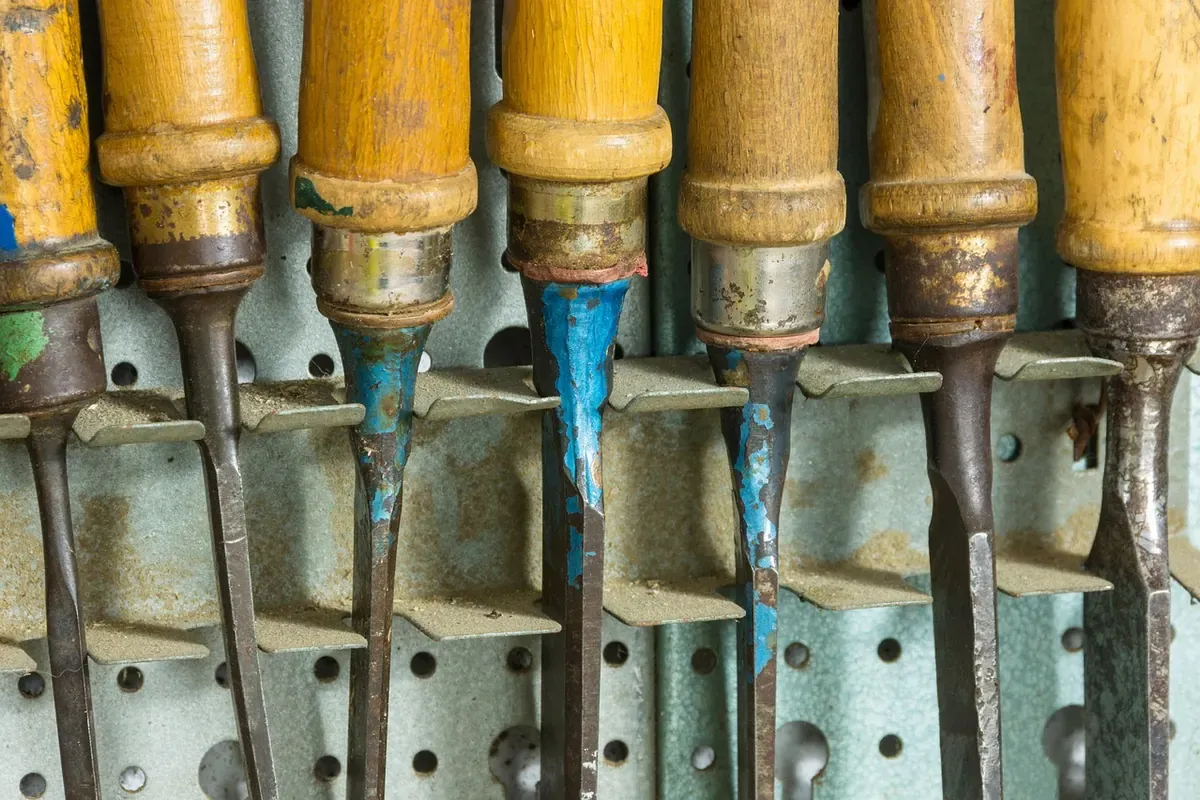
Vertical wall space is the single biggest resource in a small apartment that most people ignore. A pegboard, even a small one, mounted with removable adhesive strips rather than screws if you're renting, holds hand saws, chisels, squares, and clamps in view and off any flat surface. A slim wall-mounted rack does the same for larger items like a hand plane or a level.
Multi-purpose furniture absorbs tools without looking like a workshop moved in. A storage ottoman, a bench with a lift-up seat, or a cart with drawers can double as regular apartment furniture while holding drill bits, screws, sandpaper, and small hardware out of sight between projects.
A portable workbench needs its own dedicated spot, decided before you buy it. The guide to portable workbenches for small spaces covers what to check on a bench itself, including folded thickness, which is the number that determines whether it actually fits your closet or slides under your bed. Decide where it lives before you decide which one to buy, not after.
Storing lumber: the half most guides skip
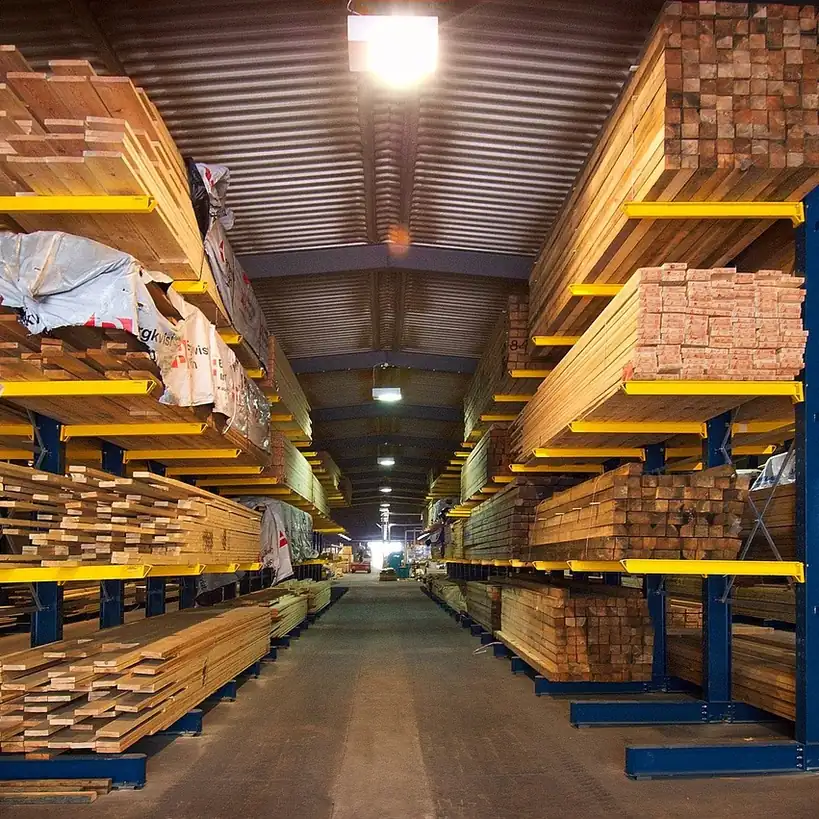
Lumber has one requirement tools don't: it needs to stay flat and reasonably dry, or it warps before you ever cut it. A few practical rules follow from that:
Store boards flat and fully supported, not leaning upright in a corner. A board leaning against a wall is only supported at two points, the floor and the wall contact, and gravity plus its own weight will pull it into a bow over time, especially with any humidity swing. Flat storage, even stacked, spreads the weight evenly and resists warping.
Keep lumber off the floor if the apartment has any moisture risk. A few inches of clearance, scrap blocks under a stack work fine, keeps boards away from ground-level humidity and any spills or leaks that would otherwise soak the bottom piece first.
Under a bed is genuinely one of the best lumber storage spots in most apartments. It's flat, it's out of the way, and standard bed clearance fits shorter boards and sheet offcuts without any special hardware. For anything longer than a bed frame, a slim vertical rack built to hold boards horizontally in a stack, rather than standing upright, solves the same problem for longer stock.
Separate "project lumber" from "scrap" the moment a project is done, not months later. Offcuts and scraps have a different storage answer than lumber you're saving for a specific next project, and letting them pile up undifferentiated is how a closet quietly turns into an unusable heap. The guide to what to do with scraps and sawdust in an apartment covers the point where a scrap piece stops being worth storing at all.
The option most storage guides mention but underexplain: renting space
If tool and lumber storage genuinely doesn't fit in the apartment at all, a small self-storage unit is a real option some hobbyists use, either just for lumber and larger equipment, or as an actual second workspace. It's worth naming honestly: this adds a recurring cost, and it's a step most beginners don't need for their first several projects, which this site's early builds are deliberately sized to avoid requiring. It's a fallback for once the hobby and the material volume have both outgrown the apartment, not a starting requirement.
A simple storage layout that works for most small apartments
A workable baseline for someone just starting: a small pegboard or wall rack near the work area for daily-use hand tools, a closet shelf or under-bed space for the folded workbench and any power tools, and a flat stack of current-project lumber under the bed or along a closet floor, kept physically separate from a small scrap bin for offcuts. That's three storage zones, not one catch-all pile, and it's the difference between a hobby that fits an apartment and one that visibly takes it over.
How this connects to the rest of your setup
Storage is only half of the space equation. The guide to how much space you actually need for woodworking covers the working-space half, and the roadmap for starting without a garage is the place to start if you're still working out the full apartment setup, storage, work surface, and everything in between.
FAQ
Where should I store lumber in a small apartment? Flat and supported, not leaning upright, and ideally off the floor if there's any moisture risk. Under a bed is one of the most practical spots in most apartments for shorter boards and sheet offcuts.
How do I store woodworking tools without them taking over a room? Vertical wall storage, a pegboard or slim rack, handles most hand tools without using any floor space, and multi-purpose furniture like a storage ottoman or a cart with drawers absorbs the rest without looking like a workshop.
Does lumber actually warp if I store it wrong? Yes, standing a board upright in a corner for weeks, especially with any humidity swing, is a common way boards develop a bow or twist before they're ever used. Flat, supported storage resists this.
Should I keep scrap wood and project lumber in the same pile? No. Separating them the moment a project finishes keeps the pile manageable, and the scrap and sawdust disposal guide covers when a piece has stopped being worth keeping at all.
Is renting a storage unit worth it for a beginner? Usually not for the first several projects, since it adds a recurring cost most beginners don't need yet. It becomes worth considering once tool and material volume genuinely outgrow the apartment, not before.