Wood Putty vs Wood Filler: Which One for Which Repair
Wood putty vs wood filler, sorted by repair: which hardens, which takes stain, and whether to fill before or after finishing so the patch disappears.

Short answer: the wood putty vs wood filler choice comes down to one question: is the wood already finished? Wood filler goes into bare wood before you stain or paint. It dries hard, you sand it flush, and then you finish over it. Wood putty goes into wood that is already stained and topcoated. It usually stays soft, you press it in and wipe off the excess, and you do not sand it. Filler for bare wood, putty for finished wood. That rule covers most beginner repairs.
The catch is that the names on the containers are not reliable. Some products called "putty" dry rock hard. So this guide sorts repairs by what the product does, not by what the label calls it.
The real difference: does it harden, and when do you use it?
Forget the names for a moment. Every patching product answers two questions:
- Does it harden enough to sand?
- Does it go on before or after the finish?
The classic wood filler and the classic wood putty sit at opposite ends of both.
Wood filler (classic type). Minwax's Stainable Wood Filler page (read on September 28, 2026) describes it as a "stainable and paintable latex formula" for "cracks, small gouges, nail holes, knot holes and other defects in all types of unfinished indoor and outdoor wood surfaces." You press it in with a putty knife, fill slightly above the surface to allow for sanding, let it dry, and "sand filler smooth and flush to the wood." Then you stain or paint.
Wood putty (classic type). Minwax's Wood Putty page (read on September 28, 2026) describes it as "a non-hardening, pre-mixed putty color-matched to Minwax Wood Finish stains," meant for "minor scratches, gouges and nail holes." Its directions start with "Stain and topcoat before applying putty," then "Press putty into nail holes or minor imperfections" and "Wipe excess putty from surrounding area with damp cloth." It "will not harden to a sandable surface."
That is the whole distinction in two products. Filler becomes part of the wood before the finish. Putty hides a hole in a finish that is already done.
Wood putty vs wood filler at a glance
This compares the classic types. Individual products vary, so check the label on the one in your hand.
| Wood filler | Wood putty | |
|---|---|---|
| Use on | Bare, unfinished wood | Wood that is already stained and topcoated |
| When in the process | Before sanding and finishing | After the finish is fully done |
| Hardens? | Yes, dries hard | Usually no, stays soft |
| Sand it? | Yes, flush with the wood | No |
| Color | Sold stainable or paintable, and in wood tones | Pre-tinted to match common stain colors |
| Typical repair | Gaps, dents, nail and screw holes before finishing, small knot holes | Nail holes and small dings in finished furniture or trim |
| Main risk | Patch shows through stain | Patch stays soft and can pick up dirt or get pushed out |
Why the labels confuse people
If you walk into a hardware store expecting "putty" to mean soft and "filler" to mean hard, you will find exceptions.
Durham's Rock Hard Water Putty is a good example. On the maker's own page comparing wood filler and wood putty (read on September 28, 2026), it describes the product as a powder that becomes "incredibly hard when it dries," and says it can be sanded smooth and painted. By the definitions above, it behaves like a filler, but the word on the can is "putty." The same page acknowledges that "some people confuse the two materials, thinking they're the same thing."
So do not trust the noun. Read the directions panel and look for three things: whether it says it hardens, whether it tells you to sand it, and whether it says to apply before or after staining. Those three lines tell you which job it is built for.
Which one for which repair
Nail holes before you finish a project
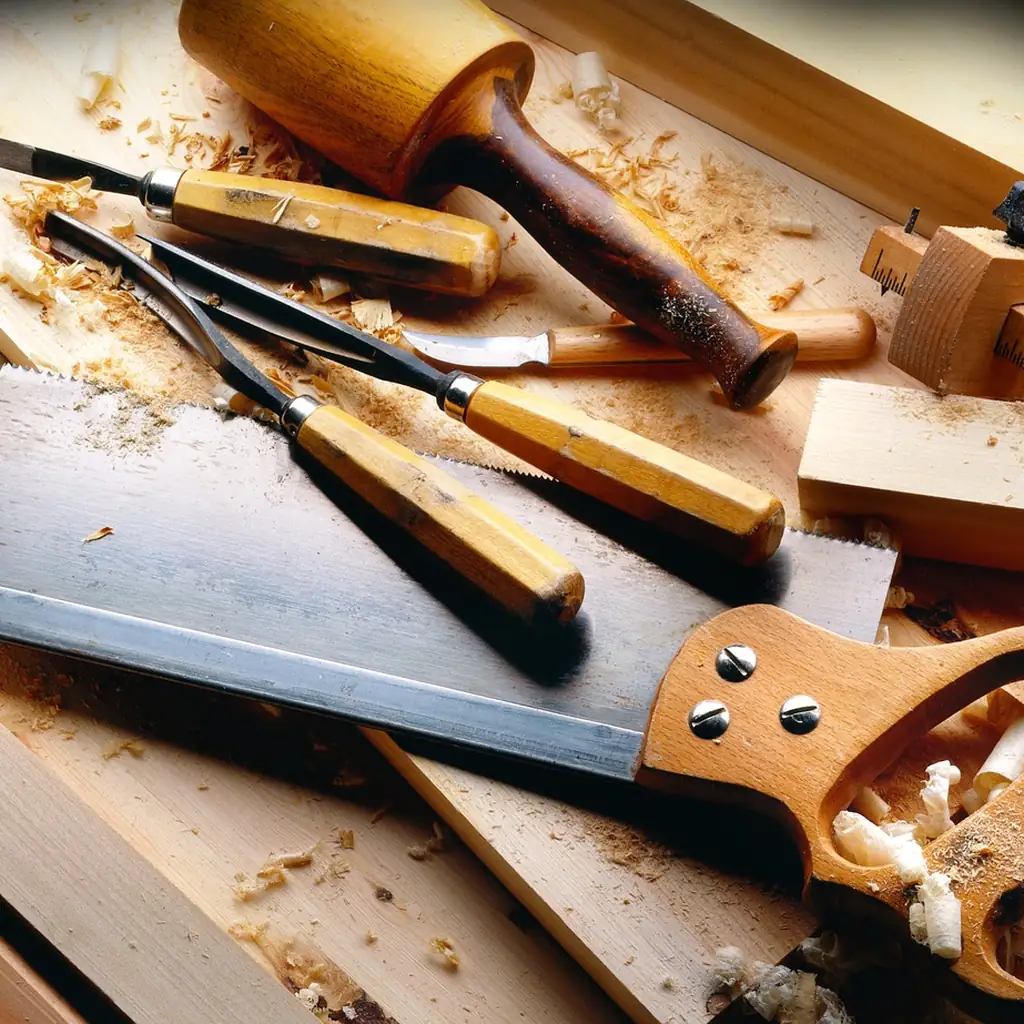
Use filler. You are working on bare wood, so you can overfill, let it dry, and sand it flush before any stain or paint goes on. This is the most common use on a first build, like the nail holes on a simple wooden box.
Nail holes after you finish a project
Use putty. If you already stained and topcoated, sanding filler flush would cut through your finish around the hole. A tinted putty pressed in and wiped clean avoids that.
Gaps in joints
Small gaps in a joint on bare wood can be filled with filler, then sanded. Be honest with yourself about what that is: a cosmetic fix. Filler does not make a loose joint strong. If the joint moves, fix the joint.
Dents, gouges and dings in finished furniture
For small ones, a matching putty. For a deep gouge in a finished piece, you are into refinishing territory: remove the finish locally, use filler, sand, and refinish. That is a bigger job than it sounds, and the patch may still show.
Screw holes you want to hide on a painted piece
Filler before painting. Paint hides color differences, so a paintable filler sanded flush usually disappears well under the paint. A painted shelf or a small-space bookshelf is the most forgiving place to get an invisible repair.
Holes in walls and trim in a rental
This is where renters get caught. A hole in drywall is not a wood repair, and wood filler and wood putty are not the usual products for it; drywall patching products are. For painted wood trim or a door, filler under touch-up paint is the usual route. For stained, varnished trim, a matching putty is less visible than filler.
Check your lease before you patch anything yourself. Some landlords prefer to do their own repairs, and a badly matched patch can look worse at move-out than a clean small hole. Our guide to woodworking projects for renters that won't damage anything is the better long-term fix: fewer holes to patch in the first place.
What neither one does well (the honest part)
Stainable filler rarely stains exactly like wood. Real wood absorbs stain through its grain. A filler is a different material, so the patch can come out lighter, darker or flatter-looking than the wood around it. "Stainable" means it accepts stain, not that it will match. Test on a scrap of the same wood with the same stain before you commit.
Putty is a disguise, not a repair. Soft putty fills the hole visually. It adds no strength, and on a surface that gets handled or cleaned a lot, it can pick up grime or work loose over time.
Big holes need a different approach. Minwax's Stainable Wood Filler page says the product should not be used on holes larger than three-quarters of an inch, and that deeper holes should be filled in layers a quarter inch at a time, each of which "may require 2-6 hours to dry." Past a certain size, a glued-in wood plug or patch from the same species usually looks better than any filler.
Color matching is limited. Pre-tinted putties come in a set range of shades. Your wood, stain and finish will not always sit neatly on one of them, and blending two colors is often necessary.
How to use each without making it worse
Using wood filler on bare wood
- Clean out the hole and remove loose fibers.
- Press filler in firmly with a putty knife and leave it slightly above the surface, as the Minwax directions say, so there is material to sand back.
- Let it dry fully. The Minwax page says the most common shallow repairs "will dry within 2 hours," and deeper fills take longer.
- Sand flush with the surrounding wood, sanding with the grain.
- Finish the whole piece.
Wear gloves. The Minwax filler page says to avoid contact with eyes and skin, wash hands after use, and keep the container closed when not in use.
Using wood putty on finished wood
- Make sure the finish is fully dry, per its label.
- Pick the closest shade, or blend two.
- Press putty into the hole.
- Wipe the excess off the surrounding finish with a damp cloth, as the Minwax directions say.
- Do not sand it.
Common beginner mistakes
- Using filler after finishing, then sanding a dull ring around every hole.
- Using putty before staining, then finding the stain will not take over it.
- Not overfilling, so the dried filler sits below the surface.
- Skipping the scrap test and discovering the patch color on the finished piece.
We cover more of these in our list of beginner woodworking mistakes, sorted by what they cost.
FAQ
Can I stain over wood putty?
Classic soft wood putty is meant to go on after staining and topcoating, not before. Minwax's Wood Putty directions say to stain and topcoat first, then apply putty. If you need to stain over a patch, use a stainable filler on the bare wood instead.
Can I sand wood putty?
Not the soft, non-hardening kind. Minwax says its Wood Putty "will not harden to a sandable surface." Some products called putty do harden, such as powder water putties, so read the label.
Is wood filler stronger than wood putty?
Hardening wood filler dries hard and can be sanded, while classic putty stays soft. Neither should be relied on to hold a joint together. If a joint is loose, fix the joint.
Which is better for nail holes?
Before finishing, filler, because you can sand it flush. After finishing, putty, because it goes in without disturbing the finish around the hole.
Why fill above the surface?
So there is material to sand back flush once it dries. Minwax's Stainable Wood Filler directions say to fill slightly above the surface to allow for sanding. If you fill exactly level, the dried patch can end up sitting slightly low.