How to Build a Wooden Box (Beginner's First Project)
How to build a wooden box as a true beginner, hand tools only: a design cut list, safe cutting steps, and fixes for the mistakes that actually happen.

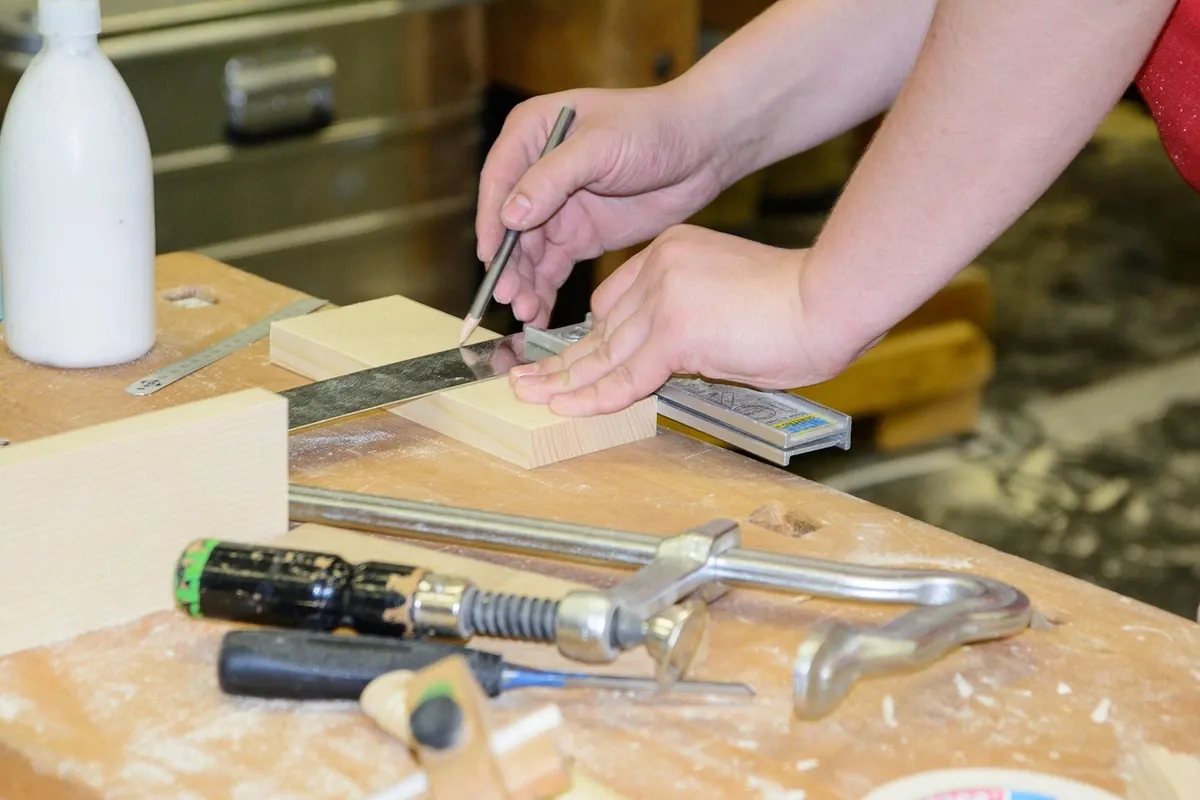
The fastest beginner-safe path to a simple wooden box uses four or five cut pieces, wood glue, and either a miter box with a hand saw or a basic circular saw guide. No power miter saw is required. Most first-timers split it across two sessions: a build day for cutting and gluing, and a separate finishing day once the glue has fully cured. Nothing here needs a garage, a bench, or a power tool you don't already own.
Why a box is the right first project
A box teaches two skills at once, straight cuts and a simple glue-up, without any of the tolerances that make furniture punishing. A bookshelf or table fails visibly if a leg is a millimeter off square. A box with a slightly uneven corner still holds things and still looks intentional, especially once it's sanded and finished. That forgiveness is the entire point of starting here.
It's also genuinely renter-friendly: nothing about this build touches a wall or a floor, there's no drilling into anything that isn't your own material, and the finished box is fully portable if you move. If you want the fuller case for why a small, forgiving project should come before furniture, the guide to starting woodworking without a garage covers that reasoning in more depth.
Tools and materials you actually need
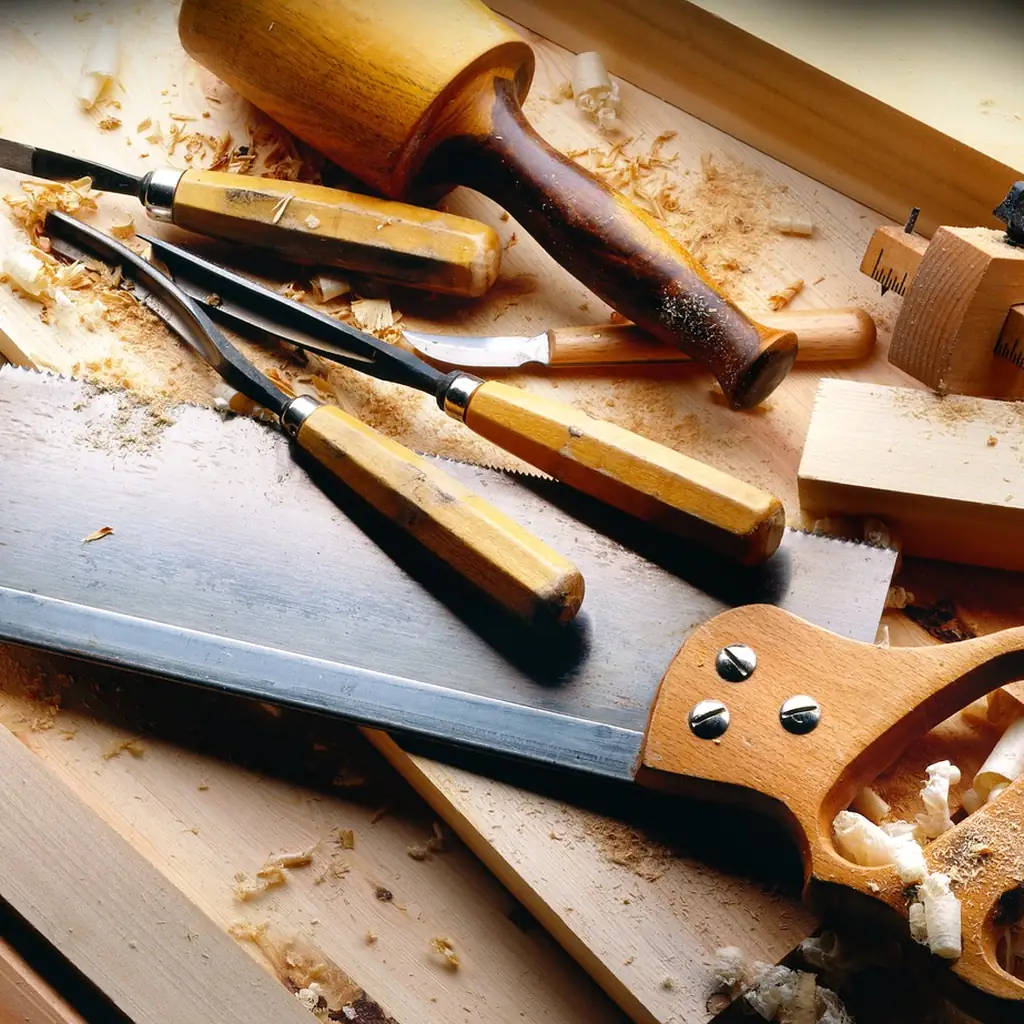
The hand-tool path is the default here, because it assumes nothing about your space beyond a table and a chair.
- A hand saw, ideally a short backsaw or panel saw suited to small stock
- A miter box, to guide straight and square cuts without freehanding
- Wood glue (standard PVA woodworking glue)
- Clamps, or a stack of heavy books as a substitute
- A pencil, a small square, and a tape measure
- Sandpaper in a medium and a fine grit
A circular saw with a straight-edge guide will cut the same pieces faster, and it's a fair option if you already own one. It is not assumed here, and it is not a shortcut worth buying a saw for on its own. If you're still deciding what's worth owning at all, the minimal tool kit guide walks through the actual buy order for a beginner.
Choosing and prepping your wood
A beginner-forgiving softwood board, or a plywood offcut if you have one, is the easiest material to start with. Both cut cleanly with a hand saw and don't punish a slightly-off line the way a dense hardwood does. Size the whole project to what you can comfortably cut on a kitchen table or a small folding surface: nothing here should require a piece longer than you can lay flat and still reach both ends of.
The dimensions below are a design, not a tested plan. They're starting numbers to adapt to your own scrap or offcut, not measurements that have been built and confirmed as final. Adjust the length and width to whatever board you actually have on hand.
| Piece | Quantity | Suggested size | Notes |
|---|---|---|---|
| Long sides | 2 | 10 in x 4 in | Front and back walls |
| Short sides | 2 | 6 in x 4 in | End walls |
| Base | 1 | 10 in x 6 in | Sits inside the four walls |
That's five pieces total, which keeps the cut count low and the margin for error small. If your board is a different width, scale every measurement proportionally rather than mixing an old plan with new stock.
Step-by-step cutting
- Mark before you cut. Measure each piece, mark the cut line with a pencil and square, and double-check the measurement before the saw touches the wood. A wrong mark costs nothing; a wrong cut costs the piece.
- Cut to length using the miter box. Set the board in the miter box, keep the saw flat against the guide slot, and let the tool control the angle rather than trying to hold a straight line by eye.
- Check square after every cut. Hold the small square against the cut edge before moving to the next piece. Catching an off-square cut here is far easier than fixing it after glue-up.
[SAFETY] The real risk in this step isn't the saw itself, it's small pieces and unsteady hands. Once a piece gets short, freehanding it against a hand saw with nothing holding it in place is how fingers get too close to the blade. Use the miter box or a simple bench hook for every cut, especially the last few inches of a piece, and never brace a small offcut with the hand that's also guiding the saw. If your work surface rocks, slides, or isn't rigid enough to hold the wood steady while you cut, stop and fix the surface before you fix the cut. The guide to working without a workbench covers clamping and cutting setups that don't need a bench at all, and it's worth reading before this step if you're cutting on a table for the first time.
Gluing and assembling the box
Dry-fit the whole box before any glue touches wood. Stand the four side pieces around the base, check that the corners meet cleanly and the base sits flush, and only then move to glue.
A reliable order: glue and join the two long sides to the base first, let that sub-assembly sit for a few minutes, then add the two short end pieces to close the box. Apply glue in a thin, even line rather than a thick bead, standard PVA woodworking glue only needs a thin film to bond well, and excess glue at a joint is squeeze-out, not extra strength.
Clamp the joints while the glue sets. If you don't own clamps, a stack of heavy books or a couple of gallon jugs of water on top of the glued joint will hold enough pressure for most box-sized joints. Wood glue reaches usable strength well before it's fully cured, but giving it the full cure time on the packaging before handling the box hard is the safer default, since cure times vary by product and humidity.
Sanding and finishing options
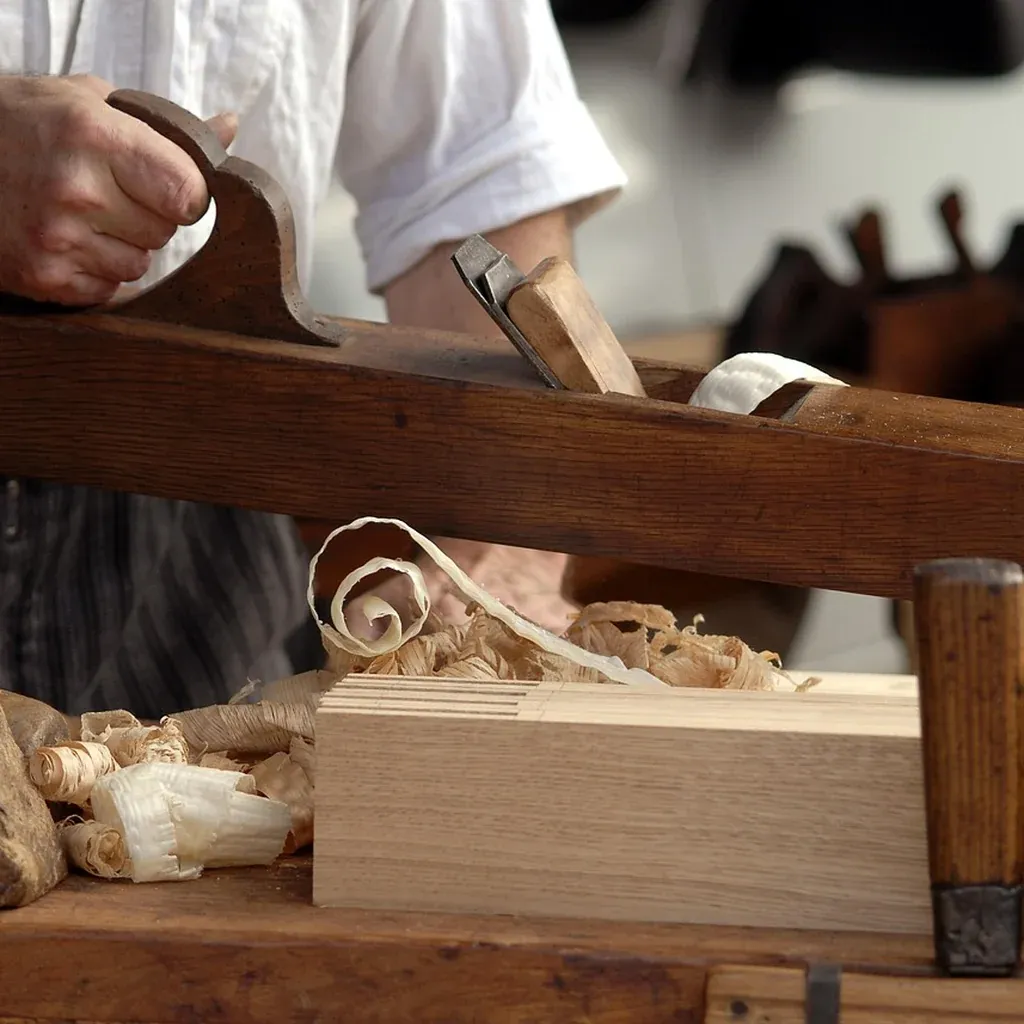
Once the glue has cured, sand the outside faces and corners smooth, starting with a medium grit to knock down unevenness and finishing with a fine grit for a smooth feel. This is also the point where a slightly uneven corner from the cutting stage gets forgiven, sanding softens small mismatches that would be obvious on furniture but disappear on a small box.
Finishing beyond sanding is optional at this stage. A basic wood finish, chosen for indoor use and low fumes in a small space, protects the surface and evens out the color, but no specific product is necessary to call this project done. What matters more for a first project is that the joints are solid and the box sits flat.
What could go wrong, and the safer fix
- Gaps at the corners. Usually means a cut wasn't quite square. Sand the high side lightly to close small gaps, or, for a wider gap, fill with wood glue and fine sawdust before final sanding.
- Glue squeeze-out. Wipe it away while still wet with a damp cloth. Dried squeeze-out can be sanded off, but it takes more work and can leave a slightly lighter patch under a finish.
- A box that rocks instead of sitting flat. Check the base for a corner that's proud of the others, and sand that corner down slightly. If the box still rocks after three real attempts to true it up, that's a sign the work surface itself wasn't stable or flat enough during cutting or gluing, not a sign you did something wrong with the wood. Stop, find a flatter and more rigid surface, and rebuild the joint that's causing the problem rather than sanding around it indefinitely.
None of these are project-ending. A box with one imperfect corner is still a functional, good-looking first project, and every one of these fixes is faster than starting over.
If this build went smoothly and you're ready for the next one, three more starter projects ranked by difficulty pick up from here, and a longer list of renter-friendly builds covers projects that, like this box, never touch a wall or a floor.
FAQ
Do I need power tools to build a wooden box? No. A hand saw and a miter box handle every cut in this project. A circular saw with a straight-edge guide is a faster option if you already own one, but it's never required.
What wood should a beginner use for a first box? A softwood board or a plywood offcut is the most forgiving choice. Both cut cleanly with a hand saw and hide small mistakes better than a dense hardwood would.
How long does this project actually take? Most beginners split it into a build day (cutting and gluing) and a separate finishing day, since the glue needs to cure before heavy handling and sanding. Expect a weekend, not a single sitting.
Is the cut list in this guide something I should follow exactly? No. It's a starting design meant to be adapted to whatever board or offcut you actually have, not a plan that's been built and verified to those exact measurements. Scale it to your material.
What if my box doesn't sit flat? Check for a corner or the base that's slightly proud and sand it down. If it still rocks after a few real attempts, the issue is usually the work surface, not the wood, so switch to a flatter, more rigid surface before rebuilding the joint.