Woodworking Without a Workbench: Clamping and Work-Holding
What replaces a workbench when you don't have one. A renter-safe hierarchy of clamping and work-holding options, cheapest and least permanent first.

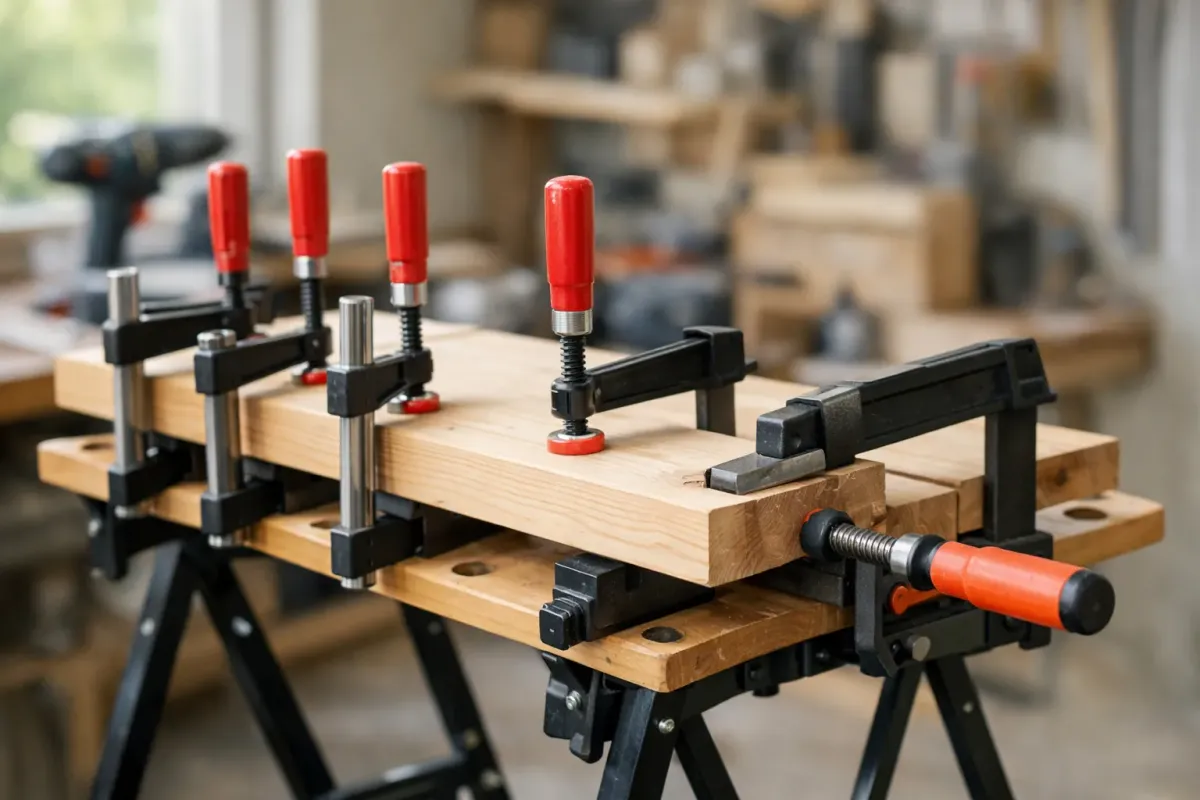
Woodworking without a workbench comes down to work-holding: clamps and a solid table, a portable clamping workstation, or a simple DIY batten jig, in roughly that order of cost and commitment. Unstable work-holding is both an accuracy problem and a genuine safety issue, so this is worth getting right before the first cut rather than improvising mid-project.
Much of the existing writing on this topic (Moxon vises, planing stops, sash clamps) assumes a reader who already has some shop infrastructure or at least a dedicated bench to modify. This guide starts from genuinely nothing: no vise, no dedicated table, possibly a rented kitchen table that can't be screwed into.
Why work-holding matters more than people think
A board that shifts mid-cut doesn't just produce a bad cut, it can bind against the blade and kick the tool back toward the person holding it. This is a real, well-documented risk with circular saws and other handheld power tools, not a theoretical one, and it's the main reason work-holding is treated here as a safety topic first and an accuracy topic second. Whatever method is used, the wood needs to be genuinely immobile before the tool touches it, not just resting in place.
The same principle applies to hand tools, just with lower stakes. A workpiece that creeps under a hand saw or wobbles under a chisel produces a wandering cut or a slipped edge rather than a clean line, and a slipped chisel is its own way to get cut. The fix in every case is the same: secure the work first, then start cutting, sanding, or chiseling, never the other way around. Reading a tool's own manual for how it expects the workpiece to be supported is worth doing once, since that guidance is specific to the tool in a way a general guide like this one cannot be.
Choosing clamps: what actually gets used
A small clamp collection covers most of what this guide describes. Bar clamps (sometimes called F-clamps) are the most versatile single type, since they open wide enough to span a tabletop or a wide board and adjust with one hand. Spring clamps are faster to apply for light-duty holding, like keeping a batten in place while a second clamp does the real work, but they don't apply as much force as a bar clamp. A pair of each covers the large majority of the work-holding tasks in this guide; more specialized clamps (corner clamps, pipe clamps for wide glue-ups) are worth adding only once a specific project calls for them, not as a starting purchase.
Work-holding for sanding, not just cutting
Cutting gets most of the attention in this topic, but sanding needs stable work-holding too, and it's easy to overlook. A workpiece that slides across a table while being sanded wastes effort and can leave uneven, rounded edges where the piece kept shifting. The same batten jig or a single clamp at one end holds a piece steady for hand-sanding or a random orbital sander without needing a second setup beyond what's already used for cutting.
When it's time to get a real workbench
Cheapest first: clamps and a solid table or the floor
The lowest-cost option is a pair of bar or F-style clamps and a table sturdy enough not to flex under pressure. For a table that can't be clamped to directly (glass, an antique, anything a landlord would object to marks on), the floor works for many cuts, with the workpiece clamped to a piece of scrap plywood underneath to protect the floor and give the clamp something to grip.
This option costs the least and commits to nothing permanent, which makes it the right starting point for almost every beginner, especially before knowing whether the hobby will stick.
The portable workstation option
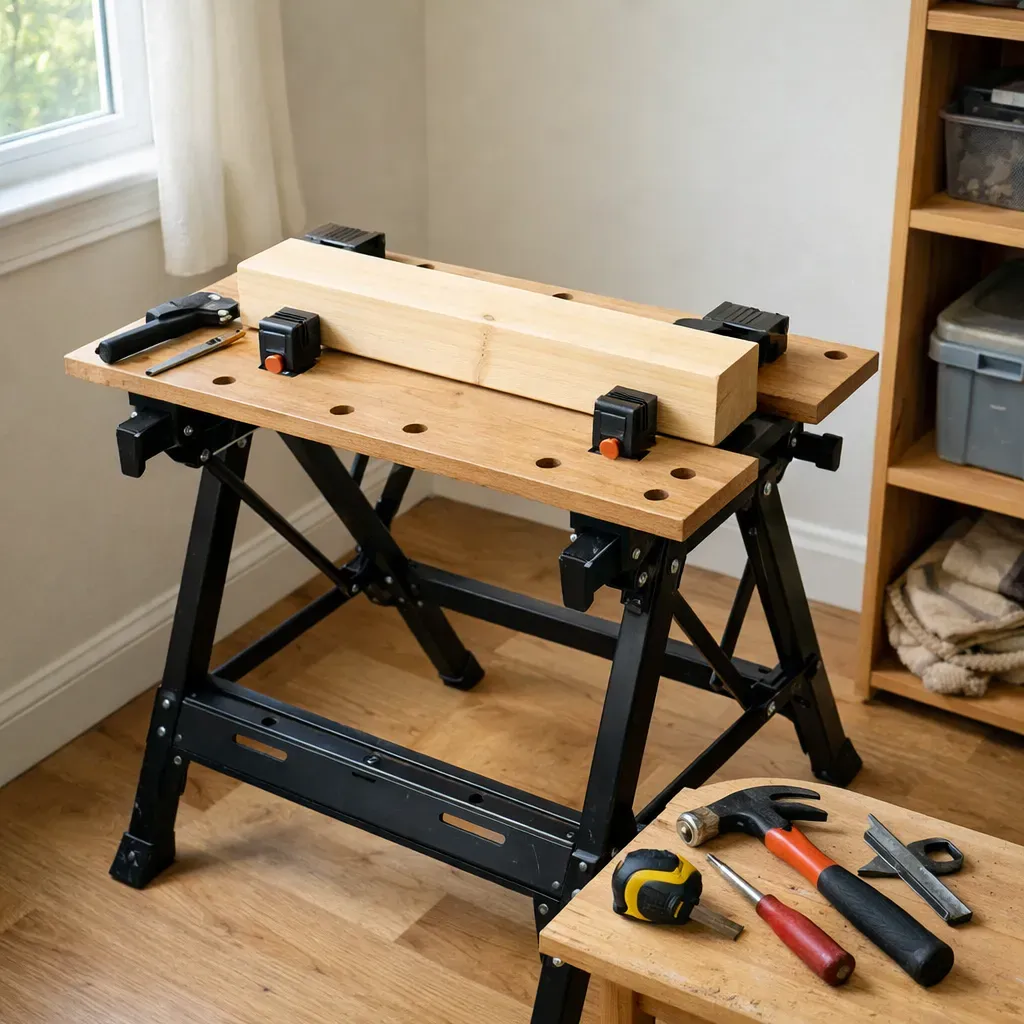
A folding, clamping portable workstation (the category popularized by the Workmate-style design) adds a stable, purpose-built surface with a built-in vise action, at the cost of buying a dedicated piece of equipment and finding somewhere to store it when folded. It solves the "nothing sturdy to clamp to" problem directly and folds flat enough to fit in a closet, which matters in a small apartment.
This is worth the cost once clamping directly to a table becomes a limiting frustration, but it is not a first purchase before that point.
The 5-minute DIY batten trick
A batten jig turns any solid table into a temporary bench surface without a single permanent modification. Two straight strips of scrap wood, clamped to the table's edge, form an L-shaped stop that a workpiece can be pushed against and held with body weight or a single clamp for many straight cuts and sanding tasks. It costs almost nothing beyond scrap material already on hand, and it comes off the table without a mark when the session ends.
This is the best middle option for a renter: more stable than clamps alone, with no risk to a table that isn't owned.
What not to try clamping to
Some surfaces are worth avoiding entirely, regardless of how tempting the shortcut is. A glass-top or veneered table can crack or dent under clamp pressure. A shared or rented table risks a landlord dispute over marks left by clamps or cutting. Anything genuinely wobbly, rather than just unclamped, should not be trusted to hold a workpiece still even with clamps added, since the wobble itself is the hazard, not just the lack of grip.
When it's time to get a real workbench
A real workbench earns its floor space once projects regularly need both hands free at the same time (holding a piece with a vise while planing or chiseling), once a project needs to stay set up between sessions without taking over the only table in the room, or once repeat precision work makes the extra five minutes of batten setup a genuine daily cost rather than an occasional one. Until then, the options above cover the great majority of beginner and intermediate projects, including all three from the first weekend project guide and the cuts this site's minimal-tool-kit projects call for.
This work-holding decision sits inside the larger roadmap covered in the no-garage starting guide, and it pairs directly with the tool choice covered in the minimal tool kit guide, since the saw being used changes how much stability the work-holding setup actually needs.
FAQ
Is it actually safe to cut wood without a workbench? Yes, as long as the workpiece is genuinely immobile before the cut starts, whether that's clamps on a solid table, a portable workstation, or a batten jig. The danger is not the absence of a bench, it's an unstable workpiece shifting mid-cut.
What's the cheapest way to hold wood steady for cutting? A pair of clamps and a solid table, or the same clamps used on the floor with a scrap board underneath to protect the flooring. This costs the least and works for most straight cuts.
Will clamping damage my rented table? It can, depending on the clamp type and the table's finish. Padding the clamp jaws with scrap wood or cloth reduces the risk significantly, but a genuinely valuable or delicate table is better avoided entirely in favor of a batten jig or a portable workstation.
What is a batten jig, exactly? Two strips of scrap wood clamped to a table's edge in an L shape, giving a workpiece something to push against so it doesn't slide during a cut. It takes a few minutes to set up, costs almost nothing, and leaves no mark on the table once removed.
How do I know when I actually need a real workbench? When projects start needing both hands free for a task like planing or chiseling while the workpiece is held, or when leaving a project set up between sessions stops being optional. Before that point, clamps, a portable workstation, or a batten jig cover most beginner work.
How many clamps do I actually need to start? Two mid-size bar clamps cover most single-person work-holding tasks in this guide. A couple of smaller spring clamps are a useful, low-cost addition for lighter jobs like holding a batten in place, but they aren't a substitute for a bar clamp's holding force on a real cut.