3 Easy Beginner Woodworking Projects for an Apartment
Three real beginner woodworking projects for an apartment, ranked by difficulty, each with a cut list, tool list, and what could go wrong.

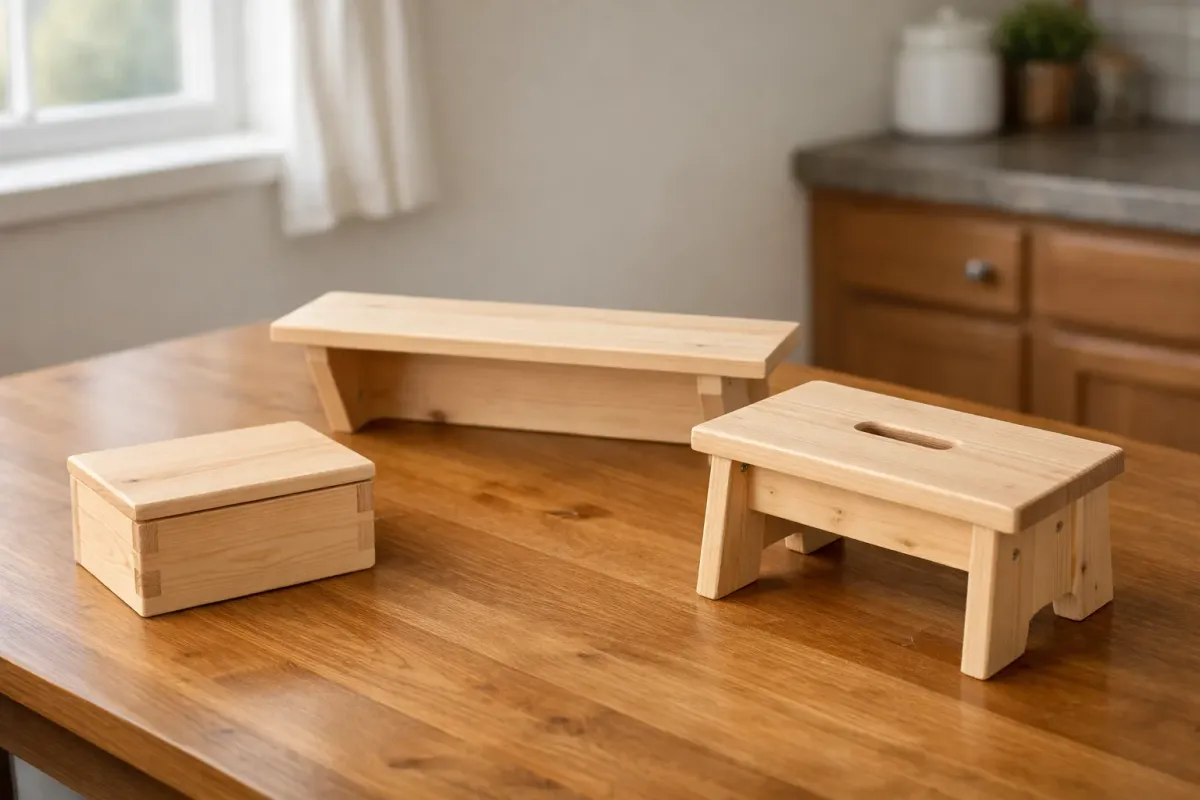
Three projects fit a first weekend of apartment woodworking, in order of difficulty: a simple wooden box, a floating shelf, and a small stool that introduces one power tool. Each is small enough to finish in a day or two, forgiving of minor mistakes, and buildable on a kitchen table or a folding workbench. Full cut lists, tool lists, and honest "what could go wrong" notes are below.
Most project roundups for apartment woodworking, including Apartment Therapy's popular list and several competing blogs, cover seven or eight ideas in a paragraph each. That breadth is fine for browsing, but it leaves a beginner without the one thing they actually need before cutting anything: a real cut list and a sequenced difficulty order. This guide covers three projects instead of eight, in depth.
What makes a good first project, and why furniture isn't it
A good first project has forgiving tolerances: small errors in a cut or a joint do not ruin the whole piece, and a slightly-off measurement is fixable with sandpaper or a rethink rather than a wasted board. Furniture with real structural demands (a dining table, a bookshelf meant to hold weight evenly) punishes exactly the mistakes a first-timer is most likely to make. None of the three projects below ask for furniture-grade precision, which is deliberate.
Project 1: A simple wooden box
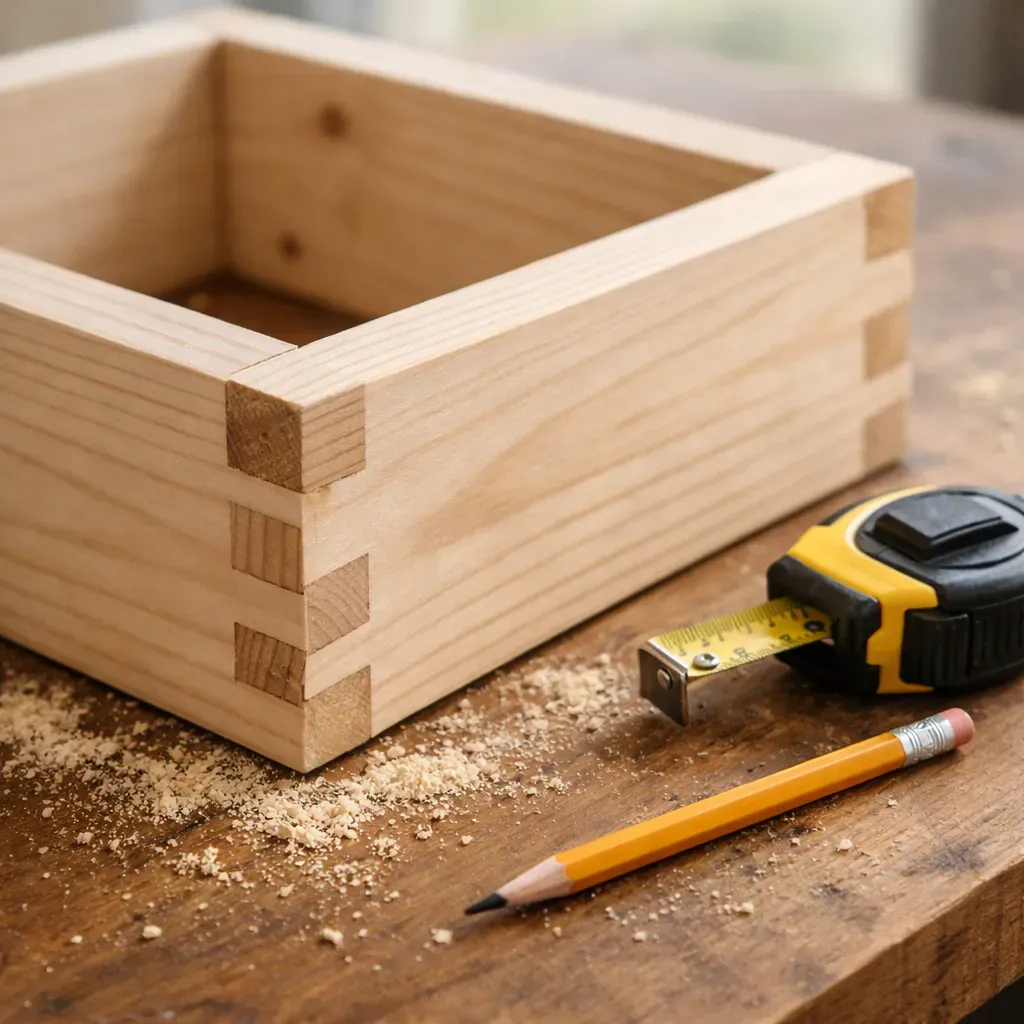
The lowest-stakes build in this list. A box has no legs to level, no shelves to keep parallel, and forgives a slightly uneven glue line better than almost any other project.
Tools needed: a hand saw or circular saw, wood glue, clamps (or heavy books as a substitute), sandpaper, a measuring tape and square.
Cut list (a basic 8x6x4 inch box): two side panels 8x4 inches, two end panels 6x4 inches (or 4.75 inches if butting inside the side panels), one bottom panel 8x6 inches. Adjust dimensions to the wood on hand; the joinery method matters more than the exact size.
Steps: cut all five panels to size, dry-fit the sides and ends around the bottom panel to check the fit, glue and clamp the sides to the bottom first, then glue and clamp the ends, sand every edge once the glue has fully cured.
What could go wrong: glue squeeze-out at the joints looks messy if not wiped away while wet; a panel cut even slightly out of square will show as a visible gap at one corner. Both are fixable: wipe glue immediately with a damp cloth, and sand a slightly proud edge flush once dry.
Project 2: A floating shelf
A step up in visible precision, since a shelf that isn't level is obvious every time something is set on it, but it still uses only hand tools.
Tools needed: a hand saw or circular saw, a drill, wood glue, sandpaper, a level, wall anchors appropriate to the wall material.
Cut list: one shelf board cut to the desired length (commonly 18 to 24 inches for a small floating shelf), plus a cleat strip cut about 2 inches shorter than the shelf's interior width if building a hollow-box style shelf rather than a solid board on brackets.
Steps: decide between a solid board on simple brackets (simpler, visible brackets) or a hollow box shelf with a hidden internal cleat (cleaner look, more joinery); mark and level the wall mounting points before drilling anything; mount the bracket or cleat first, then attach the shelf to it; check level again before it's load-bearing.
What could go wrong: an unlevel mounting point is the single most common failure and is entirely preventable by checking with a level twice before drilling. Wall material matters too: drywall without a stud or the right anchor will not hold real weight, which is a genuine safety issue if the shelf is loaded and the mount fails.
Project 3: A simple step stool
This project introduces the one power tool most beginners buy first: a circular saw, for straight leg and rail cuts that would take much longer by hand. It is the natural bridge into the site's tool-kit guide.
Tools needed: a circular saw (or hand saw, more slowly) with a straight-edge guide, a drill, wood glue, clamps, sandpaper, a square.
Cut list (a basic two-step stool): four legs cut to matching length, two or three horizontal rails/treads cut to the stool's width, simple corner or pocket-hole joints connecting legs to rails.
Steps: cut all legs to the exact same length first, since any mismatch shows immediately once the stool stands on the floor; assemble one side frame at a time using clamps to hold it square while the glue sets; join the two side frames with the tread boards; sand all edges, especially anywhere a hand or foot will contact the stool.
What could go wrong: mismatched leg lengths are the most common failure on this project and the reason to cut all four at once, from the same setup, rather than one at a time. A frame glued up out-of-square will visibly rock; check with a square before the glue sets, not after.
Material choice for all three projects
Pine and poplar are the two most common beginner-friendly woods for these builds, both widely available at general hardware retailers rather than requiring a specialty lumber yard. Pine is softer and less expensive, which makes it forgiving of practice cuts but also more prone to dents and tear-out if a hand plane or sander is pushed too hard. Poplar costs a little more and holds a crisper edge and a cleaner paint finish, which matters most on the shelf and stool, where edges stay visible. Either works for the box, since it's typically painted or left natural rather than fine-finished. Plywood is a reasonable substitute for the shelf's cleat-and-box style if a solid board isn't on hand, though its edges need extra sanding or edge banding to avoid a visibly layered look.
A note on finishing
None of these three projects require a finish to be functional, and it's reasonable to leave a first project unfinished to focus on the cutting and joinery skills alone. If a finish is wanted, a simple wipe-on option applied in a well-ventilated space is the lowest-friction choice for a first attempt; this site's finishing cluster covers the ventilation and product-safety side of that decision in more depth once a project reaches that stage.
What to do after finishing all three
Finishing these three projects teaches the core skills (straight cuts, basic joinery, gluing, finishing prep) that every later project on this site builds on. The next reasonable step is deciding whether to lean further into hand tools or add one or two power tools, which the minimal tool kit guide walks through in buy order. For the space and setup these projects were built in, the full workshop setup guide covers the noise, dust, and landlord questions that come up once a hobby moves past a single weekend. The roadmap this guide fits into is laid out in the no-garage starting guide.
FAQ
Do I need a workbench for any of these three projects? No. All three are buildable on a kitchen table protected with a sacrificial board, or on a portable folding workbench. A dedicated guide covers work-holding options if clamping directly to a table isn't possible.
Which project should a complete beginner start with? The box. It has no leveling requirement and no visible joint that has to be perfectly flush, which makes it the most forgiving of the three for a first attempt with any tool.
Can I build the floating shelf without a drill? Not safely for a load-bearing shelf. The drill is needed to install wall anchors correctly for the wall material in use; skipping this step risks the shelf pulling out of the wall under real weight.
Is a circular saw actually necessary for the step stool? No, a hand saw works, it simply takes longer and demands more care to keep cuts straight. The circular saw is introduced here because it is the first power tool most beginners add, not because the project requires one.
How long does each project actually take? The box and the shelf are commonly finishable in a single afternoon once materials are on hand. The step stool, with four matching legs and two joined frames, is more realistically a full weekend project including glue-drying time between steps.
What wood should a beginner use for these projects? Pine or poplar from a general hardware retailer both work well and don't require a specialty lumber yard. Pine is cheaper and softer; poplar costs a little more and holds a cleaner edge and finish, which matters most on the shelf and stool.