Cordless Drill Buying Guide for New Woodworkers
The voltage on the box is a marketing unit, not a power rating. What chuck size, clutch, gearbox and battery platform actually change for a beginner.

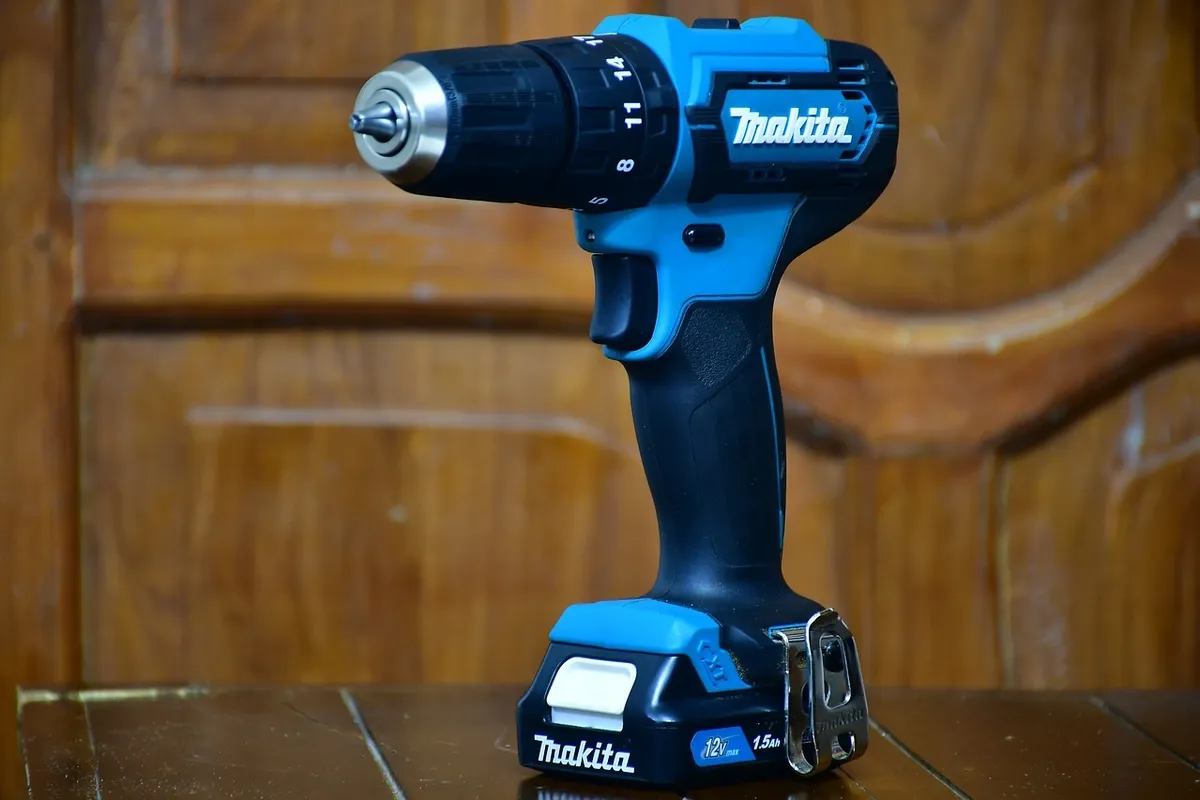
The number on the front of the box is the least useful specification on it. A pack sold in the United States as "20V MAX" and the same pack sold in Europe as "18V" are the same cells: the US figure is the maximum initial voltage with no load applied, the European figure is the nominal voltage under load, and the difference is advertising rules rather than hardware.
Knowing that changes how you shop. The specifications that genuinely change what a drill can do for a beginner are the chuck, the clutch, the gearbox, the motor type and, above all, the battery platform you are joining. Here is what each one means.
Voltage: What It Does and Does Not Tell You
Nominal voltage is the average voltage a lithium-ion pack holds under working load. Peak voltage is what it briefly reads straight off the charger. Five lithium-ion cells in series give a nominal 18V and a fresh full-charge reading around 20V, which is why the same platform is marketed both ways in different regions.
What this means in practice: do not read a "20V" tool as more powerful than an "18V" one. They are frequently identical. Compare within a region's labeling convention or ignore the headline number entirely.
The comparison that is real is 12V class against 18V class, which are genuinely different tools. A 12V drill is lighter, shorter front to back, easier to control one-handed and easier to work with in a confined space, and it is enough for pilot holes, small screws and assembly work. An 18V drill has more torque available for large bits and dense material, and it is heavier to hold at arm's length.
For a beginner building small furniture in a home, the 12V class is under-recommended and often the better tool, precisely because control matters more than headline torque at this stage.
Amp Hours Are Runtime, Not Power
The Ah figure on a battery is capacity, not strength. A 5.0Ah pack does not make a drill more powerful than a 2.0Ah pack on the same platform. It runs longer between charges, and it is heavier.
That trade matters more than it sounds for a hobbyist. A large pack on a small drill turns a light, balanced tool into a nose-heavy one, and weight at the end of your arm is what makes a hole go crooked. Two small packs are usually better for home use than one large one: you are never waiting on a charger, and the tool stays comfortable.
The other honest point about batteries: they are consumable. Cells degrade with age and cycles regardless of how carefully you treat them, which is a reason to think about the platform's availability rather than only today's tool.
The Chuck: Size, Type, and the Part That Fails
The chuck is the jaw assembly that grips the bit, and its size is the largest shank diameter it will accept.
A 3/8 inch chuck handles the great majority of beginner woodworking: twist bits, brad point bits, driver bits, small spade bits. A 1/2 inch chuck accepts larger shanks and appears on heavier drills, which matters if you expect to use large auger or hole-saw bits.
Keyless is standard now and it is a genuine convenience, but it comes with a specification worth knowing: single-sleeve keyless chucks are tightened by hand only, so a bit under high torque can slip in the jaws. If a bit keeps spinning in the chuck rather than in the wood, that is usually the cause. Retighten firmly, with the drill's spindle lock if it has one.
Safety inside this step, not after it: seat the bit fully in the jaws before tightening, because a shallowly gripped bit runs off-center and can be thrown. If the drill has a chuck key, remove it before the trigger is pulled, every time. And do not wear gloves or loose sleeves near a rotating chuck, since a rotating jaw catches fabric before you can release the trigger.
The Clutch: The Specification That Saves Beginner Work
The clutch is the numbered collar behind the chuck, and it sets the torque at which the drive disengages with a ratcheting sound. It is the single most useful feature on a beginner's drill and the one most often ignored.
Set low, the clutch stops driving before the screw pulls through the surface or the head strips. Set high, or in drill mode where the clutch is bypassed entirely, the drill keeps applying torque until something gives, and in softwood the thing that gives is the workpiece.
How to use it rather than what it is: start a few settings lower than you think, drive a test screw into an offcut of the same material, and step up until the screw seats flush without the clutch slipping. Every different screw, material and pilot-hole size changes that number.
Related and equally practical: the two-speed gearbox switch on top. Low speed gives higher torque for driving screws and large bits; high speed gives lower torque for small twist bits in wood. Beginners tend to leave it in high and then wonder why screws strip.
Brushless or Brushed, Honestly
A brushless motor uses electronic commutation instead of carbon brushes rubbing against a commutator. The documented advantages are better efficiency, so more runtime per charge, better power for a given size and weight, and no brushes to wear out.
Whether a beginner needs one is a different question. For occasional home projects, a brushed drill from a reputable platform will do everything described on this page. The brushless advantage grows with how hard and how often the tool is worked, which is the opposite of a hobby usage pattern.
Where it does matter: if a compact, light tool is the goal, brushless is how manufacturers get comparable performance into a smaller body. If you are choosing between a brushless bare tool and a brushed kit with two batteries and a charger at similar cost, the batteries are usually the better purchase.
The Purchase You Are Actually Making Is a Platform
This is the part beginners work out two years late.
Batteries and chargers are not interchangeable between manufacturers, and rarely between a manufacturer's own tiers. When you buy your first cordless drill you are choosing which battery system every future cordless tool you own will belong to: the sander, the jigsaw, the circular saw, the vacuum.
What to weigh, in order:
- How wide is the platform's tool range, particularly the tools you might want next.
- Are bare tools sold separately, so later purchases do not force another battery and charger.
- Are batteries and chargers available where you live, at a normal price, from more than one seller.
- How long has the platform existed without a battery-format change.
A drill bought as part of a system you will keep is a better purchase than a marginally better drill on a system you will abandon. That is the same logic as the sequencing argument in the minimal tool kit.
Drill, Driver, or Hammer Drill
Three things get sold under similar names and only one of them is a first purchase.
A drill/driver is what this article is about: a chuck, a clutch, usually two speeds, forward and reverse. It drills holes and drives screws. This is the tool to buy first.
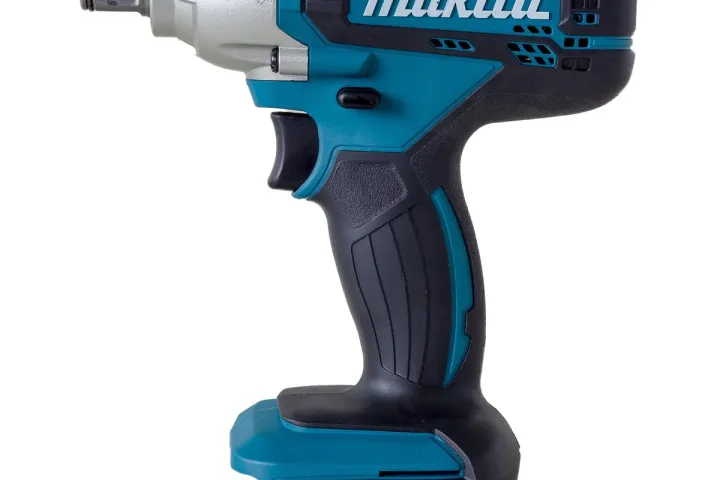
An impact driver delivers rotational hammer blows and drives long screws with far less effort and less torque reaction on your wrist. It takes only 1/4 inch hex shanks, not round bits, so it is not a drill. It is a genuinely useful second tool, not a first one.
A hammer drill adds a forward percussion action for masonry. For woodworking it is dead weight, though it is relevant if you also expect to fix things to a masonry wall, which comes up in a small-space bookshelf.
Using It Safely, Which Is Mostly About the Workpiece
The drill is not usually what injures people. The workpiece is.
Clamp the work before drilling, every time. When a bit binds, which happens as it breaks through the far side, the torque has to go somewhere: either the workpiece spins, or the drill twists in your hands. A clamped board removes the first outcome, and a firm two-handed grip with the auxiliary side handle, if the drill has one, addresses the second. The holding options for a home without a bench are in woodworking without a workbench.
Know what is behind the wood. Put a sacrificial board underneath so the bit exits into that instead of the table, which also reduces tear-out on the back face. Before drilling into any wall, the question of what is inside the wall is a different and more serious one than drilling into a board.
Wear eye protection marked Z87+, the ANSI/ISEA Z87.1 marking for the high-velocity impact test, because bits break and chips come back toward your face. Drilling is quieter than sawing, but a drill is still a loud tool at close range, so keep hearing protection nearby. And let the bit cut at its own rate: leaning on a drill overheats the bit, burns the hole and increases the chance of a bind.
The Short Version
- "20V MAX" and "18V" often describe the same pack. One is peak with no load, the other is nominal under load.
- The real class difference is 12V against 18V, and 12V is often the better beginner tool for control and comfort.
- Amp hours are runtime, not power. Two small packs usually beat one large one at home.
- A 3/8 inch keyless chuck covers most beginner woodworking. Seat the bit fully and retighten if it slips.
- The clutch is the most useful feature on the tool. Test on an offcut and step up.
- Brushless is a real advantage under sustained load, which is not most hobby use. Batteries may be the better spend.
- You are buying a battery platform, not just a drill.
- Clamp the work, back it with a sacrificial board, wear Z87+ eye protection, and let the bit cut.
Frequently Asked Questions
Is a higher voltage drill always more powerful? No. Voltage labeling differs by region for identical hardware, and torque depends on the motor and gearbox as much as the pack. Compare 12V class against 18V class, and ignore the difference between "18V" and "20V MAX" entirely.
Do I need an impact driver as well as a drill? Not to start. An impact driver is excellent at long screws and awkward driving, and it cannot use round-shank drill bits at all, so it supplements a drill rather than replacing one.
Corded or cordless for a beginner? Cordless for a drill, in almost every home case. The convenience is real, the power is sufficient for woodworking, and it removes the extension cord from a small space. The corded argument is stronger for tools that run continuously, such as sanders.
What size drill bits should I buy with it? A basic twist bit set covering common screw pilot sizes, plus brad point bits if you want clean-edged holes in wood, since a brad point's center spur stops the bit wandering at the start. Buy larger spade or auger bits when a project needs them.
How do I stop screws from splitting the wood? Drill a pilot hole sized to the screw's shank rather than its threads, keep fasteners away from the very end of a board where possible, and set the clutch so it disengages before the head buries itself. Splitting near a board end is one of the most common beginner failures, which is why it appears in the common mistakes guide.