Woodworking Beginner Checklist: Buy This, Not That
A first-project checklist split three ways: buy now, buy when a project demands it, and do not buy yet. With the specs that actually decide quality.

Buy for the first project, not for the hobby. The shortest honest list is a way to mark, a way to cut, a way to hold, a way to fasten, a way to smooth, and protection for your eyes, ears and lungs. Six functions, not thirty products.
Most beginner checklists are a shopping list with no ordering principle, so you end up owning the wrong version of things you did need. This one is split three ways: what to buy before project one, what to buy the moment a project demands it, and what to leave alone for now.
Buy Before Project One: Protection
This goes first because it is the only category where the wrong choice has a permanent consequence, and because it is the category people postpone.
Eye protection with the right marking. Under ANSI/ISEA Z87.1, eyewear marked Z87 has passed the basic impact test and eyewear marked Z87+ has passed the high-velocity impact test, which uses a quarter-inch steel ball at 150 feet per second. OSHA references that standard in 29 CFR 1910.133. For anything that throws particles, which includes sawing, drilling, chiseling and sanding, look for the Z87+ marking on the lens or frame. It is a stamped mark, not a claim on the packaging.
Hearing protection, worn from the first cut. Muffs or plugs both work. The pair you actually reach for is the one that protects you, so keep them hanging on the tool rather than in a drawer.
A dust mask for sanding. IARC classified wood dust as a Group 1 carcinogen in 1995. The exposure limits behind that are occupational, but the reason not to breathe fine wood dust does not change because you are a hobbyist.
Buy Before Project One: Marking and Measuring
Accuracy failures almost always start here, before any tool touches wood, and the tools are cheap relative to the damage they prevent.
A combination square, and check it before you trust it. There is a test you can do in the store or at the kitchen table: hold the square against a board with one known straight edge, draw a line along the blade, flip the square over to the other side of the same reference point, and draw again. If the two lines diverge, the square is not square. Half the divergence is the error. This is worth doing because an out-of-square square makes every joint wrong in a way that looks like your technique.
A tape measure and a pencil, plus one habit. Measure everything from the same reference face and mark that face. Cumulative error comes from flipping the board and measuring from whichever end is nearest.
A marking knife or a sharp pencil, used consistently. A knife line is thinner than a pencil line and gives a chisel or a saw somewhere to start. The point is not which one, it is not mixing them mid-project.
Buy Before Project One: One Way to Cut
You do not need a saw for every cut. You need one saw you can cut accurately with.
A hand saw is the correct first saw for most people in a home, and specifically a pull saw with a fine tooth count. It is quiet, it needs no outlet, it costs less than any powered option, and it cuts on the pull stroke, which keeps the blade in tension and makes it easier to track a line than a push saw does. It is also the tool behind most of the quiet builds on this site, including a floating shelf without power tools.
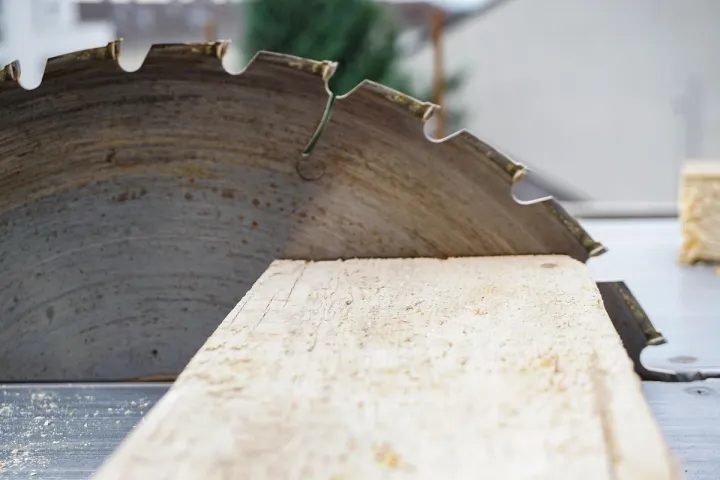
If you buy a circular saw instead, buy the guard discipline with it. OSHA's rule for portable circular saws, 29 CFR 1926.304(d), requires an upper and a lower guard, and requires the lower guard to return automatically and instantly to the covering position when the tool leaves the work. The Power Tool Institute's circular saw guidance says to check guard operation before cutting and to repair or adjust a guard that is slow to return or hangs up. A guard that has to be held open is a defect, not a workaround, and a saw in that state does not get used.
Whichever you buy, the first cut also needs the workpiece held still and the cut line clear of your supports, which is a work-holding question rather than a saw question.
Buy Before Project One: A Way to Hold the Work
This is the item beginners skip and then fight for a year.
Nothing cuts accurately while it moves, and a hand holding a small piece is the most common route to a cut hand. Clamps are the answer, and for a first project two or three F-clamps or a pair of quick-release clamps cover most of it.
You do not need a workbench to start. A solid table with a sacrificial board on it, or a pair of sawhorses, or a folding portable bench all work, and the practical options are laid out in woodworking without a workbench. What matters is the principle underneath: the wood is held by something that is not you, and your hands stay out of the blade path.
A rule to adopt now rather than later: if the piece is too small to clamp, it is too small to cut by hand-holding. Cut it while it is still part of a longer board, then separate it. That sequencing decision prevents more injuries than any accessory.
Buy Before Project One: Fasten and Smooth
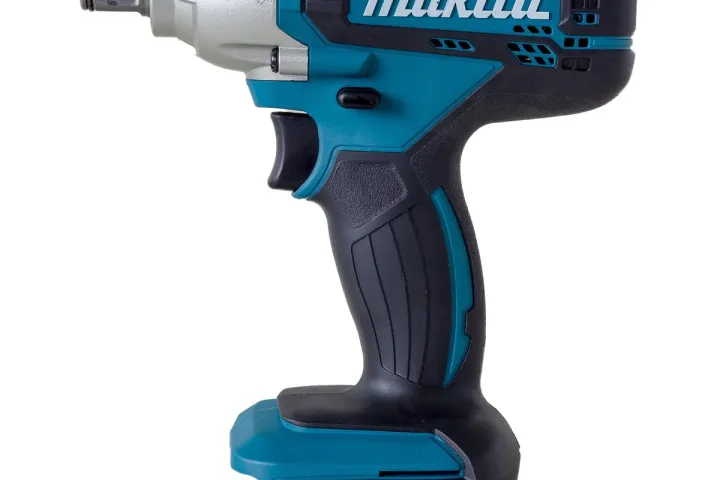
A cordless drill/driver, if you buy one power tool. It is the tool that earns its place first, because it drills pilot holes and drives screws, and pilot holes are what stop a beginner's wood from splitting. Where it sits relative to everything else is the argument made in the minimal tool kit.
Screws and glue, chosen for the project rather than stocked. Wood glue plus a clamped joint is stronger than most beginners expect. Buying a variety pack of fasteners you have no use for is the classic first-trip mistake.
Sandpaper in three grits, not ten. Something coarse, something medium, something fine. The skill is working through them in order without skipping, not owning more of them.
Safety inside this step: clamp the workpiece before drilling, because a bit that binds spins the wood rather than the drill, and keep sleeves, cords and anything loose away from a rotating chuck.
Buy When the Project Demands It
These are real tools that a beginner genuinely uses, but buying them before a project asks for them is how you end up with a drawer of unused steel.
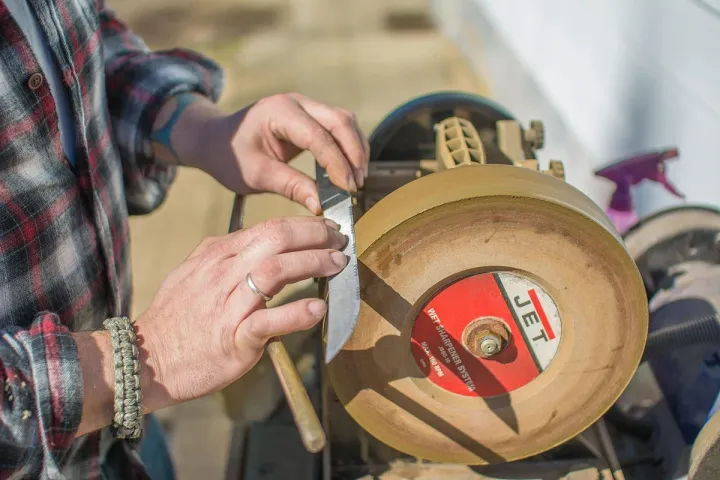
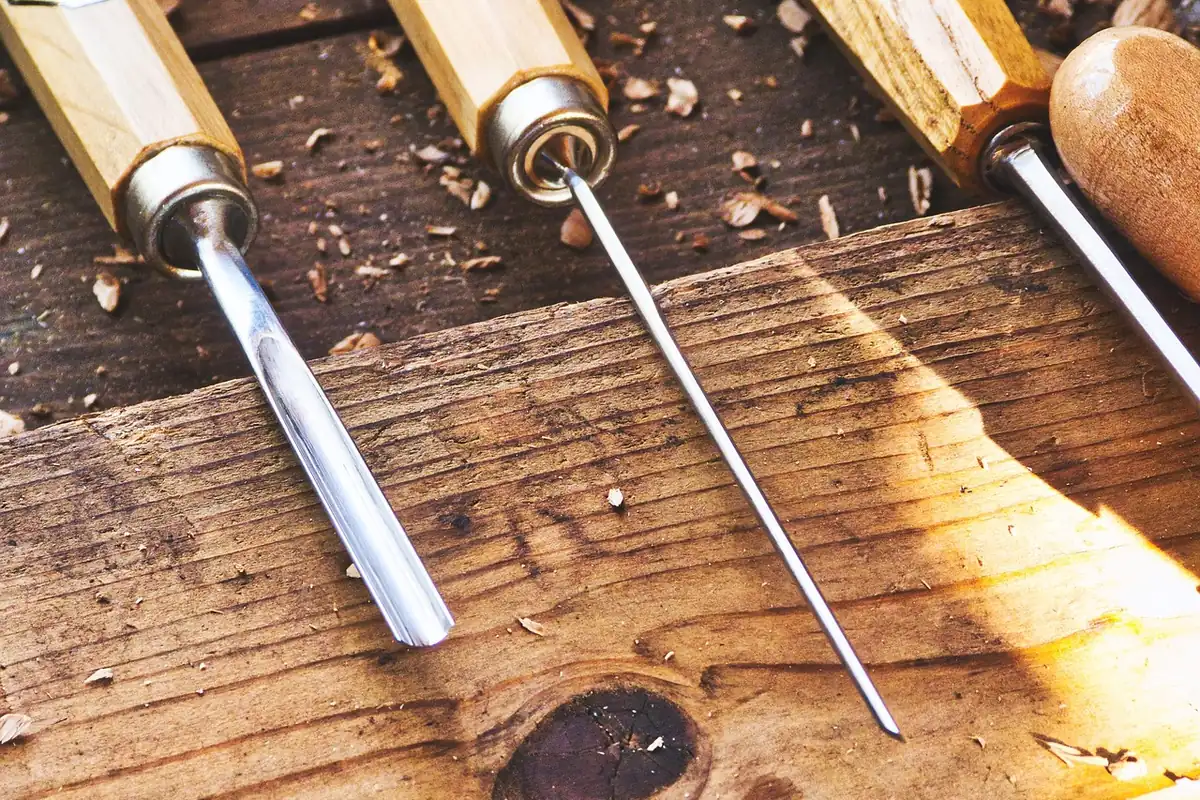
- Chisels. Buy them when a project has a joint to pare, and buy a way to sharpen them at the same time, because a blunt chisel is both useless and more dangerous than a sharp one.
- A block plane. Buy it when you need to fit something, not to own a plane.
- More clamps. You will want them, but let the project size tell you which type.
- A jigsaw. Buy it when you have a curve to cut.
- A random orbital sander. Buy it when hand sanding has genuinely become the bottleneck, and remember it is the biggest dust producer in a small home.
Do Not Buy Yet
A table saw. It is the largest footprint, the largest cost, and the tool with the most serious injury profile of the common beginner choices. CPSC's special study of 2017 data estimated 26,500 table saw blade-contact injuries treated in US emergency departments, of which about 10.7 percent were amputations. That is not an argument that the tool is unusable, it is an argument against it being your first purchase.
A router, a miter saw, a planer, a domino, a track saw. Every one of these is a real tool with a real job, and none of them is the answer to a first project.
A tool set with a number in the title. Sets are priced on count, and count is achieved with bits and drivers you will never chuck.
Lumber for a project you have not decided on. Which brings up the specification that catches every beginner once.
The Lumber Detail Nobody Warns You About
A 2x4 is not two inches by four inches. It is 1-1/2 by 3-1/2 inches. This is not a store cheating you. Nominal sizes describe the rough green board before drying and surfacing, and the actual finished dimensions are set by the PS 20 American Softwood Lumber Standard, published by the American Lumber Standard Committee since 1964 and currently in the PS 20-20 edition. The actual dimensions have not changed in over sixty years.
Every nominal size shrinks the same way: a 1x6 is 3/4 by 5-1/2 inches. Design and cut from the actual dimension, not the label. A plan that assumes a 2x4 is two inches thick will be a quarter of an inch out at every joint, and a beginner reasonably concludes their sawing is at fault.
Two related habits: buy your boards a little long and cut to fit rather than buying exact lengths, and sight down each board for bow and twist in the store, because a warped board will not become flat because you need it to be. A short first build such as a simple wooden box is a good way to test all of this on cheap material, and the weekend project list has others scoped to the same tool set.
The Short Version
- Six functions cover a first project: protect, mark, cut, hold, fasten, smooth.
- Buy protection first. Z87+ eye protection, hearing protection, a mask for sanding.
- Check your square is square with the flip test before you trust anything you build with it.
- One saw you can cut a line with beats three you cannot. A fine-tooth pull saw is the honest first choice at home.
- Clamps are not optional, and anything too small to clamp gets cut while it is still part of a longer board.
- The guard stays on and returns by itself, or the saw is not used.
- Nominal lumber sizes are not actual sizes. Design from 1-1/2 by 3-1/2.
- Leave the table saw, router and miter saw for later. They are not first-project tools.
Frequently Asked Questions
What is the minimum I can start with? A pull saw, a combination square, a pencil, two clamps, glue, three grits of sandpaper, and Z87+ eye protection. That builds a real first project, and everything else can wait for a project that needs it.
Do I need a workbench before I start? No. A solid table with a sacrificial board, or a pair of sawhorses, holds work well enough for a first build. What you cannot skip is holding the work with something other than your hand.
Are cheap tools a false economy? It depends which tool. Spend on the things that touch the wood and set your accuracy, meaning the saw and the square, since an inaccurate square makes every project wrong. A cheap tape measure and a cheap pencil are fine.
Should I buy a starter set or individual tools? Individual tools for the six functions above. Sets are built to a piece count, which means bits, sockets and drivers you will not use, and typically a saw or square that is the weakest item in the box.
How do I know if my square is accurate before buying it? Use the flip test described above against a known straight edge. If the store will not let you draw a line, draw it at home on the first day and return the square if the two lines diverge.