How to Sharpen Woodworking Tools as a Beginner
Flatten the back, set the bevel, raise a burr, remove it. The sharpening method for chisels and plane blades at a kitchen table, no grinder needed.

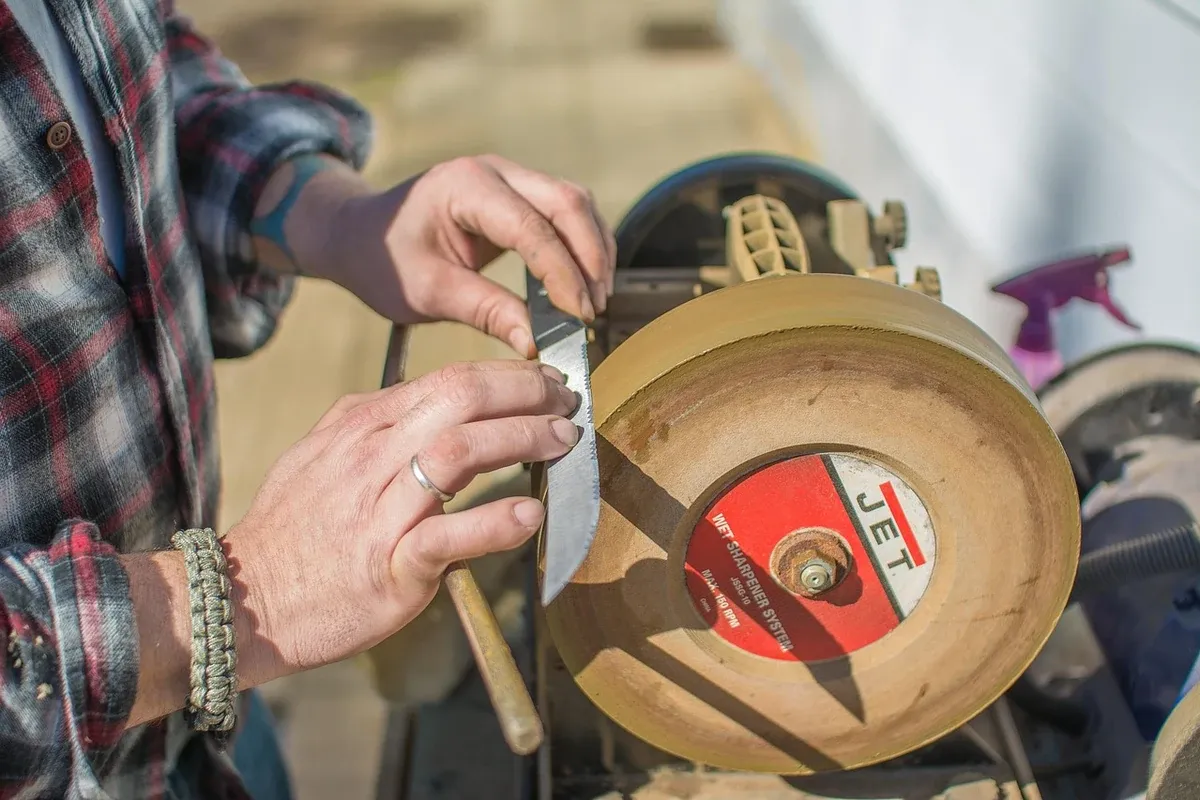
To sharpen woodworking tools as a beginner, work through four steps on each chisel or plane blade: flatten and polish the back once, hold the bevel at a steady angle on a coarse abrasive until a small burr forms along the edge, repeat on finer abrasives, then remove the burr on the back. A honing guide holds the angle for you, so you do not need a bench grinder or a workshop. Everything here happens at a kitchen table, and it is quiet.
This page covers chisels and plane blades, the edges most beginners own first. Saws, spokeshaves and carving tools follow different methods.
Why Sharpening Suits a Small Home
Sharpening is one of the few woodworking tasks that fits an apartment with no compromise. It makes almost no noise, it produces a little wet grit rather than airborne dust, and the whole setup fits in a drawer. It also decides whether your hand tools work at all. A dull chisel crushes wood fibers, needs more force, and slips, which makes it both worse and less safe than a sharp one.
If you are building a hand tool kit, the sharpening setup belongs in the first purchase, not the second. The hand tool starter kit guide treats it that way.
Safety Before You Start
A freshly sharpened edge cuts skin with almost no pressure. Read the instructions supplied with your stones and honing guide, and follow these points every session:
- Keep your fingers behind the edge, and apply pressure through the blade, never in front of it.
- Wipe the edge away from your fingers when cleaning off slurry or oil.
- Clamp or wedge the stone so it cannot slide while you push.
- Never test sharpness on your skin. Test on the end grain of a scrap of softwood instead.
- Store sharpened tools with the edge covered or in a rack, never loose in a drawer.
- Oils and solvents used with some stones: read the product label and safety data sheet, ventilate, and keep oily rags away from heat. Water stones avoid most of this.
What You Need, and Nothing More
- Abrasives in at least two grades, one coarse for shaping and one fine for the final edge. They can be water stones, oil stones, diamond plates, or abrasive paper on a flat surface. A medium grade in between makes the jump easier.
- A flat reference surface, such as a piece of float glass or a flat stone, if you use abrasive paper.
- A honing guide, which clamps the blade and rolls on the stone to hold a steady angle.
- A way to set the angle, either a simple jig or a ruler.
- A cloth and water or oil, as the stones require.
That short list is the whole sharpening kit, and it sits comfortably alongside the handful of tools in the minimal woodworking tool kit. Stone grit labels are not consistent between makers and systems, so compare within one maker's range rather than across brands.
Check that your guide suits your abrasive. Lie-Nielsen, for example, advises against using diamond stones with its own honing guide (Lie-Nielsen honing guide page, read September 11, 2026). Other guides have their own guidance, so read the one that came with yours.
Step 1: Flatten and Polish the Back, Once
The edge is where two surfaces meet: the flat back and the bevel. If the back is not flat and smooth near the edge, the edge cannot be sharp, however well you work the bevel.
- Lay the back flat on the coarse abrasive, with only the first inch or so near the edge on the stone.
- Rub it back and forth with even pressure, keeping it dead flat. Do not let it rock.
- Check the scratch pattern. When the scratches reach right to the edge across the full width, move to the next grade.
- Finish on the finest grade until the area near the edge is polished.
This is a one-time job on each new or used tool. It can take longer than everything else in the process. After that, you only touch the back to remove the burr.
Step 2: Set the Angle
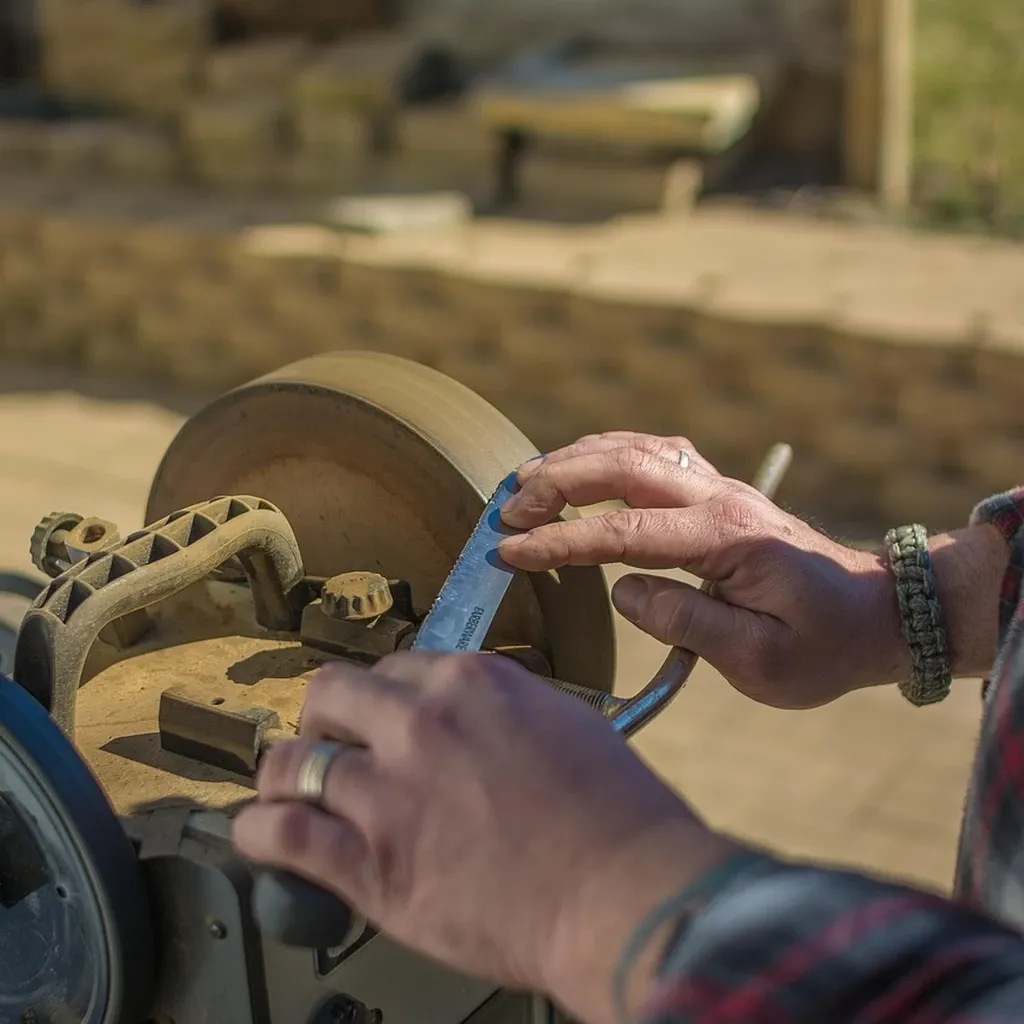
The bevel angle decides how the edge behaves. A lower angle cuts more easily and is more fragile; a higher angle is tougher and needs more push. A common approach is a primary bevel of around 25 degrees with a slightly steeper secondary bevel at the very edge, often called a microbevel. Check the recommendation from the maker of your tool, since it may differ.
With a honing guide, the angle is set by how far the blade sticks out. Lie-Nielsen states that "the distance the blade projects from the front edge of the Honing Guide determines the honing angle," and publishes a chart of approximate projection distances for angles from 20 to 50 degrees, along with printable sharpening instructions and plans for an angle-setting jig on its downloads page (both read September 11, 2026). Other guides use their own charts or jigs.
Set the projection, tighten the guide, and check that the blade is square in the clamp.
Step 3: Work the Bevel Until a Burr Forms
- Put the bevel on the coarse abrasive, with the guide's roller on the stone.
- Push and pull with steady, moderate pressure on the blade near the edge, keeping your fingers behind it.
- Use the whole surface of the stone so it wears evenly.
- Stop and feel for the burr. Draw a fingertip gently off the back of the blade, moving away from the edge, never along it. A tiny lip of metal that catches your fingertip is the burr. It tells you the bevel now meets the back.
- When there is a burr across the full width of the edge, move to the next grade and repeat, which makes a smaller burr.
On the finest grade, add the microbevel. Increase the angle slightly, by setting the blade a little further back in the guide or as its instructions say, and take a few strokes. Because it only touches a sliver of steel at the very edge, the next sharpening needs only a minute or two.
Step 4: Remove the Burr
- Lay the back flat on the finest abrasive and take a few light strokes.
- Turn back to the bevel for one or two light strokes, then the back again.
- Some people finish on a leather strop charged with a polishing compound, pulling the edge away from the direction of cutting.
The edge is ready when it pares a clean, shiny slice from the end grain of a softwood scrap with little force.
How Often, and How to Tell It Is Dull
Sharpen when the tool tells you, not on a schedule. Signs include:
- It needs noticeably more force.
- It crushes or tears the wood rather than slicing it.
- The cut surface looks dull or fuzzy rather than shiny.
- You can see a thin line of reflected light along the edge, which means it has rounded.
Frequent touch-ups on the finest stone keep you away from the coarse stone. That is where most of the time goes.
Common Mistakes When You Sharpen Woodworking Tools as a Beginner
- Rocking the blade on the stone, which rounds the bevel. A guide prevents this.
- Skipping the back. A polished bevel meeting a scratched back still gives a poor edge.
- Moving to a finer grade too early, before the burr runs the full width.
- Wearing a hollow in the middle of the stone by only using the center. Flatten stones as their maker directs.
- Pressing too hard on the finest grades, which rolls the burr instead of removing it.
Setting Up at a Table
A towel or rubber mat under the stones keeps them still and catches slurry. Work on a surface you can wipe down, away from food. Holding the tool steady matters more than the stone, and if your problem is holding work without a bench, woodworking without a workbench covers clamping at a table.
Keeping the stones, guide and a covered set of chisels in one box makes the whole kit easy to put away after each session, which is the pack-down approach in the temporary workshop setup guide.
The Short Version
- Four steps: flatten the back once, set the angle, raise a burr on each grade, remove the burr.
- A honing guide replaces the grinder and holds a steady angle.
- The burr is your signal that the bevel has reached the edge.
- A microbevel makes each later sharpening take a minute or two.
- Test on end grain, never on skin, and keep fingers behind the edge.
- Sharpening is quiet, low-dust tabletop work, ideal for an apartment.
Frequently Asked Questions
Do I need a bench grinder to sharpen chisels? No. A coarse abrasive and a honing guide can reshape and sharpen a bevel. A grinder speeds up heavy reshaping of badly damaged edges, but it is noisy and is not needed for normal sharpening.
What angle should I sharpen a chisel at? A primary bevel of around 25 degrees with a slightly steeper microbevel is a common starting point. Check your tool maker's recommendation, as it can differ.
What is a burr, and why does it matter? It is a thin lip of metal pushed over the edge when the bevel meets the back. Feeling it along the full width tells you the grade has done its work. Removing it on the back is the final step.
Can I sharpen tools in an apartment? Yes. Sharpening is quiet, makes almost no airborne dust, and fits on a table. Use a mat under the stones, a surface you can wipe, and keep sharpened edges covered.