DIY Circular Saw Cutting Guide: Build a Straight-Edge Jig
Build a DIY circular saw cutting guide from scrap plywood, check it for straightness, and get clean, repeatable cuts without a table saw or track saw.

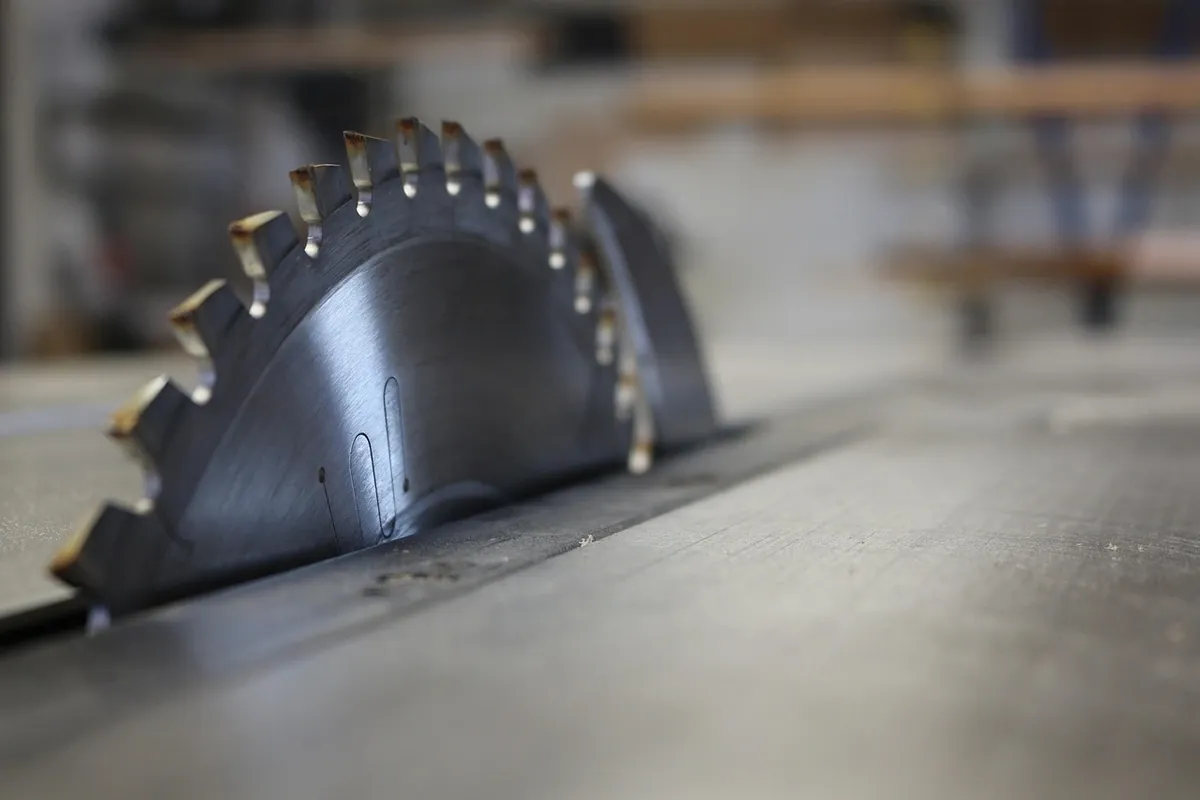
A DIY circular saw cutting guide is two pieces of flat sheet material glued together: a narrow fence with a straight edge, sitting on a wider base. You run the saw's base plate along the fence once to trim the base, and from then on the trimmed edge shows exactly where the blade will cut. Line that edge up with your pencil marks, clamp it, and cut. It costs you some scrap plywood, glue and an hour, and it gets you most of the way to what a track saw does, as long as you check the fence is straight before you build.
The rest of this guide covers what to build it from, how to check a "straight" board before you trust it, the build itself, how to use it without binding the blade, and the limits a homemade guide can't get past.
What a DIY circular saw cutting guide actually does
A circular saw freehand follows your hand, and your hand wanders. A guide swaps your hand for a straight reference. The saw's base plate (also called the shoe) rides against the fence, so the blade can only travel in a line parallel to it.
A plain straight board can do this too, but then you have to measure the offset: the distance from the blade to the edge of the shoe. You mark your line, measure that offset over, clamp the board, and hope you measured to the correct side of the blade. The two-layer guide removes that step. After you trim the base with your own saw, its edge sits right on the blade's cutting line, so you put the edge on your mark and nothing else needs working out.
If you are still deciding whether to buy a track saw instead, our comparison of track saws and circular saws for beginners sets out what the extra money buys. For most people starting out in an apartment, the homemade guide comes first and the track saw can wait until the guide stops keeping up.
Materials: what to build it from
You need two parts, and they don't need to match.
The base. Thin, flat sheet material: 1/4 inch plywood, hardboard, or MDF. Every bit of base thickness comes off your saw's maximum depth of cut, since the saw now sits on top of the base. A 1/4 inch base takes 1/4 inch off your depth. For 3/4 inch plywood that doesn't matter. For thick stock it might, so look up your saw's rated cut depth in its manual before you use thicker scrap.
The fence. A strip about 3 to 4 inches wide, cut so that one long edge is the factory edge of a plywood or MDF sheet. That factory edge is what makes the guide straight. A wider fence is stiffer and gives you room to clamp without the clamps getting in the saw's way. Leave dimensional lumber (a 1x4 from the rack) for a short crosscut guide at most, because solid boards are often bowed or twisted, sometimes too slightly to see.
Length. Make it longer than your longest cut. A full 4 by 8 foot sheet needs a guide over 8 feet long for a lengthwise rip. A guide around 4 feet long handles crosscuts across a sheet and most shelf parts. If you have room for only one, build the shorter one first. It is easier to store and you'll use it more.
Fasteners. Wood glue plus a few short screws or brads to hold the parts while the glue dries. Drive them from the fence down into the base, countersink the heads, and keep them well back from the edge you're about to trim so the blade never hits one.
Check the edge before you build (the step most guides skip)
Everything depends on the fence edge being straight, and "factory edge" means the edge is usually good, not that it definitely is. Sheets get dinged in the store, bent in the car, and warped leaning in a corner. Check yours before you glue anything.
You don't need a precision straightedge to check it. Try the flip test:
- Lay the fence strip on a flat sheet of plywood or a large piece of paper, factory edge up.
- Draw a sharp pencil line along the full length of the edge.
- Mark both ends of the line.
- Flip the strip over end for end, so the same edge faces the line from the other side, and line it up with your two end marks.
- Draw a second line along the edge.
A straight edge gives you one line drawn twice. If the edge bows, the two lines separate in the middle, and the gap is twice the actual error, so even a slight bow shows up. If you see daylight between the lines, find a different edge. Use a sharp pencil or a marking knife. A thick carpenter's pencil line hides the error you're looking for, and our guide to measuring and marking tools for accurate cuts explains why that matters.
How to build the guide, step by step

- Cut the base. Cut the base strip wider than the distance from your saw's blade to the far edge of its shoe, plus a few inches. If you aren't sure, measure the widest side of the shoe (usually the motor side) and add some margin. Excess is fine because you're about to trim it.
- Position the fence. Lay the fence on the base with the straight factory edge facing the side you'll trim. Leave the base overhanging that side by more than the blade-to-shoe distance.
- Glue and fasten. Spread a thin, even coat of glue, set the fence down, and fasten through the fence into the base every foot or so. Lay the guide on the flattest surface you have (often the floor) and weigh it down evenly while the glue dries. A guide that dries twisted stays twisted.
- Trim the base with your saw. Once the glue has cured, clamp the guide to a sacrificial surface with the overhang supported, set the blade depth just deep enough to cut through the base, and run the saw along the fence the full length in one steady pass, keeping the shoe pressed against the fence the whole way. Don't stop partway through.
- Label it. Write on the fence which saw it was trimmed for and which side the saw rides on. The trimmed edge matches that saw's blade position. A different saw, or a different blade with a thicker or thinner body, won't line up exactly with that edge.
If you use two saws, trim the other side of the base for the second one (if the base is wide enough) or build a second guide.
Using the guide without binding the blade
Most cuts that go wrong with a guide go wrong because of how the work is supported, not because of the guide.
Put the guide on the piece you keep. The base should sit on the part you keep, with the offcut on the other side of the blade. That way the saw rides on the supported side and the offcut can drop away from the blade instead of folding in and pinching it.
Support both sides of the cut. For sheet goods in a small space, lay the sheet on a slab of rigid foam insulation on the floor and set the blade to cut just into the foam. The sheet stays supported on both sides the whole way along. For boards, a folding work surface or two sawhorses with support rails near the cut line works. Supporting a board only at its two far ends is a bad idea: the middle sags, the kerf closes, and the blade gets squeezed.
Clamp at both ends, out of the motor's path. Put a clamp at each end of the guide, and check that neither clamp head sits where the motor housing will hit it partway through the cut. If you need more clamps than you own, our guide to which clamps a beginner actually needs covers what to buy first.
Set a shallow blade depth. Kreg Tool's guide to getting straight circular saw cuts (read September 25, 2026) warns that a saw set to cut too deep "will be harder to control, which makes cutting straight more of a challenge." Set the blade so the teeth just clear the bottom of the material and the foam or support underneath takes the rest.
Keep the shoe against the fence, not the blade. Push forward and slightly toward the fence, with your eyes on the shoe edge rather than the blade.
A crosscut version for square cuts
Rips follow a long edge. Crosscuts need to be square to the edge of the board too. Build a short guide the same way, then glue and screw a cleat across one end of the base, underneath, set square to the fence with a reliable square. The cleat hooks over the edge of the board so the guide sits at 90 degrees without extra measuring. Trim the base edge afterward so the edge still marks the blade line.
A crosscut guide is only as square as the cleat. Check it with a test cut: cut a scrap, flip one piece over, butt the two cut ends together against a straight edge, and look for a gap. A gap means the cleat is out of square, and the flip doubles the error the same way the pencil test does.
Honest limits: what a homemade guide can't do
This isn't a track saw, and pretending it is costs you material.
- It only works at 0 degrees. The trimmed edge shows where a vertical blade cuts. Tilt the saw for a bevel and the blade leaves the wood somewhere else, so the edge no longer matches the line. For bevels, make a test cut on scrap and mark a new reference.
- The edge wears. Every cut sands the fence a little, and a knock can dent the base edge. Check it every so often with the flip test and re-trim the base when the edge looks rough.
- It flexes on long, unsupported spans. A long, thin guide bows if it's clamped only at the ends over a gap. Keep the whole length supported by the workpiece.
- It doesn't stop splintering by itself. A track saw's splinter strip presses the fibers down right at the blade. Your plywood base does some of that, but a sharp blade and scoring the line on the good face still matter.
- Accuracy depends on you. A homemade guide can make cuts clean enough for shelves, boxes and cabinet panels. How close it gets depends on the fence you chose, how carefully you glued it, and how well the work is supported, so check each cut with a square rather than assuming it's right.
If you want a table saw for straight, repeatable rips, our guide to whether a circular saw or a table saw should come first explains when the bigger tool starts to make sense. For most small-space builders, it's later than you'd think.
Safety: guard, grip, eyes and ears
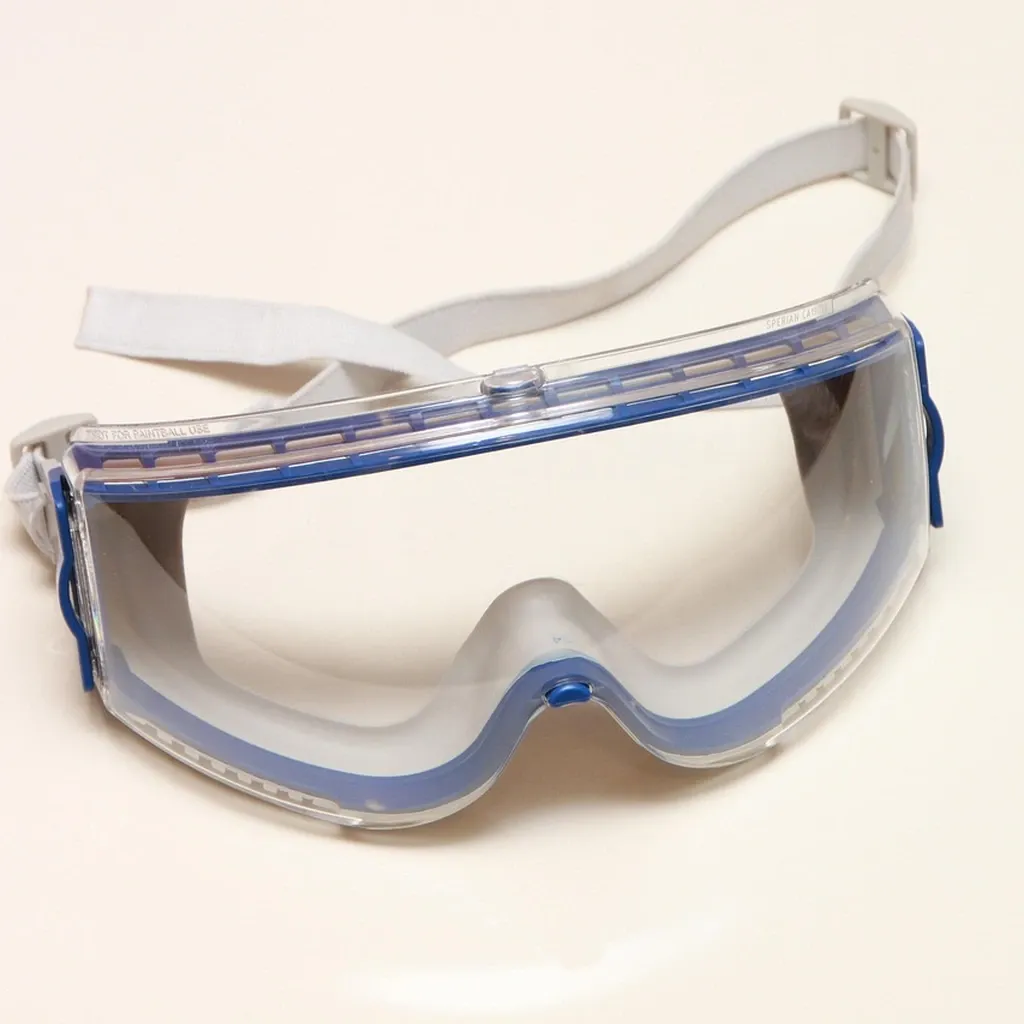
A circular saw is a spinning blade near your hands, and a guide doesn't change that. Doing each of these every cut matters more than doing them fast.
Never defeat the lower guard. OSHA's machine guarding guidance for handheld saws (read September 25, 2026) says portable circular saws "must have an upper guard that covers the entire blade of the saw and a retractable lower guard," and it tells users to "always wear eye and face protection." If the lower guard sticks or drags on the guide's edge, stop and fix it. Never pin it open.
Understand kickback. OSHA's woodworking eTool page on handheld circular saws describes kickback as when "the blade catches the stock and throws it back toward the operator," and lists supporting all pieces of stock and keeping the blade sharp among the controls. Keep both hands on the saw, stand to the side of the blade's line rather than behind it, and if the blade binds, release the trigger and let the blade stop before you move the saw. Never pull a spinning blade backward out of a cut.
Protect your hearing. NIOSH sets its recommended noise exposure limit at 85 dBA averaged over an eight-hour workday and notes that occupational hearing loss is permanent but preventable. A circular saw is one of the loudest tools a beginner owns, so wear earmuffs or plugs even for a single cut.
Clamp everything. Clamp the guide and the workpiece. Never hold a small offcut by hand near the blade. If a piece is too small to clamp safely, cut it with a hand saw instead.
Storing a guide in a small space
Store the guide flat, or hanging from one end, so it doesn't bow. Don't lean it at an angle in a closet for months, because a bowed guide gives you bowed cuts. A hook at the fence end lets a long guide hang flat against a wall behind a door. If wall space is tight, it can also slide flat under a bed or sofa, as long as nothing heavy sits on top of it.
FAQ
What is the best material for a DIY circular saw cutting guide? Thin plywood, hardboard or MDF for the base, and a strip with a factory edge from a plywood or MDF sheet for the fence. Keep the base thin so you don't give up much cutting depth, and check the fence edge with the flip test before you glue.
How wide should the base be? Wider than the distance from the blade to the outer edge of your saw's shoe, plus some margin. You trim the extra off with the saw on the first pass, so it's better to start too wide than too narrow.
Can I use a level or a straight 2x4 as a guide instead? Any straight edge works if you measure and clamp at the blade-to-shoe offset. The trouble is being sure it's straight. Lumber often bows, and a level's edge is not always straight along its whole length. Check any edge with the flip test before trusting it.
Why does my saw still drift away from the guide? Usually it's poor support letting the kerf close on the blade, a dull blade, or the saw not being held against the fence. If a sharp blade still pulls away from a well-supported guide, the blade may not be parallel to the shoe, and the saw's manual explains how to check and adjust it.
Does the guide work for bevel cuts? Not directly. The trimmed edge matches the blade only at 0 degrees. For a bevel, make a test cut on scrap with the saw tilted, measure where the blade actually cuts, and mark that offset for the real cut.