How to Set Up a Temporary Woodworking Workshop
A space-by-space guide to setting up a temporary woodworking workshop in a spare room, balcony, or kitchen, plus noise, dust, and lease tips.

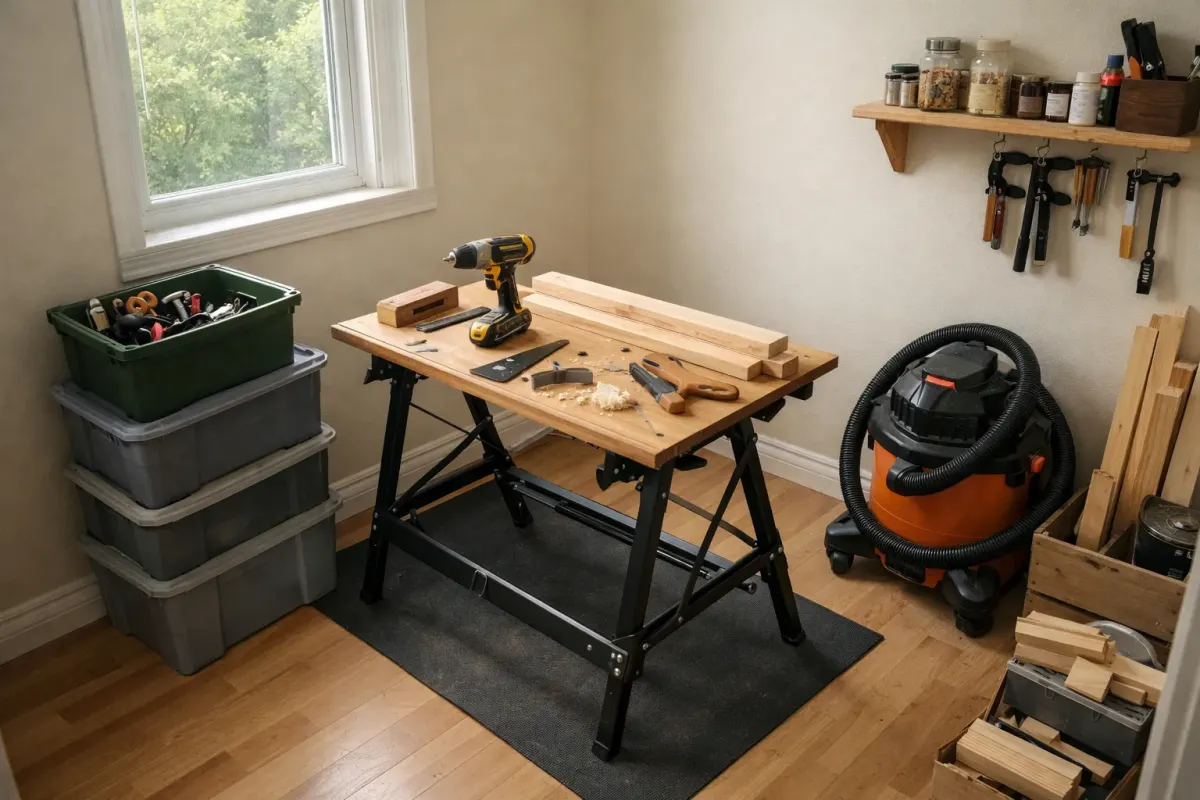
A temporary woodworking workshop in an apartment works when it's matched to the space: a spare room for flexibility, a balcony for dust and noise, or a kitchen table for small projects done and cleaned up the same day. Each space needs its own setup, not one generic "apartment workshop" approach, plus a real routine for noise, dust, and the landlord conversation covered below.
Two established blogs, sawinery.net and theapartmentwoodworker.com, both rank on this exact search and both are useful reading. Neither structures the answer space-by-space, which is the gap this guide fills, alongside a noise-hours framework and a dust routine that goes beyond a one-line mention.
Pick your space: the real tradeoffs
A spare room gives the most flexibility. A project can stay clamped and set up between sessions, and a room with a door contains dust and noise better than an open living area. The tradeoff is dust settling on everything else stored in the room, which matters if it doubles as storage or a guest room.
A balcony handles dust and noise reasonably well since both disperse outdoors rather than building up indoors. The tradeoffs are weather dependency, railing and drop-safety limits for anything precarious, and that some leases restrict what can be done on a balcony at all, which is worth checking before setting up regularly.
A kitchen table, protected with a sacrificial board or thick cutting mat, works for small projects that can be fully cleared and cleaned the same day. It does not work for anything that needs to stay set up overnight, and it puts woodworking dust directly in a food-prep area unless cleaned thoroughly every time.
A shared living space is the least ideal of the four and realistically works only for quiet hand-tool tasks (sanding, gluing, finishing prep) done on a schedule that respects whoever else lives there.
Whichever space is chosen, the same three first-weekend projects work in any of them, since none require anything beyond a table and clamps to build.
The noise problem: what's loud, and when to run it
Noise is a matter of tool type and timing more than volume alone. Hand tools (hand saws, chisels, hand sanding) are quiet enough to run at most hours without disturbing neighbors. Power tools (a drill, a circular saw, a random orbital sander) are meaningfully louder and carry through shared walls and floors, especially in older buildings.
A workable rule most leases support without needing to check anything specific: treat power-tool work like any other loud household task and confine it to normal daytime hours, never early morning or late evening. Many leases include an explicit quiet-hours clause, and checking it directly is more reliable than guessing.
Dust and mess: a routine that actually works
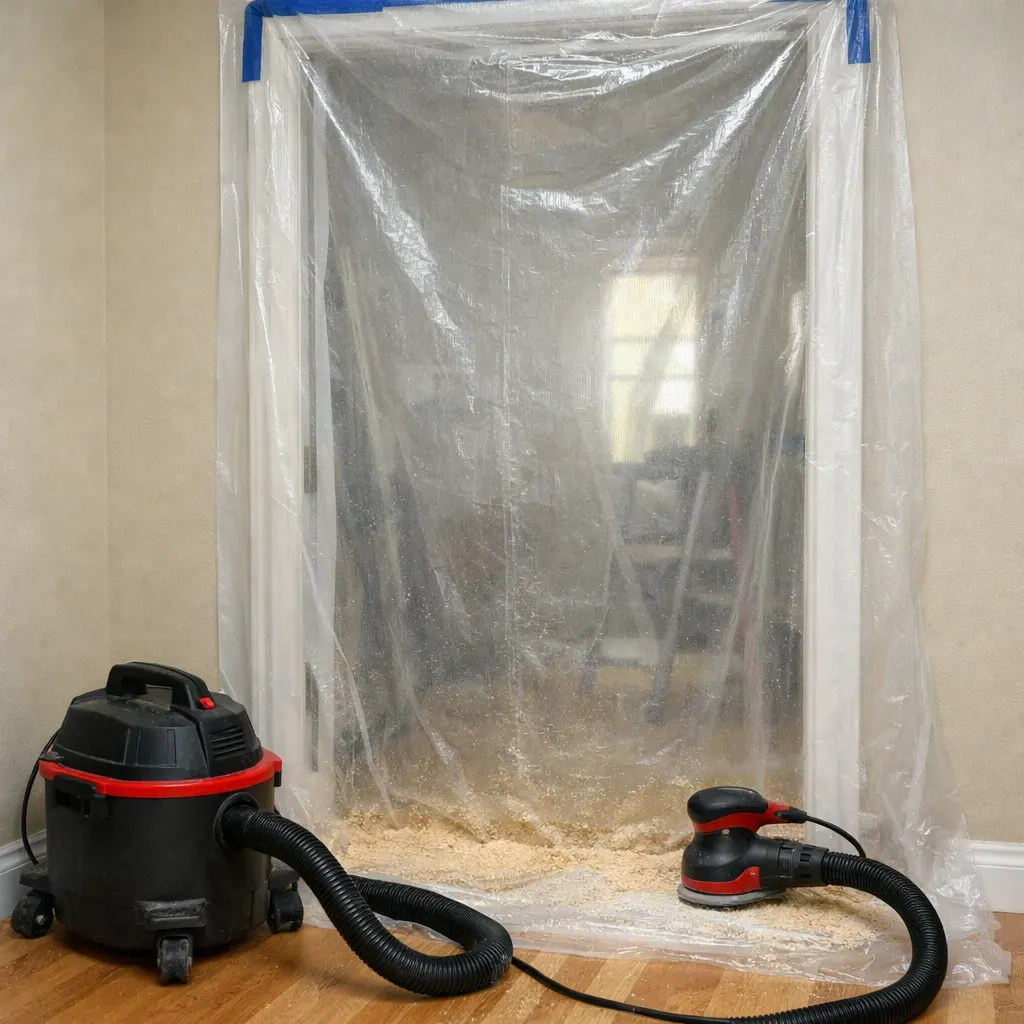
A drop cloth or old bedsheet under the entire work area, laid down before the first cut and not after the first mess, catches the bulk of sawdust before it spreads. A box fan in a window, blowing outward, pulls airborne dust away from the room rather than letting it settle and resettle. Vacuuming before sweeping, not after, matters more than it sounds: a broom lifts settled dust back into the air, where it resettles somewhere new, while a vacuum with a dust-rated filter removes it from the room.
The routine that works consistently: lay the drop cloth, run the box fan facing out, cut and sand over the cloth, vacuum the cloth and the immediate area before folding it up, then do a final wipe-down of any nearby surfaces. Skipping the vacuum-first step is the most common reason apartment woodworkers find dust reappearing days after a project is finished.
Ventilation for cutting and sanding
Cutting and sanding produce wood dust, which is a different concern from the fumes produced by finishing products like stains and topcoats. A box fan venting outward and an open window handle dust adequately for most cutting and sanding sessions. Finishing chemicals are a separate problem with their own ventilation requirements and their own safety guidance, which this site covers in a dedicated finishing-ventilation guide rather than folding it into a general setup checklist.
Protecting the space itself
Beyond dust and noise, the physical space needs its own protection, especially in a rented unit where damage comes out of a deposit. A drop cloth protects flooring from dust, but a separate rigid layer, a scrap of plywood or a thick cutting mat, protects a table or floor from cut marks, glue drips, and dropped tools in a way fabric alone cannot. For a balcony, checking that any finish or glue drips can't reach a floor below through gaps is worth a minute of attention before starting, since that kind of damage is far harder to explain away than dust.
The landlord and lease conversation
Most guides treat this as something to deal with after a complaint. A better order of operations: check the lease directly for any clause on alterations, noise hours, or storage of flammable materials, and if anything is ambiguous, ask the landlord directly before starting rather than after. This costs nothing and is the single easiest way to avoid a deposit dispute or a neighbor complaint escalating unnecessarily. The no-garage starting guide covers this same point as part of the overall roadmap, but it deserves the specific attention given here because it's the blocker most beginners skip until it becomes a problem.
A minimal setup checklist by space type
- Spare room: drop cloth, box fan facing an open window, a folding table or portable workbench, a lockable door if dust needs to stay contained from the rest of the apartment.
- Balcony: a weather check before starting, a non-slip mat underfoot, tools stored indoors between sessions rather than left exposed to weather, a check of the lease for any balcony-use restriction.
- Kitchen table: a sacrificial board or thick cutting mat under every cut, all tools and materials cleared and wiped down the same session, nothing left set up overnight.
- Shared living space: hand tools only, a defined time window that doesn't conflict with household routines, a dedicated storage bin so tools don't become a permanent fixture in a shared room.
For the specific problem of holding work steady once the space is chosen, a dedicated clamping and work-holding guide picks up from here. And once the space and the work-holding are sorted, the minimal tool kit guide covers what to actually buy and in what order.
FAQ
Which space is best for a total beginner? A spare room, if available, because it tolerates leaving a project set up between sessions and contains dust behind a door. A kitchen table is the next-best option for small, same-day projects.
Is it legal to do woodworking on an apartment balcony? It depends entirely on the specific lease and building rules, which vary. Checking the lease directly, rather than assuming either way, is the only reliable answer.
How do I stop sawdust from spreading through my whole apartment? A drop cloth under the work area, a box fan venting out a window, and vacuuming before sweeping (not after) are the three steps that matter most. Skipping the vacuum-first step is the most common reason dust reappears days later.
Can I run a circular saw at night in an apartment? This is not a good idea in most buildings and may violate a lease's quiet-hours clause directly. Power-tool work is best confined to normal daytime hours; hand-tool tasks like sanding or gluing are much more forgiving of timing.
Do I need special ventilation just to cut and sand wood? An open window and a fan venting outward are adequate for dust from cutting and sanding in most cases. Finishing chemicals like stains and topcoats carry separate fume risks and need their own ventilation approach, covered in this site's finishing guides rather than here.
What should I put down to protect a rented floor or table? A drop cloth handles dust, but it doesn't stop a dropped tool, a glue drip, or a stray cut from marking the surface underneath. A rigid layer, a piece of scrap plywood or a thick cutting mat, under the drop cloth covers that gap and is worth the small extra setup time in a rented space.