How to Avoid Circular Saw Kickback: 9 Beginner Mistakes
Learn how to avoid circular saw kickback: the setup mistakes that cause it, what OSHA requires of guards, and how to cut safer in a small space.

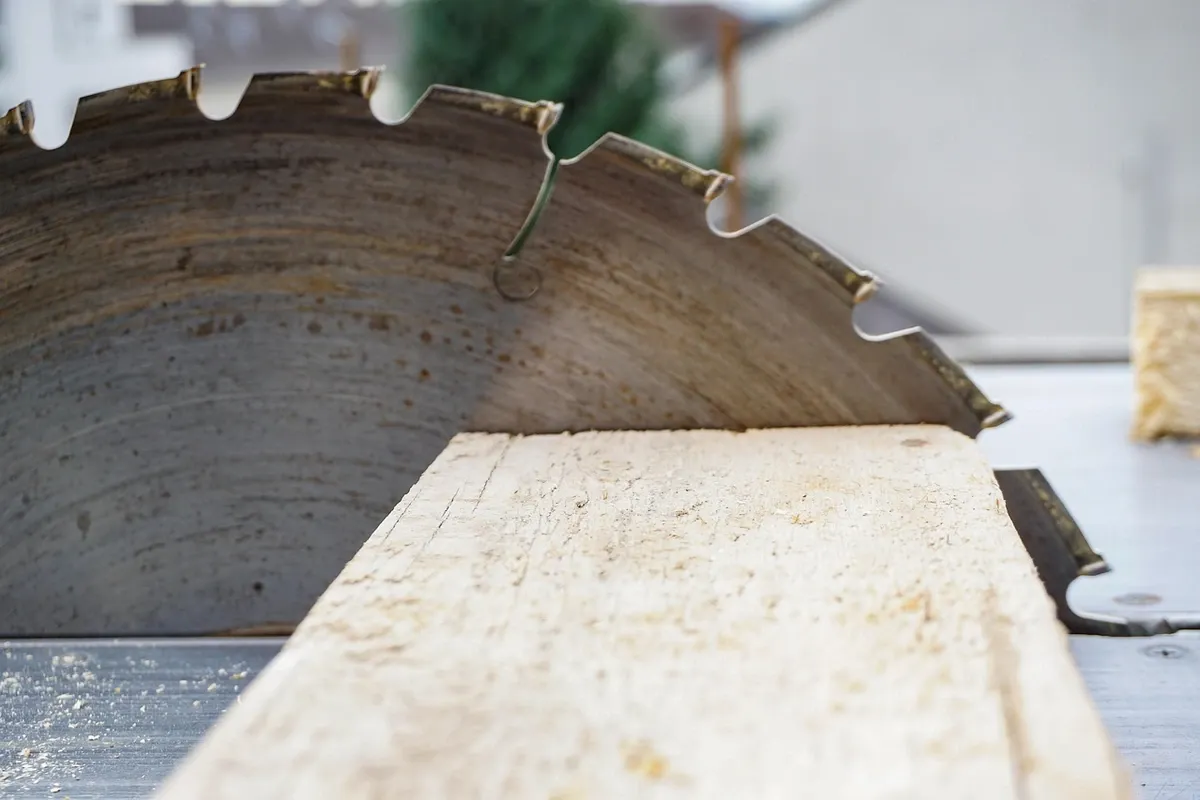
Short answer: how to avoid circular saw kickback comes down to one idea: never let the blade get pinched, twisted or stalled in the cut. Keep the blade sharp, set the depth only slightly below the board, clamp and support the work so the kerf cannot close, let the blade reach full speed before it touches wood, push straight without steering, keep both hands on the saw and stand to one side of the blade line. Check that the lower guard snaps closed before every cut, and never pin it open.
That list is short. The reasons people still get hurt are the setups that look fine and are not, especially when you are cutting on a balcony, a floor or a folding table instead of in a shop. This guide sorts the common mistakes by where they happen, then covers the small-space support problem most guides skip.
What kickback is, and why it happens so fast
Kickback is the saw's reaction when the spinning blade gets grabbed by the wood. The motor is still driving the teeth forward, the wood refuses to let them move, and all that force has to go somewhere. It goes into the saw, which jumps up and back out of the cut toward the person holding it.
There are three common ways the blade gets grabbed:
- The kerf closes. The board sags or springs as you cut, and the slot the blade is running in squeezes shut on it.
- The blade twists in the cut. You steer the saw back toward your line mid-cut, the back of the blade rubs the side of the kerf, and the rear teeth climb up onto the top of the board.
- The blade hits something it cannot cut cleanly. A nail, a hard knot, or a blade too dull to clear its own chips.
There is no slow buildup to warn you. That is why every fix below happens before the cut or in how you hold the saw, not in how fast you react.
How to avoid circular saw kickback: the nine mistakes that cause it
Here are the mistakes grouped by what they cost you if they go wrong. The ones at the top of the table are the most common in a no-shop setup.
| Mistake | Why it causes kickback | The fix |
|---|---|---|
| Supporting the board so the cut line sags | Kerf closes on the blade | Support both sides near the cut, or use a full sheet of rigid foam underneath |
| Letting the offcut drop and twist at the end | Falling piece pinches the blade | Support the offcut or keep it short |
| Steering the saw back to the line mid-cut | Blade twists and the rear teeth climb | Stop, back up with the saw off, restart on the line |
| Blade set far deeper than the board | More teeth engaged, more force if it binds | Set depth just below the board |
| Dull, dirty or wrong blade | Blade stalls and binds | Replace or clean it; match blade to material |
| Loose depth or bevel lever | Setting shifts mid-cut and binds | Lock both levers before each cut |
| Starting with the blade touching wood | Blade grabs before it is at speed | Start the saw clear of the edge |
| Standing directly behind the saw | You are in the line the saw travels | Stand to one side of the blade line |
| One hand on the saw | Nothing resists the jump | Both hands on the handles, work clamped |
Setup mistakes
Wrong support is the big one. If you lay a board across two supports and cut in the middle, the board sags into a V as you go. The kerf closes from the top and pinches the blade. If you cut off the end of a board that hangs past the support, the offcut drops and twists as the cut finishes and can bind the blade on the way down. The fix in both cases is the same: the wood on both sides of the cut must stay flat and still until the blade is out.
Blade depth. A blade set far deeper than the board puts more teeth in the wood and more of the blade in the open below it. Set it so the teeth only just clear the underside. Your saw's manual gives the specific figure its maker recommends; follow that rather than a number from a forum.
A dull or dirty blade. A dull blade does not clear chips well, heats up, and is more likely to stall. Pitch buildup on the teeth does the same. If you have to push hard to keep the saw moving, the blade is telling you something.
Loose levers. The depth and bevel adjustments are held by levers or knobs. If one is not fully locked, the blade can shift angle or depth partway through and bind. Check both before every cut, not once per session.
Cutting mistakes
Starting with the blade on the wood. Pull the trigger with the saw's base on the board but the blade clear of the edge, let it reach full speed, then feed it in.
Steering to fix a wandering line. This is the mistake that surprises people, because it feels like the careful thing to do. A circular saw cannot turn. If you have drifted off your line, release the trigger, let the blade stop completely, back the saw out, and start again. A guide makes this far less likely; our comparison of a track saw versus a circular saw with a straightedge explains the accuracy trade-off.
Forcing the cut. Pushing harder than the blade wants to go makes it bog down. Let the saw set the pace.
Backing out or restarting in the cut. Do not pull the saw backward while the blade is spinning. If you stop mid-cut, let the blade stop, check that it is not binding, and center it in the kerf before restarting.
Body and hand mistakes
Standing in line with the blade. If the saw kicks back, it travels back along the cut line. Position your body to one side so that line is empty.
Holding the saw or the wood with one hand. Both hands on the saw means both hands are away from the blade and both are resisting any jump. That only works if the wood is clamped, which is why clamps come before a saw on any sensible buying list.
The guard: what OSHA requires and why you never pin it open
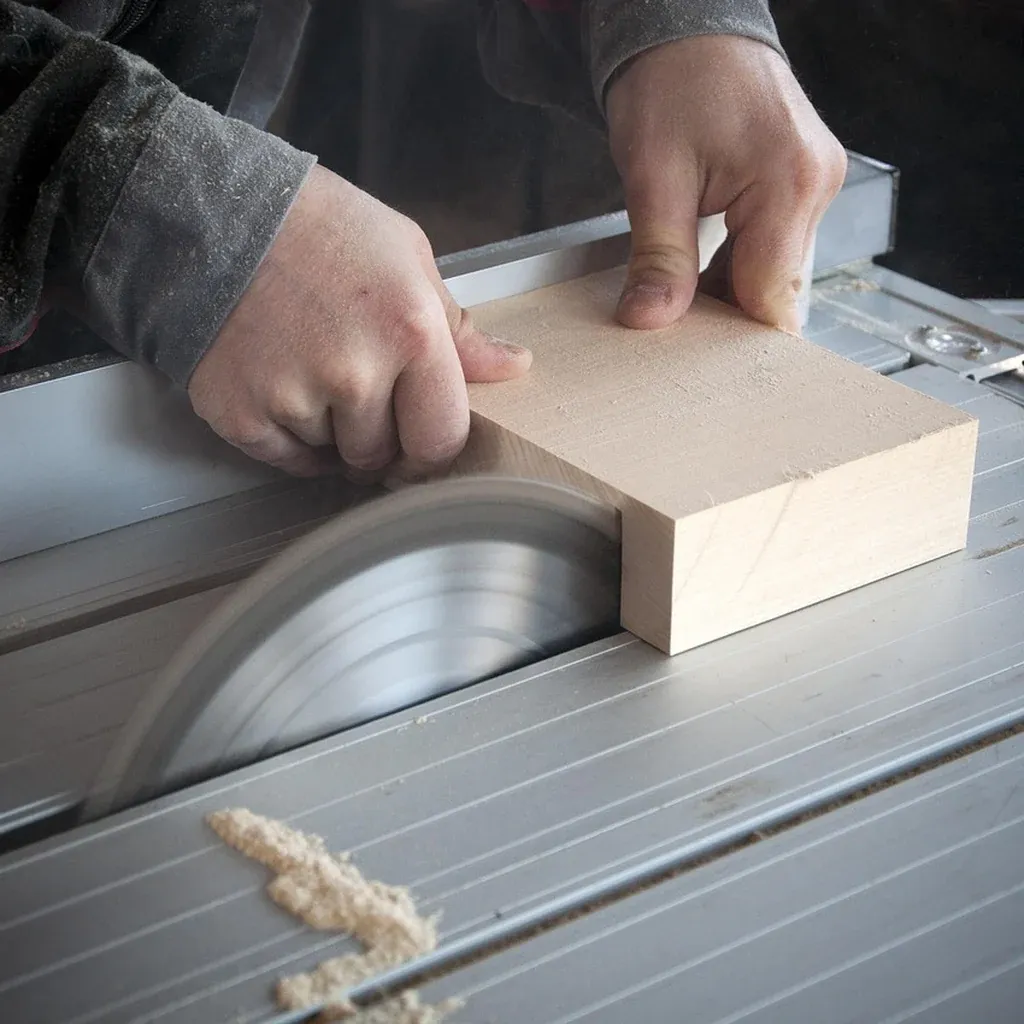
The retractable lower guard is the part people are tempted to fight, because it can snag on the edge of a thin cut. Do not tie it, wedge it or clamp it open.
OSHA's standard 1910.243 on guarding portable powered tools (read on September 27, 2026) requires portable circular saws with a blade over 2 inches in diameter to have guards above and below the base plate, and says that when the tool is withdrawn from the work, the lower guard shall automatically and instantly return to covering position. The same standard requires a constant pressure switch that shuts the power off when you let go. That standard is written for employers, but the logic applies at home: the guard is what covers the blade while it is still spinning down after the cut.
Before each cut, retract the guard with its lever and let go. It should snap closed on its own. If it is slow, sticky or bent (a dropped saw can bend it), stop using the saw until it is fixed. After each cut, look to see the guard has closed before you set the saw down.
Supporting the work in a small space
This is where apartment and balcony cutting goes wrong most often. In a shop you have a bench or sawhorses with a sacrificial surface. At home you have a folding table, a floor, or two chairs.
The rigid foam method. Lay a sheet of rigid foam insulation board on the floor or table, lay your plywood or board on top, and set the blade to cut just into the foam. The foam supports the work on both sides of the cut for its whole length, so nothing sags and nothing drops. It also protects the surface underneath. Our guide on cutting wood without damaging your table covers what to put under the work in more detail.
Clamping without a bench. If you are cutting a board rather than a sheet, clamp it so the part you are keeping is held firmly and the offcut is either supported or short enough that its weight does not matter. The University of Chicago's environmental health and safety guidance on hand and portable power tools (read on September 27, 2026) puts it plainly: secure work with clamps or a vise, freeing both hands to operate the tool. For ways to hold work when you do not own a bench, see woodworking without a workbench.
Floor cutting and body position. Kneeling on the floor over a sheet tends to put your body directly behind the saw. Kneel beside the cut line instead, and keep the cord (or your knee) off the line the saw will travel.
What it costs you. Foam and clamps make cuts safer, not faster. You will spend more time setting up than cutting, and that is the honest price of cutting without a shop.
Eye, hearing and dust protection
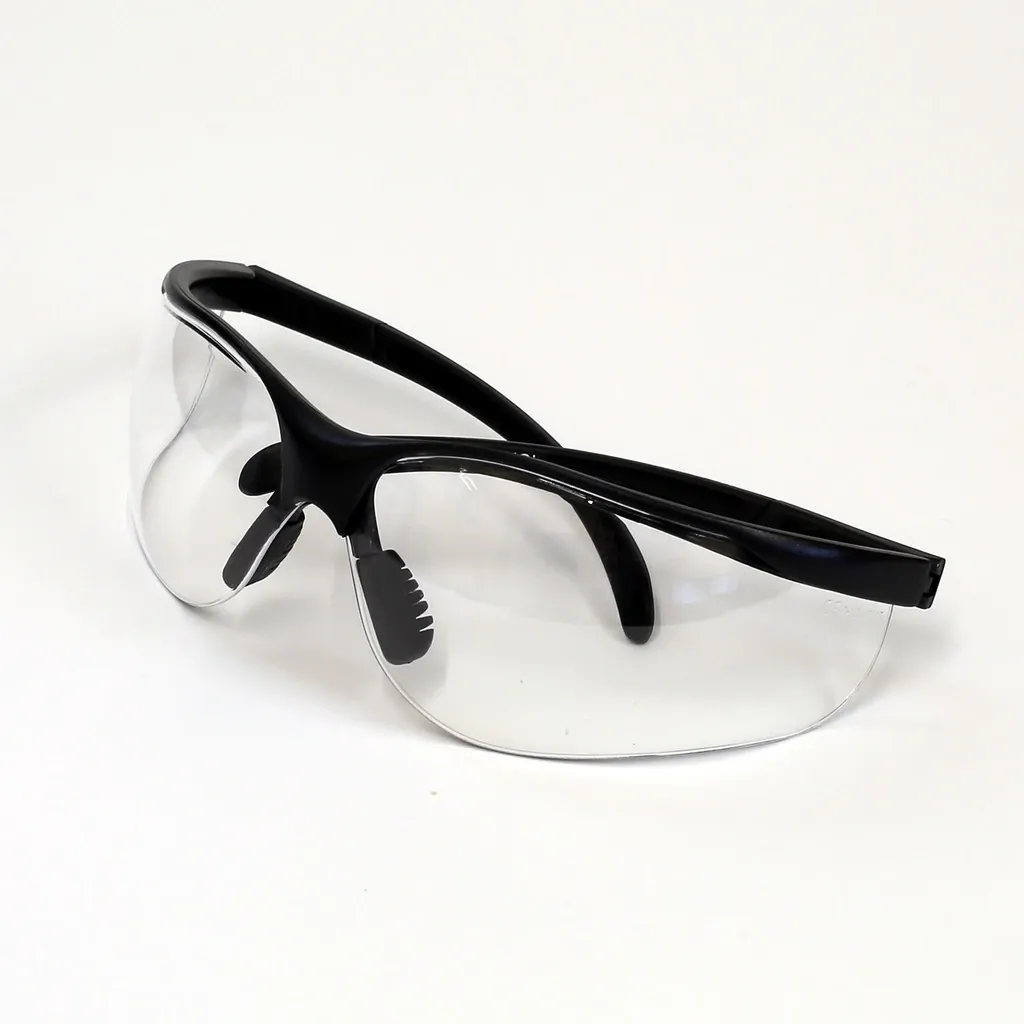
Wear safety glasses rated for impact on every cut. A circular saw throws chips toward whatever is in front of the blade, which in a small room is often you.
Wear hearing protection. The University of Chicago guidance linked above says working with noisy tools requires proper, effective use of hearing protection, and a circular saw is one of the louder tools a beginner owns. Our noise guide by tool covers what that means for neighbors as well as your ears.
Circular saws also put fine dust into the air. In an apartment, cut outdoors or on a balcony if your lease allows it, and wear a dust mask.
What to do the moment the blade binds
If the saw bogs down, screeches, or starts to lift:
- Release the trigger immediately.
- Hold the saw where it is, with both hands, until the blade stops completely.
- Do not pull it out while it is still turning.
- Once stopped, look at why it bound: sagging support, a closing kerf, a knot, or a drift off line.
- Fix the cause before restarting. Center the blade in the kerf and let it reach full speed first.
When to put the circular saw down
A circular saw is the wrong tool for some cuts, and knowing which ones is part of avoiding kickback. Very small pieces, short offcuts you would have to hold near the blade, and narrow strips ripped off the edge of a board all leave you with nowhere safe for your hands. For those, a hand saw and a clamp are slower but far more forgiving. If you are still deciding whether a circular saw is your first power saw at all, weigh how often you will really need those long straight cuts against the setup time described above.
FAQ
What is the most common cause of circular saw kickback?
A pinched blade. Most often the board is supported in a way that lets it sag or lets the offcut drop, and the kerf closes on the blade. Supporting the work on both sides of the cut prevents most of it.
Does a riving knife stop kickback on a circular saw?
Some circular saws have a riving knife and many do not. Where one is fitted, it helps hold the kerf open behind the blade, but it does not replace proper support, a sharp blade and correct body position. Check your saw's manual for whether it has one and how it should be set.
Is it safe to use a circular saw without clamping the wood?
It is much riskier. Unclamped wood can shift, and holding it with one hand means only one hand is on the saw. Workplace safety guidance says to secure work with clamps or a vise so both hands are free for the tool.
How deep should a circular saw blade be set?
Only slightly deeper than the board, so the teeth just clear the underside. The exact recommendation varies by saw, so use the figure in your saw's manual.
Can I cut small pieces with a circular saw?
Generally, avoid it. If the piece is too small to clamp with your hands well away from the blade, switch to a hand saw.