How to Clamp Wood Without a Vise for Safe, Steady Cuts
How to clamp wood without a vise for hand saw, jigsaw and circular saw cuts: six table-top setups that hold boards still and keep your hands clear.

Short answer: here is how to clamp wood without a vise for a cut. Lay the board flat on a sturdy table, let the cut line hang just past the table edge, and hold it with two clamps set well away from the saw's path, with scrap pads under the clamp jaws to protect the table. For a hand saw on short crosscuts, a bench hook works too. For a circular saw, support the board on both sides of the cut so the kerf cannot close on the blade. Never hold the board in your hand or across your leg while a power saw runs.
A vise is a convenience, not a requirement. What it gives you is a board that cannot move while you cut. Clamps, a flat surface and a bit of setup give you the same thing, as long as you understand which setup suits which cut.
Why holding the board matters more than the saw
Most bad cuts and most scary moments in a small space start with a board that shifts. A hand saw that jumps its line leaves a ragged cut. A power saw that meets a moving board can bind, and a binding blade is where kickback comes from.
DeWalt's instruction manual for its DW369 and DW367 circular saws (read on September 27, 2026) is direct about this: "Use clamps or other practical way to secure and support the workpiece to a stable platform," because holding work by hand or against your body is unstable and may lead to loss of control. The same manual says to "NEVER hold piece being cut in your hands or across your leg," and describes kickback as "a sudden reaction to a pinched, bound or misaligned saw blade, causing an uncontrolled saw to lift up and out of the workpiece toward the operator."
The University of Chicago Environmental Health and Safety guidance on hand and portable power tools (read on September 27, 2026) puts the same rule in one line: "Secure work with clamps or a vise, freeing both hands to operate the tool." Clamps are the whole point. The vise is optional.
How to clamp wood without a vise: six setups that work
| Setup | Best for | What you need | The catch |
|---|---|---|---|
| Two clamps to a table edge | Crosscuts and rip cuts on boards | Two F-clamps or bar clamps, scrap pads | Cut must happen past the table edge |
| Clamped between two supports | Circular saw cuts in panels and long boards | Two sawhorses, stools, or rigid foam board | Setup takes floor space |
| Bench hook | Short hand-saw crosscuts | A hook made from scrap | Hand saws only, never power tools |
| Handscrew as a mini vise | Holding a board on edge | A wooden handscrew and one more clamp | Good for small parts only |
| Board clamped to a table leg or upright | Vertical cuts, like tenon cheeks | Two clamps and a steady table | Table must not rock |
| Clamp-and-sacrificial-board sandwich | Thin stock that flexes | A flat scrap board under the workpiece | You cut into the scrap too |
1. Two clamps to a table edge
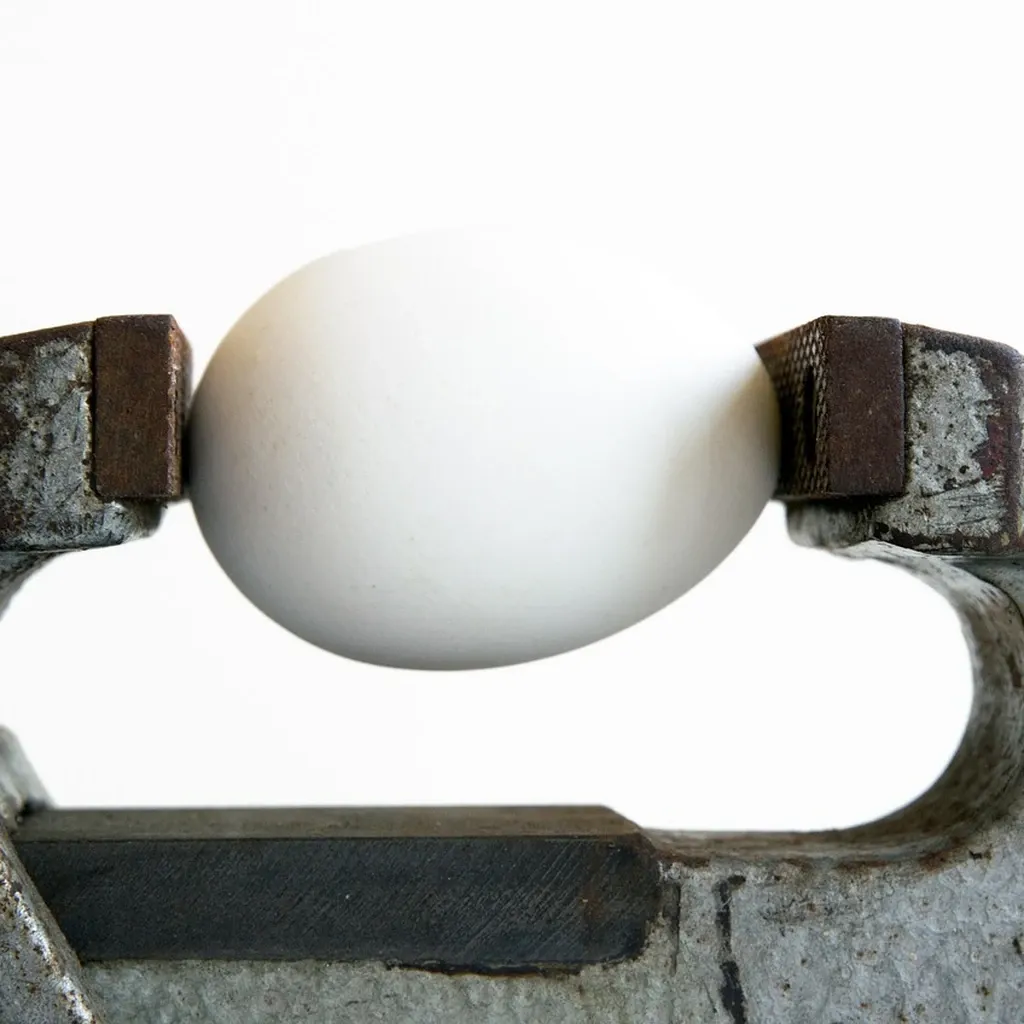
This is the default for almost every cut. Place the board so the cut line sits a little beyond the edge of the table, and put the waste side on the outside. Clamp the board with two clamps, not one: a single clamp lets the board pivot around it. Keep both clamps on the part of the board that stays on the table, and far enough back that the saw's body, base plate or motor housing will not hit a clamp head mid-cut.
Put a scrap of wood or a folded piece of cardboard under each clamp jaw that touches the table. It spreads the pressure and keeps the jaw from denting a rental table or leaving a ring in a finish. Our guide to cutting wood without damaging your table covers the protection side in more detail.
If you are unsure which clamps to own, start with a pair of F-clamps or bar clamps with enough reach to grip over a table edge. Our page on which clamps you actually need first goes through the types.
2. Clamped between two supports (for circular saw cuts)
A circular saw needs the board supported on both sides of the cut. DeWalt's manual says to "support large panels to minimize the risk of blade pinching and kickback," explaining that large panels tend to sag under their own weight, so support "must be placed under the panel on both sides, near the line of cut and near the edge of the panel."
In a small space, that often means two sawhorses or two sturdy stools with a pair of straight boards across them, running parallel to the cut, one on each side of the line. Another common approach is a sheet of rigid foam insulation board on the floor: it supports the whole panel, including right next to the cut, and you set the blade depth to pass just through the workpiece into the foam. Either way, clamp the workpiece to the supports so it cannot slide as the saw pushes it.
What you must avoid is supporting the board only at its far ends. The middle sags as you cut, the kerf closes, and the blade gets pinched.
3. A bench hook for short hand-saw crosscuts
A bench hook is a flat board with a strip fixed across the underside at one end and another across the top at the other end. The lower strip hooks against the front edge of your table; you press the workpiece against the upper strip and saw. Every push of the saw drives the board into the hook, so it stays put without a clamp. If the hook itself slides, clamp it to the table.
This works only with hand saws, where your pushing hand is holding the work against a fence and your saw hand is well away from it. It is never a way to hold work for a jigsaw or circular saw.
4. A handscrew as a mini vise
A wooden handscrew clamp can hold a small board on edge. Grip the workpiece in the handscrew's jaws, then clamp the handscrew itself flat to the table with a second clamp. That turns it into a small, portable vise for sawing a short cut, trimming an end, or planing an edge.
5. Clamping to a table leg or an upright board
For a vertical cut, such as sawing down the cheek of a joint, clamp the board upright against a table leg or against a thick board clamped to the table edge. This only works if the table is heavy and does not rock. Test it before you cut: push the workpiece firmly in the direction the saw will push it.
6. A sacrificial board under thin stock
Thin boards and strips flex under a saw and chatter. Lay them on a flat scrap board, clamp both together to the table, and cut through the workpiece and a little way into the scrap. The scrap stops the flex and gives the blade support right at the cut, which also means cleaner edges.
Where each cut type wants its clamps
- Hand saw crosscut: bench hook, or two clamps with the cut just past the table edge. Support the offcut with your free hand only when it is well away from the blade, so the last fibers do not tear as it drops.
- Hand saw rip cut: clamp the board with the cut line past the edge, then reposition it as the cut moves along. Stop sawing before you move the clamps.
- Jigsaw: clamp with the line overhanging the table, and plan where the clamps will be before the cut reaches them. Switch off and let the blade stop completely before moving a clamp.
- Circular saw: support both sides near the line of cut, clamp the work, and make sure the saw's base plate has a clear path from start to finish.
The small-space setup that replaces a vise
If you have no bench at all, a sturdy table, two to four clamps, a few scraps for pads and a sheet of rigid foam cover nearly every cut above. What matters is that the table does not wobble. A table that shifts as you saw undoes everything the clamps do. Our guide to working without a workbench covers stable surfaces and general work-holding, and cheap workbench alternatives covers what to use when your only table is not up to it.
Safety checks before every cut
These are not shortcuts to skip on a quick cut. They are the reason the clamps are there.
- Tug the board in the direction the saw will push it. If it moves, add a clamp or tighten.
- Dry run the saw path. With the power tool unplugged or its battery removed, trace the cut and confirm the base plate clears every clamp.
- Check the guard. DeWalt's manual tells users to check that the circular saw's lower guard closes properly before each use and not to operate the saw if the lower guard does not move freely and close instantly. Never wedge or tie a guard open to clear a clamp; move the clamp instead.
- Protect eyes and ears. The same manual says to "always wear eye protection" and that hearing protection must be used for appropriate conditions. In a small, hard-walled room, power saws are loud, so wear hearing protection for any power cut.
- Keep both hands on the power tool or, with a hand saw, keep your holding hand behind the cut line and out of the saw's path.
- If the piece is too small to clamp with room for the saw, do not cut it with a power saw. Cut it from a longer board, so the part you hold and clamp is the long part.
What clamping without a vise costs you
Honestly, not much for straight cuts. You will spend more time on setup, and repositioning clamps during a long rip cut is slower than feeding a board through a vise. Holding small parts on edge is the one job where a vise is genuinely better, and a handscrew only partly replaces it. For most beginner projects in an apartment, a table and a few clamps do the job.
FAQ
Can I just hold the wood with my hand while cutting?
With a hand saw on a bench hook, your holding hand presses the board against the hook, well away from the blade. With any power saw, no. DeWalt's circular saw manual says never to hold the piece being cut in your hands or across your leg.
How many clamps do I need to cut without a vise?
At least two for the workpiece, because one clamp lets the board pivot. A third and fourth help for holding supports or a straightedge guide in place.
What can I use instead of a vise to hold a board on edge?
A wooden handscrew clamped flat to your table works as a small vise. For taller boards, clamp the board upright against a heavy table leg or against a thick board clamped to the table edge.
How do I stop clamps from marking my table?
Put a scrap of wood, cork or folded cardboard between each clamp jaw and the table. It spreads the pressure and keeps the jaw off the finish.
Is it safe to cut plywood on the floor?
It can be, with the sheet fully supported on rigid foam board so both sides of the cut stay supported, the blade depth set just through the plywood, and the saw's guard working as the manual describes.