Cheap Workbench Alternatives That Actually Work
Cheap workbench alternatives explained, what a flat-pack surface, sawhorses, or a kitchen table each give up compared to a real bench, and when to stop.

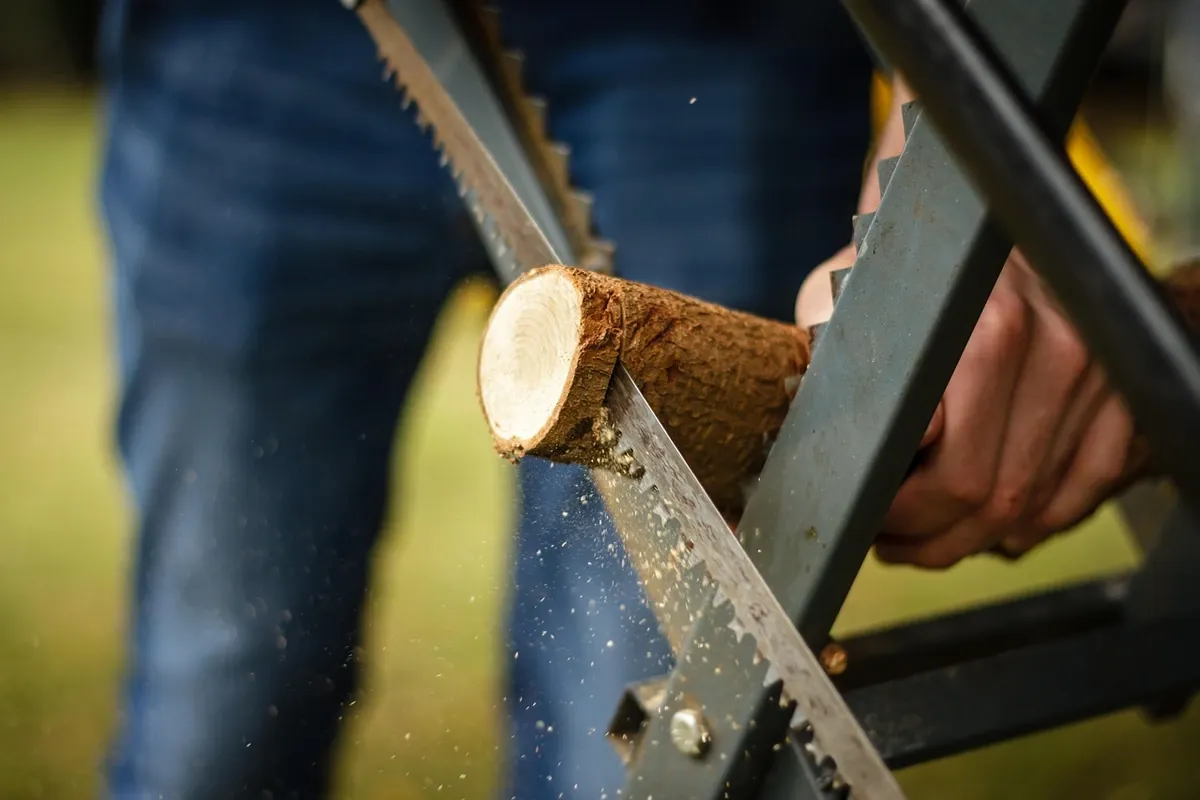
Cheap alternatives to a real workbench include a portable flat-pack workbench-style surface, sawhorses topped with a scrap board or a hollow-core door, or a kitchen table or the floor protected with a sacrificial layer. Each one trades away something a real bench provides, height, mass and stability, or built-in work-holding, so the right choice depends on budget, storage space, and how often you actually build.
What a real workbench actually gives you
Before comparing substitutes, it's worth naming what a real workbench is doing for you, since every alternative below is measured against this baseline. A workbench gives three things at once: working height that keeps you from bending over a low surface for hours, enough mass and structural stability that it doesn't shift or flex under real cutting or planing force, and built-in work-holding, a vise, dog holes, or both, so a workpiece can be secured without a separate clamping setup every time. A cheap alternative can usually deliver one or two of these well. Almost none deliver all three, and knowing which one you're giving up is the actual decision this article is here to help with. This decision sits inside the broader question of where and how to work that the roadmap for starting without a garage covers at the pillar level.
This article's scope: surfaces, not technique
This is worth stating plainly before the comparisons start. This article covers one question only: what do you physically put a project on when you don't have a bench. It does not cover how to hold that project steady once it's there, clamping methods, work-holding jigs, or cutting-guide setups. That's a separate, already-answered question, and the guide to woodworking without a workbench owns it in full: the clamp types worth owning, the portable clamping workstation option, and the batten-jig trick that turns any solid table into a temporary bench edge. Read that guide for the how-to-hold-it-steady half of this problem; this one picks up from there and stays on the surface question only.
Alternative 1: a flat-pack or portable workbench-style surface
A folding, purpose-built workbench-style surface is the closest substitute to an actual bench on this list, and it's a genuine middle ground rather than a compromise in every direction. What it usually gives up compared to a full-size, heavy workbench is mass and permanence: it's lighter, foldable, and won't feel as planted under heavy hand-plane or chisel work as a solid built-in bench. What it gives back is portability and storage, it folds flat enough to tuck into a closet between projects, which matters more in a small apartment than raw mass usually does. This is the option worth considering once clamping directly to a kitchen table or the floor becomes a recurring frustration, rather than a first purchase before you know that.
Alternative 2: sawhorses plus a scrap board or door-blank top
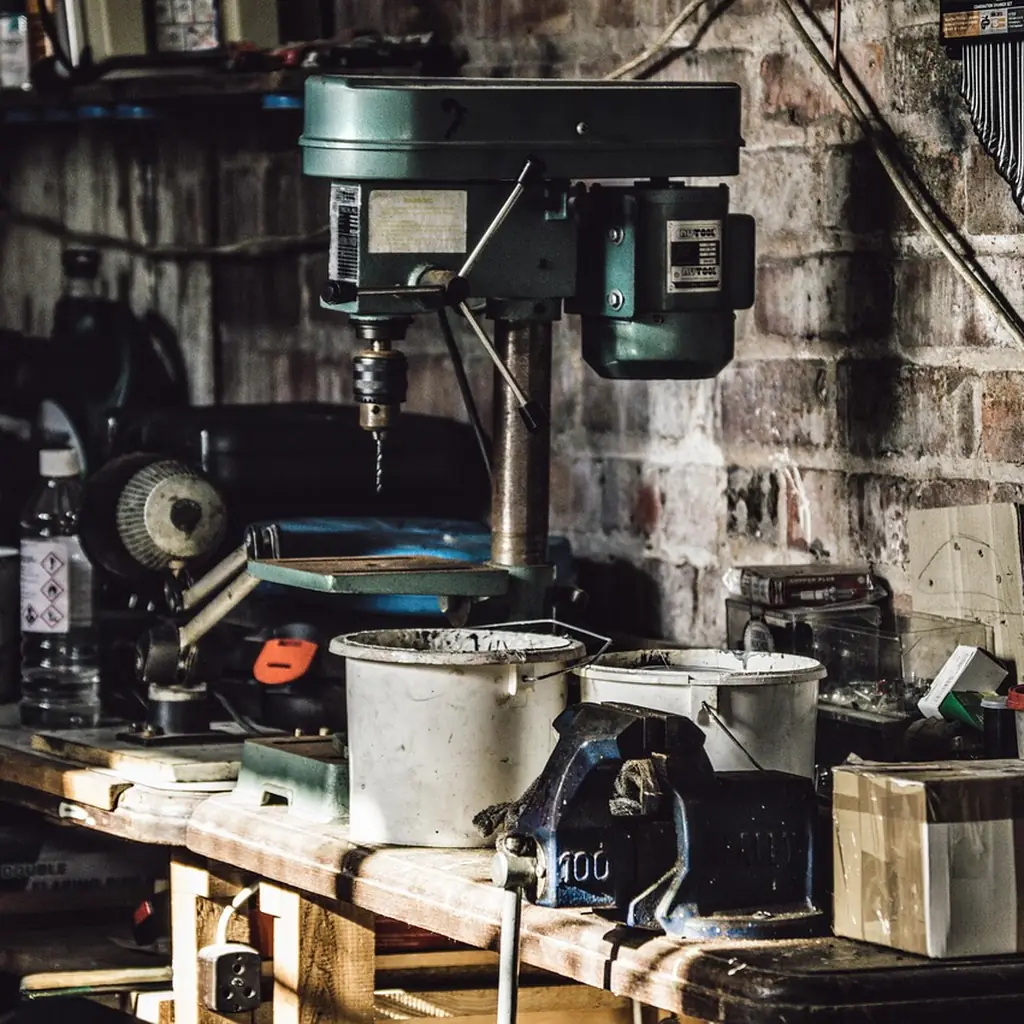
Two sawhorses topped with a scrap sheet of plywood, or a hollow-core door laid flat across them, is one of the lowest-cost real work surfaces available, and it's a genuine step up from a bare table for anything involving cutting. What it gives up is built-in work-holding and full stability, sawhorses alone don't grip a workpiece, and unless the horses are matched in height and set on level ground, the top can rock. What it gives back is low cost and disposability, a scrap top can be swapped or replaced without any concern for damaging a finished surface, which removes the entire "will this mark my furniture" worry from the equation. This setup pairs directly with the clamping and batten techniques from this site's no-workbench guide, since sawhorses on their own only solve the surface half of the problem.
Alternative 3: the kitchen table or floor with a sacrificial layer
For a small project, or for someone not ready to set up a dedicated surface at all, a kitchen table or the floor, each protected with a sacrificial layer under the workpiece, is the lowest-commitment option on this list. What it gives up is height and precision, floor work in particular means working on your knees or bent over, which is tiring and harder to keep accurate over a long session, and there's a real risk to the surface itself if it isn't protected properly. This is the one alternative where the surface being borrowed, shared, or rented raises the stakes on doing the protection step correctly rather than skipping it. The dedicated guide to cutting wood on a kitchen table without damaging it covers the sacrificial-layer method, padded clamping, and blade-depth control in full detail; this article won't repeat that here, since the table-specific damage-prevention technique deserves its own full treatment rather than a summary.
Choosing between these based on your actual constraints
Budget, storage space, and how often you build should decide between these, not which one sounds most like a "real" bench. A flat-pack surface is worth the added cost once you're building often enough that setup time and stability start to matter every session. Sawhorses are the right call for someone building occasionally, especially for larger or messier cuts, who doesn't want a permanent fixture taking up floor space. A kitchen table or floor setup is the right starting point for almost everyone before either of those, since it costs nothing beyond the sacrificial layer and proves out whether the hobby is going to stick before you spend on equipment. None of these options involve a stationary, permanently installed bench, which matches the same no-permanent-fixture framing the renter-focused project guide applies to this site's other builds.
[SAFETY] Whatever surface you choose, there's a point where it's simply too unstable to cut on safely, regardless of how carefully it's clamped or protected. If a surface flexes, rocks, or shifts once real cutting pressure is applied, that's not a minor accuracy problem, it's a setup that can let a workpiece move unpredictably under a moving blade. Stop and fix the surface, add support, level the horses, or move to a different option entirely, before continuing the cut. Pushing through an unstable setup because the project is almost done is exactly how a controllable situation turns into an injury.
What could go wrong, and the safer fix
A surface flexes mid-cut. Stop immediately rather than finishing the pass. Check for an unlevel sawhorse, an unsupported center span on a door-blank top, or a wobbling table leg, and fix that specific cause before resuming, rather than just pressing harder or slowing down and hoping it holds.
A substitute damages the floor or a rented table. This usually means the sacrificial layer wasn't sized generously enough, or a clamp was applied without padding. Both are fixable going forward: extend the protective layer past where the blade could realistically reach, and pad every clamp jaw that touches a surface you don't want marked.
A sawhorse setup won't sit level. Uneven sawhorses are a common, underrated cause of an inaccurate cut that looks like a tool problem but isn't. Shim the shorter horse, or check the floor itself for the unevenness, before assuming the saw or the technique is at fault.
FAQ
What's the cheapest real alternative to a workbench? A kitchen table or the floor, each protected with a sacrificial layer under the workpiece. It costs nothing beyond that protective layer and works for small projects, though it gives up height and precision compared to every other option here.
Do sawhorses actually work as a workbench substitute? Yes, for cutting and general assembly, topped with a scrap board or a hollow-core door. They don't provide built-in work-holding the way a real bench's vise does, so pair them with the clamping methods from this site's no-workbench guide rather than expecting the horses alone to hold a workpiece steady.
Is a portable flat-pack workbench worth buying as a beginner? It's worth it once clamping to a table or using sawhorses becomes a recurring frustration, not as a first purchase before you know that. Most beginners are better served starting with a table or sawhorse setup and upgrading once the limitation is actually felt; the minimal tool kit guide is worth reading alongside this decision if you're weighing a workbench-style surface against other early tool spending.
Does this article cover how to clamp my work down? No, deliberately. That's covered in full in the woodworking-without-a-workbench guide. This article only covers what surface to put the project on in the first place.
How do I know if my substitute surface is too unstable to use? If it flexes, rocks, or shifts once real cutting pressure is applied, it's too unstable for that task. Stop and fix the specific cause, an unlevel horse, an unsupported span, a wobbling table, before continuing, rather than pushing through an unstable cut.