How to Cut Curves in Wood With a Jigsaw: No Bandsaw
How to cut curves in wood with a jigsaw: blade choice, relief cuts and clamping for clean shapes without a bandsaw, plus honest accuracy limits.

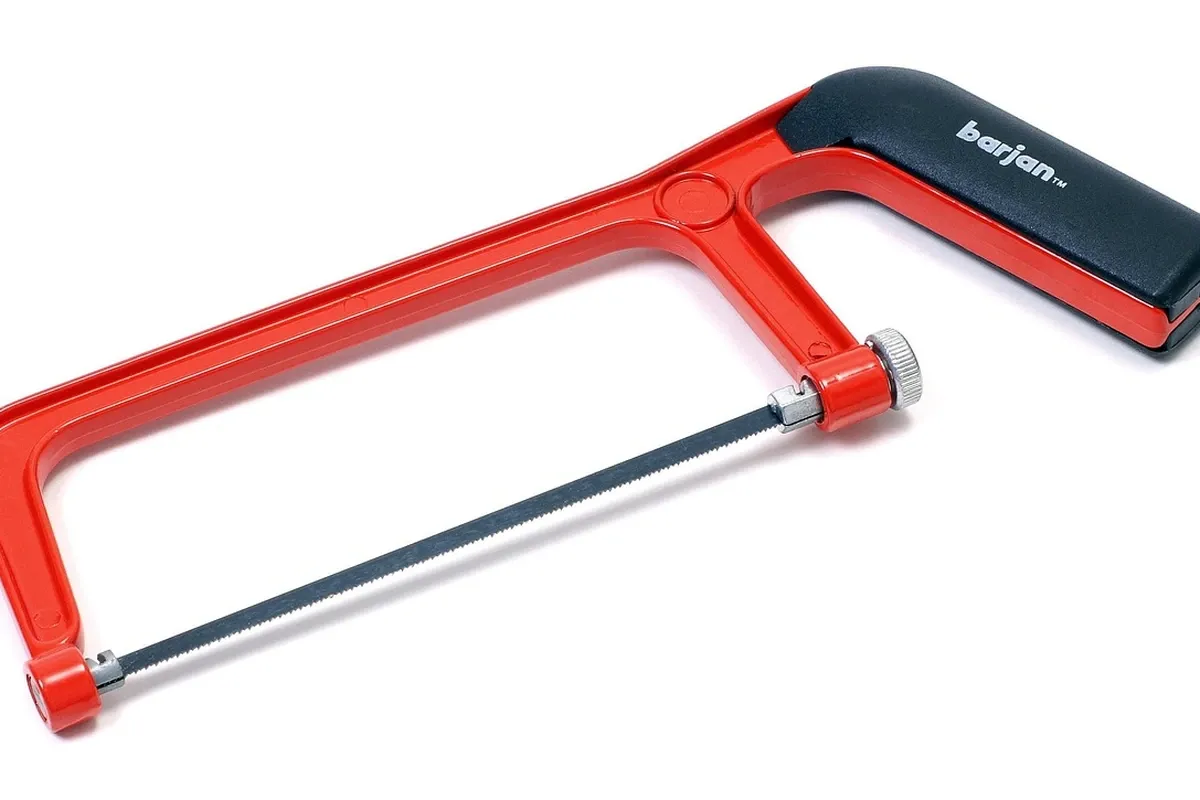
If you want to know how to cut curves in wood with a jigsaw, the short answer is this: fit a narrow blade made for curves, clamp the board so the cut line hangs off your support, cut slowly on the waste side of the line, and make straight relief cuts into any tight curve so the waste falls away before the blade has to turn hard. Then sand or file down to the line. A jigsaw will not match a bandsaw's square, glassy edge, but for shelf brackets, signs, planter sides and rounded corners it gets you most of the way there, with a bit of cleanup at the end.
Below is the full method, a table of which approach fits which curve, and an honest look at what a handheld saw costs you in accuracy.
What a jigsaw can and cannot do on a curve
A jigsaw cuts with a short, thin blade that moves up and down. Because the blade is narrow and only held at the top, you can steer it around a line in a way a circular saw cannot. That is why it is the usual answer for curved shapes in a home without a shop.
The same design is its weakness. Nothing supports the bottom of the blade, so in thicker wood or on a tight turn the blade can flex sideways. The top of your cut follows the line, but the bottom wanders, and you end up with an edge that is slightly beveled instead of square to the face. On a 3/4 inch board cut with a sharp blade at a sensible pace, that lean is usually small enough to sand out. On thicker stock, or when you push the saw around a turn, it grows.
So be clear about the job before you start. A jigsaw is good at curves you will see from the front and finish by hand. It is weak at curves where two parts must match exactly edge to edge, or where the edge must be dead square through thick wood. For those, the honest answer is a bandsaw, a router with a template, or more time with a rasp.
Pick a blade that can actually turn
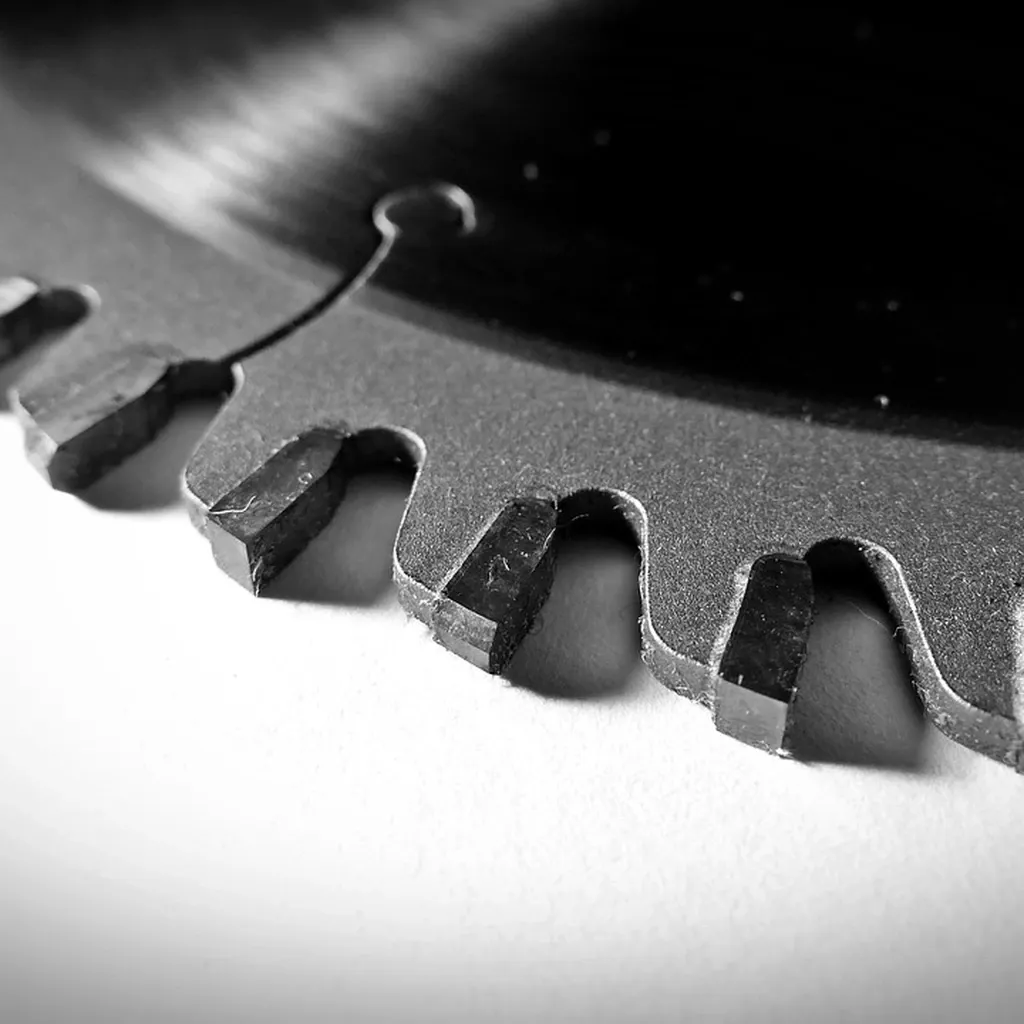
The blade matters more than the saw. Look at the packaging: blades sold for curves are narrower from front to back, and many are labeled "scroll" or "curve" cutting. A narrow blade can follow a tighter radius because there is less steel to twist in the kerf. A wide, stiff blade that works well for straight cuts will fight you on a curve and is more likely to bend or snap.
Tooth count changes the finish. Fewer, larger teeth cut faster and rougher. More, finer teeth cut slower and leave a cleaner edge, which means less sanding later. For most pine and plywood curves, a fine-to-medium tooth wood blade is a reasonable middle.
Most wood blades cut on the upstroke, which tends to splinter the top face. If the good face must stay clean, put painter's tape along the line before you draw on it, or cut with the good face down, or use a reverse-tooth (down-cutting) blade if your saw accepts one.
Two more settings on many jigsaws are worth checking:
- Orbital (pendulum) action. This swings the blade forward on each upstroke so it cuts faster and rougher. On curves it makes the blade harder to steer and the edge more ragged. Turn it down or off for curves, and check what your own manual says for your model.
- Speed. A variable-speed dial lets you slow down at the tight part of a curve without stalling. Slower is easier to steer.
Set up the cut so the saw, not your hand, holds the wood
A jigsaw blade sticks out below the board, so the area under your cut line has to be clear. Let the part you are cutting overhang the edge of your support, with the line far enough out that the blade will not touch the table. If you have to cut in the middle of a panel, raise it on scrap blocks or rigid foam so the blade has space underneath.
Then clamp it. Bosch's jigsaw safety rules are direct about this: "Secure material before cutting. Never hold it in your hand or across legs." They also say to keep hands away from the cutting area and not to reach under the material being cut. We read these in the Bosch JS365 jigsaw operating and safety instructions on 2026-09-23, and the same lines appear across the maker's jigsaw manuals. OSHA's general guidance for portable power tools makes the same point in its Hand and Power Tools booklet (OSHA 3080), which we checked on 2026-09-23: secure work with clamps or a vise so both hands are free to run the tool.
On a curve you will often need to stop and move the clamps as the cut comes around, because the saw body will run into them. Plan for that before you start rather than reaching past the blade mid-cut. If you are not sure which clamps you need, our guide to the clamps a beginner actually needs first covers the types that work for this.
If your only surface is a dining or desk table, protect it. A sacrificial board under the workpiece and padding under the clamp jaws keep marks off a rental's furniture. Our walkthrough on how to cut wood without damaging your table goes through the setup in detail.
Protective gear for jigsaw work
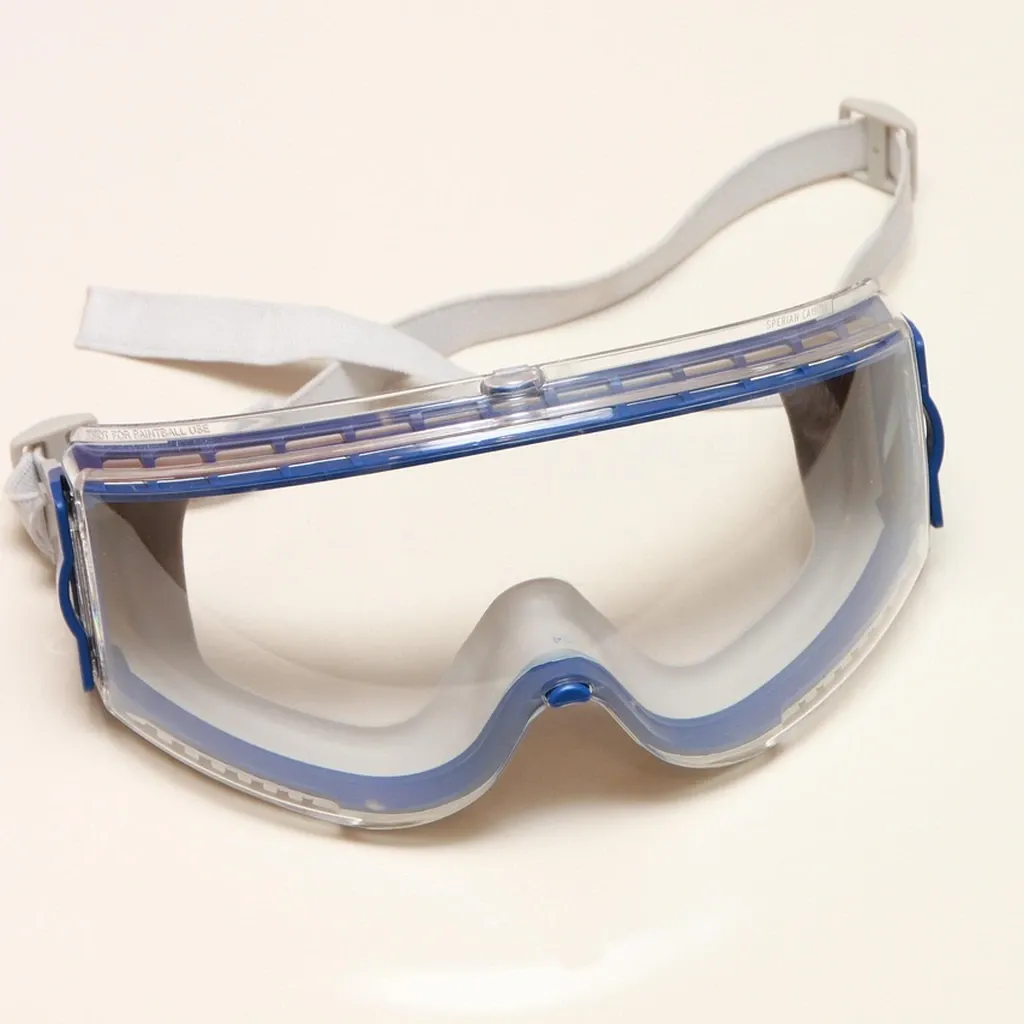
Wear eye protection every time. Bosch's jigsaw manuals say to always wear eye protection, and a jigsaw throws chips and dust upward toward your face as the blade lifts.
Hearing protection belongs on too. The same manuals list measured noise levels for their jigsaws and end that section with "Wear hearing protection!" This matters twice in an apartment: once for your ears, and once for your neighbors, so keep jigsaw work to reasonable daytime hours and check any quiet hours in your lease.
Dust is the third one. The Bosch rules call for a dust mask or respirator for work that generates dust, and curve cutting plus the sanding that follows it generates plenty. If your saw has a dust port, a shop vacuum hose on it cuts down what ends up on the floor.
Finally, the saw itself: keep the blade guard and any clear chip shield on the saw, and never modify or remove a guard to see the line better. If you cannot see the line, add light or use the saw's blower setting instead.
How to cut curves in wood with a jigsaw, step by step
- Draw the line clearly. Use a compass for circles and arcs, a flexible ruler or a thin strip of wood bent between two nails for long gentle curves, and a paper template for anything irregular. A sharp pencil or knife line matters here; our roundup of measuring and marking tools for accurate cuts covers the ones worth owning.
- Mark the waste side. Scribble on the part that will be thrown away so you never cut on the wrong side.
- Make relief cuts on tight curves. Cut straight in from the edge through the waste, stopping just short of the line, every inch or two around any tight section. These let chunks of waste drop off so the blade never has to twist hard.
- Start the saw before it touches wood. Rest the front of the shoe flat on the board with the blade clear of the edge, pull the trigger, and let the blade reach full speed. Bosch's manual says to turn the tool on and let the blade come to full speed before starting to cut.
- Cut on the waste side, a little off the line. Leave the pencil line visible. You will sand or file to it later, and you cannot put wood back.
- Steer from the back of the saw, and let the blade cut. Keep the shoe pressed flat, feed slowly, and turn gradually. Do not push the blade sideways to force a tighter turn. That is what makes the edge lean and blades break.
- If the blade binds, stop. Release the trigger, let the blade stop fully, then back out and make another relief cut or approach from a different direction.
- Clean up to the line. Use a rasp, file, sanding block or a drum sander bit in a drill for inside curves. Check the edge with a square in a few spots.
A dull or damaged blade makes every one of these steps harder and more likely to bind. Bosch lists "Do not use dull or damaged blades" among its jigsaw rules, and a fresh blade is cheap compared with a ruined board.
Inside cutouts and circles
For a hole in the middle of a panel, such as a handhold in a box or a cutout in a sign, drill a starter hole inside the waste area, big enough for the blade to drop through. Then cut from the hole out to the line and follow it around. Drilling several holes at tight inside corners gives you a clean radius without asking the blade to turn on the spot.
For a round tabletop or planter lid, some jigsaws accept a circle-cutting attachment, or you can make a simple trammel from a strip of plywood with a nail as the pivot. Freehand circles are possible, but a pivot guide gives a far rounder result.
Which method fits which curve
This is the table the usual guides skip: it matches the curve to the method and says what each costs you.
| Curve type | Best approach with a jigsaw | What it costs you in accuracy | When to use something else |
|---|---|---|---|
| Gentle arc, thin stock (under 3/4 in) | Curve blade, slow feed, cut on waste side | Small; light sanding to the line | Rarely needed |
| Tight curve on an edge | Relief cuts first, narrow scroll blade, orbital off | Moderate; edge may lean, more filing | Coping saw for very small radii |
| Inside cutout | Starter hole, cut out to the line | Moderate at corners | Holes drilled at each corner |
| Circle | Pivot or circle guide | Small if the pivot is fixed | Freehand gives a lumpy circle |
| Thick stock (over 3/4 in) | Sharp blade, very slow feed, check bevel often | High; bevel grows with thickness | Bandsaw, or cut close and rasp |
| Two parts that must match | Cut one, sand to a template, trace it for the second | Hard to make identical | Router with a template |
Notice the pattern: the tighter the curve and the thicker the wood, the more you lean on hand cleanup. That is the real price of doing curves with a handheld saw, and it is worth planning for rather than being surprised by.
The honest trade-off: when a jigsaw is the wrong tool
A jigsaw is loud, it vibrates the board, and it leaves an edge that nearly always needs finishing. For very small, tight shapes in thin wood, a coping saw can be the better tool in a small space: it is quiet enough to use in the evening, makes almost no airborne dust, and turns tighter than most jigsaw blades. It is slower, and your arm does the work.
At the other end, if you find yourself cutting many identical curved parts, or thick hardwood where the edge must be square, you have reached the point where a bandsaw or a router template is worth the space. A jigsaw can still rough out those parts, but you will spend real time correcting them. Knowing where that line sits is part of avoiding the costly beginner woodworking mistakes, such as buying a saw for a job it was never good at.
For most small-space projects, though, a jigsaw with the right blade, solid clamping and a patient pace is enough to make curves that look deliberate rather than accidental.
FAQ
What is the best jigsaw blade for cutting curves in wood?
A narrow blade sold for curve or scroll cutting, with a fine-to-medium tooth count for wood. Narrow blades turn tighter, and finer teeth leave a cleaner edge that needs less sanding.
Why does my jigsaw cut lean or come out beveled on curves?
The blade is only held at the top, so it flexes sideways when you force a turn, feed too fast, use a dull blade, or cut thick stock. Slow down, use relief cuts, keep the shoe flat, and fit a fresh blade.
How tight a curve can a jigsaw cut?
It depends on the blade width and the thickness of the wood. Narrower blades follow tighter curves. For radii too tight for your blade, drill a hole at the tightest point or switch to a coping saw.
Should I use orbital action when cutting curves?
Usually no. Orbital action speeds up straight cuts but makes the blade harder to steer and roughens the edge on curves. Turn it down or off, and follow your saw's manual for your model.