How to Cut Plywood Without Splintering (Any Saw)
How to cut plywood without splintering with a circular saw, jigsaw or table saw: blade, tape, scoring and support fixes, plus what each one costs you.

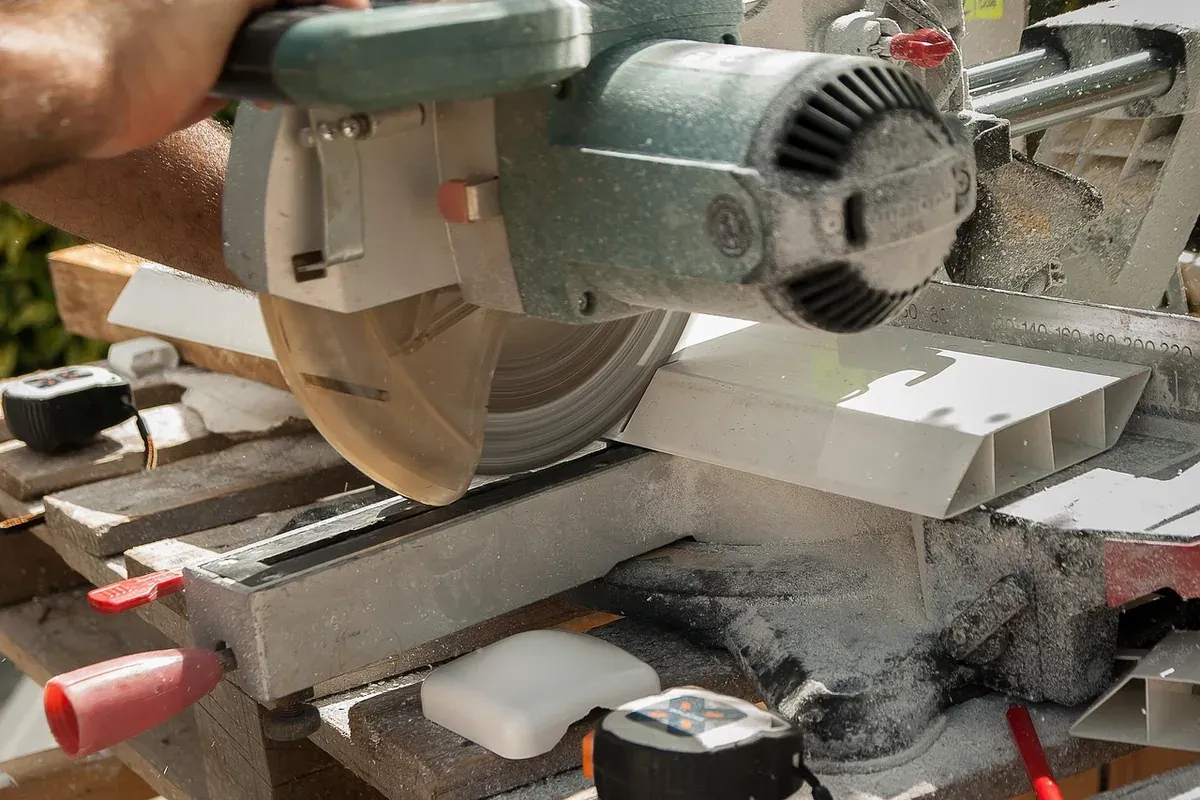
Short answer: to cut plywood without splintering, support the face veneer where the saw teeth exit the wood. Put the good face down for a circular saw or jigsaw and up for a table saw, use a sharp fine-tooth blade, score the cut line with a utility knife, tape it, and support the sheet fully on both sides of the cut. Stacking two or three of these fixes does more than any single one.
None of that needs a workshop. It does need a clear idea of which face the blade is attacking, and an honest sense of what each fix buys you. That is what the rest of this guide covers.
Why plywood splinters in the first place
Plywood is a stack of thin layers glued with their grain running in alternating directions. The outer layer, the face veneer, is often very thin, especially on lower-cost sheets. When a saw tooth exits the wood, it pushes that thin layer outward, and wood fibers with nothing behind them lift and tear instead of shearing cleanly. That is tear-out.
Two things make it worse:
- Cutting across the face grain. A crosscut severs the veneer fibers side to side, so they have less support from their neighbors. Rip cuts along the grain usually come out cleaner.
- A dull or coarse blade. Fewer, larger teeth take bigger bites, and a worn edge tears rather than slices.
The practical takeaway is simple: splintering happens on the face where the teeth leave the wood. Every fix below either moves that face to the hidden side, supports it, or pre-cuts its fibers so they cannot lift.
Which side goes up: the rule for every saw
This is the single cheapest fix, and it costs nothing. The rule depends on which direction the teeth travel through the sheet.
| Saw | Which way the teeth cut | Put the good face | Where the splinters end up |
|---|---|---|---|
| Circular saw | Upward, from below | Down | Top face (the back of your part) |
| Jigsaw (standard blade) | Upward, on the upstroke | Down | Top face |
| Jigsaw (reverse-tooth blade) | Downward | Up | Bottom face |
| Table saw | Downward, from above | Up | Bottom face |
| Track saw with splinter strip | Upward, but the strip supports the top face | Either, per the maker's guidance | Reduced on the guarded side |
If both faces will show, for example on a shelf seen from above and below, flipping the sheet is not enough. You will need to score or tape both sides, covered below.
Safety before you set up a cut
Clean cuts come from a saw that runs straight and does not bind. That is also the setup that keeps you safe, so the two goals line up.
OSHA's Woodworking eTool page on handheld circular saws, which we read on 2026-09-23, describes kickback as the blade catching the stock and throwing it back toward the operator, and lists incorrect blade height, poorly maintained blades and missing safeguards among the causes. It also says to keep your hands out of the line of the cut.
The Power Tool Institute's Circular Saw Safety sheet, also checked on 2026-09-23, says to set the blade depth no more than 1/8 to 1/4 inch deeper than the material, and to clamp workpieces securely.
Before any cut, then:
- Guard working. The lower guard on a circular saw must snap back freely. Never wedge, tie or tape it open, and do not attach anything to the base plate that could stop it returning.
- Work clamped, not held. Never hold the sheet by hand or across your knee. If you are short on clamps, our guide to which clamps you actually need first covers the two or three types that handle sheet goods.
- Body out of line. Stand to one side of the blade path, grip the saw with both hands, and never reach under the sheet while the blade is turning.
- Protection on. Safety glasses with side protection, hearing protection, and a dust mask or respirator, because plywood dust includes glue as well as wood. Your saw's manual lists what its maker specifies; follow that over any general guide, this one included.
How to cut plywood without splintering with a circular saw
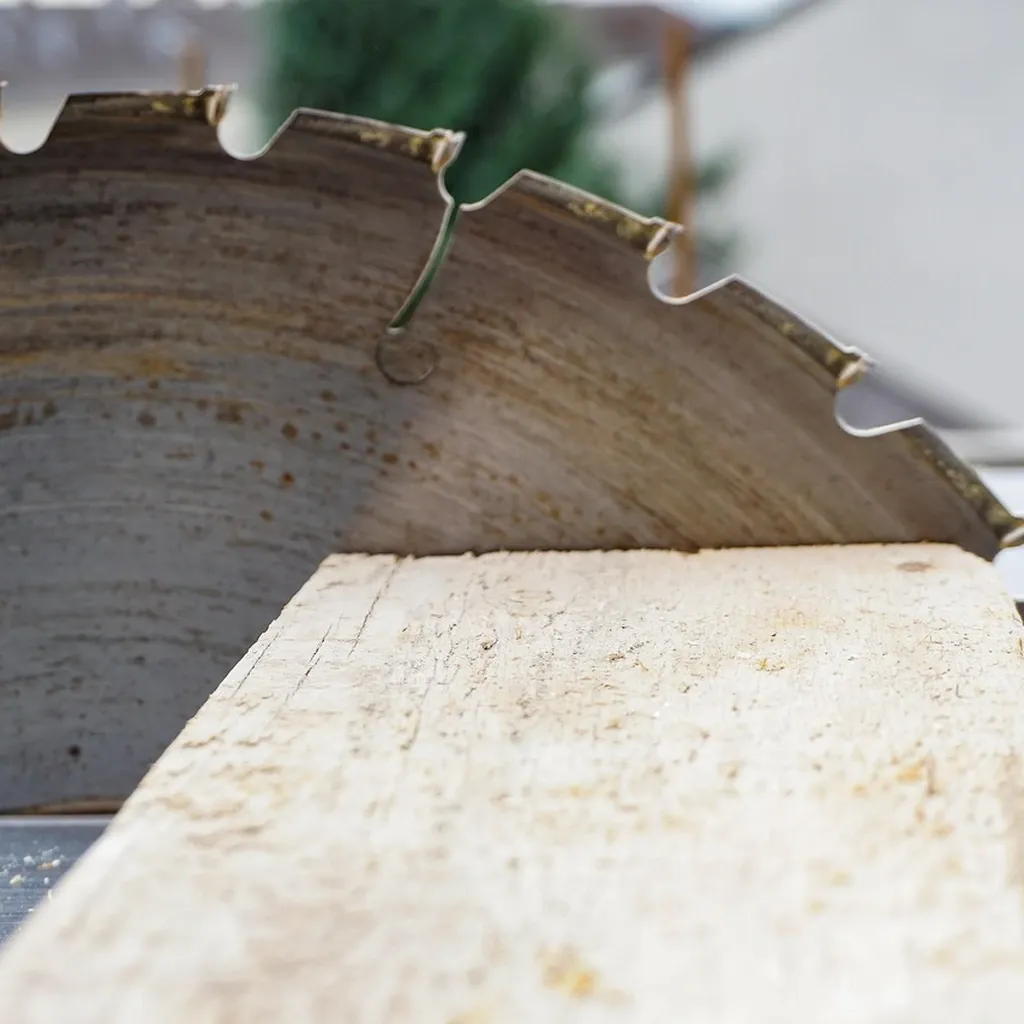
A circular saw is the tool most renters and garage-less builders actually own, and it is the one most prone to chewing up the top face. Here is the sequence.
- Fit a sharp, fine-tooth blade. The general-purpose blade that ships with most saws has relatively few teeth and is built for framing lumber. A blade sold for plywood or fine finish cuts has many more teeth and takes smaller bites. We do not recommend a specific brand; the tooth count and sharpness matter more than the name.
- Set the depth. Adjust so the blade projects only slightly below the sheet, within the 1/8 to 1/4 inch the Power Tool Institute gives. A shallow projection also means the teeth meet the veneer at a steeper angle, which helps the cut.
- Good face down. The teeth rise through the sheet, so the down face gets the cleanest edge.
- Mark the line. Mark on the good face and transfer it to the top, or mark on tape (next step). A knife line is more precise than a thick pencil line; our roundup of measuring and marking tools for accurate cuts explains which ones are worth having.
- Tape and score. Run painter's tape along the cut line, redraw the line on the tape, then score through the tape and veneer with a utility knife against a clamped straightedge. Keep the hand holding the straightedge well away from the knife path, and score on the waste side of the line so the saw kerf lands in the offcut.
- Support both sides near the cut. A sheet supported only at its ends sags, the kerf closes, and the blade binds. Standard circular saw manuals say to place supports under both sides of the panel, near the line of cut. See the foam method below.
- Guide the saw. Clamp a straight board or a guide rail to the sheet so the saw base rides against it. A wandering saw twists in the kerf, which both tears the veneer and invites kickback.
- Cut at a steady feed. Let the saw reach full speed before entering the wood, push without forcing, and let the blade stop completely before lifting the saw out.
- Remove the tape carefully. Peel it back at a low angle toward the cut, not away from it, so it does not lift fibers along the edge.
How to cut plywood without splintering with a jigsaw
A jigsaw is the quietest and cheapest powered option for a small space, and the hardest to get clean on plywood. The blade is narrow, flexes, and on most models cuts on the upstroke.
- Choose the blade for the face you care about. A standard upcut blade leaves the top face ragged, so put the good face down. A reverse-tooth or down-cut blade cuts on the downstroke and leaves the top face cleaner, but it tends to push the saw up off the work, so hold the base down firmly with both hands.
- Turn off orbital action. Many jigsaws have an orbital or pendulum setting that speeds up rough cuts. Set it to zero for plywood; it swings the blade into the veneer and increases tear-out.
- Tape and score anyway. The same knife-and-tape preparation works here and matters more, because a jigsaw blade is rougher than a circular saw blade.
- Accept the limit. A jigsaw follows a straight line only as well as your guide lets it, and the blade can wander or bevel in thicker sheets. For long straight cuts it is a compromise, not an equivalent.
Clamp the sheet so the cut line overhangs your support, keep the cord clear of the blade, and wait for the blade to stop before lifting it from the kerf.
If you have access to a table saw
A table saw cuts downward, so the good face goes up. A zero-clearance throat plate supports the veneer right at the blade, which is where much of the bottom-face tear-out starts. OSHA's page recommends a spreader when ripping to stop the kerf pinching the blade.
Two honest limits apply. A full 4 by 8 foot sheet is awkward and risky to push across a table saw alone without outfeed support, and most small-space woodworkers do not own one. Many home centers will make rough breakdown cuts for you; you can then finish the parts with a circular saw at home.
The floor method: cutting on foam board in a small space
If you have no workbench and no sawhorses, a sheet of rigid foam insulation laid on the floor turns the whole floor into support. Lay the plywood on the foam, set the blade depth to the plywood thickness plus a small amount so it just enters the foam, and cut while kneeling beside the line, not behind it.
What this gets you:
- Support right at the cut on both sides, so the kerf cannot close and both pieces stay put.
- Backing under the bottom face, which reduces tear-out on that side.
- Floor protection, which matters if you rent. The foam sits between the blade and your floor.
What it costs you: kneeling makes it harder to see the line and keep the saw square, and the foam wears after repeated cuts. It is also the loudest cut you will make indoors, so check your lease and building's quiet hours, and cut outdoors or on a balcony if that is allowed. For other setups that do not involve a full bench, see our list of cheap workbench alternatives that actually work.
What each fix costs you
Every method here trades something. This table is how we would rank them for someone without a shop.
| Fix | How much it helps | What it costs you |
|---|---|---|
| Good face down (or up on a table saw) | Large, on the face you care about | Nothing; the other face still splinters |
| Sharp fine-tooth blade | Large | A blade purchase (budget to mid-range tier); slower feed |
| Scoring the line with a knife | Large on the scored face | Time; the line must be exact or you see a step |
| Painter's tape | Moderate on its own, better with scoring | Time; can lift fibers if peeled badly |
| Full support near the cut (foam or boards) | Moderate for tear-out, large for safety | Space; kneeling on the floor reduces precision |
| Clamped straightedge guide | Moderate, by preventing twist | Setup time for every cut |
| Guide rail with a splinter strip | Large on the strip side | The most expensive option here (premium tier) |
If you do only two things, flip the sheet to the right side and fit a sharp fine-tooth blade. Add scoring when a cut edge will be seen.
What none of these fixes can do
This is the part store blogs tend to skip.
- They cannot rescue a very thin face veneer. Some lower-grade sheets have a face so thin that it chips at the slightest pressure. Better technique reduces this; it does not remove it. If the edge will be seen, the sheet grade matters as much as the saw.
- They cannot make a circular saw into a precision tool. A clamped guide gets a handheld saw much closer to straight, but it is still less repeatable than a guide rail system or a table saw. Our comparison of track saws and circular saws sets out what you gain and what it costs.
- They cannot hide voids. Gaps in the inner layers show up on the cut edge no matter how clean the veneer is.
A clean, sharp-bladed circular saw cut is fine for shelves, storage boxes and cabinet backs. For visible furniture edges, plan to trim to final size in a second, lighter pass or to cover the edge.
If the edge chipped anyway
- Edge banding (iron-on veneer tape) covers small chips on a visible edge and hides the plies.
- Sanding with a block, working from the face toward the edge rather than across it, can soften light fuzz without pulling more veneer.
- Wood filler hides small chips on a painted piece; it will show under a clear finish.
FAQ
Which side of plywood should face up when cutting with a circular saw?
The good face goes down. A circular saw's teeth cut upward through the sheet, so splintering happens on the top face. On a table saw the rule reverses and the good face goes up.
Does painter's tape really stop plywood from splintering?
Tape helps by holding the surface fibers down, but on its own the effect is moderate. It works best combined with a knife score through the tape and a sharp fine-tooth blade. Peel it back toward the cut at a low angle.
What blade is best for cutting plywood without splintering?
A sharp blade sold for plywood or fine finish cuts, with many more teeth than a general-purpose framing blade. For jigsaws, a fine-tooth reverse-tooth blade keeps the top face cleaner. Sharpness matters as much as tooth count.
Can I cut plywood without splintering using a jigsaw?
Yes, with limits. Use a fine or reverse-tooth blade, turn off orbital action, tape and score the line, and clamp a guide. Expect a slower cut that is less straight than a guided circular saw.
How deep should I set my circular saw blade for plywood?
The Power Tool Institute says no more than 1/8 to 1/4 inch deeper than the material. That limits exposed blade under the sheet and reduces the chance of binding.