How to Cut Straight With a Circular Saw (No Table Saw)
Learn how to cut straight with a circular saw using a clamped guide, no table saw needed. Honest accuracy limits, renter-friendly setup, and safety.

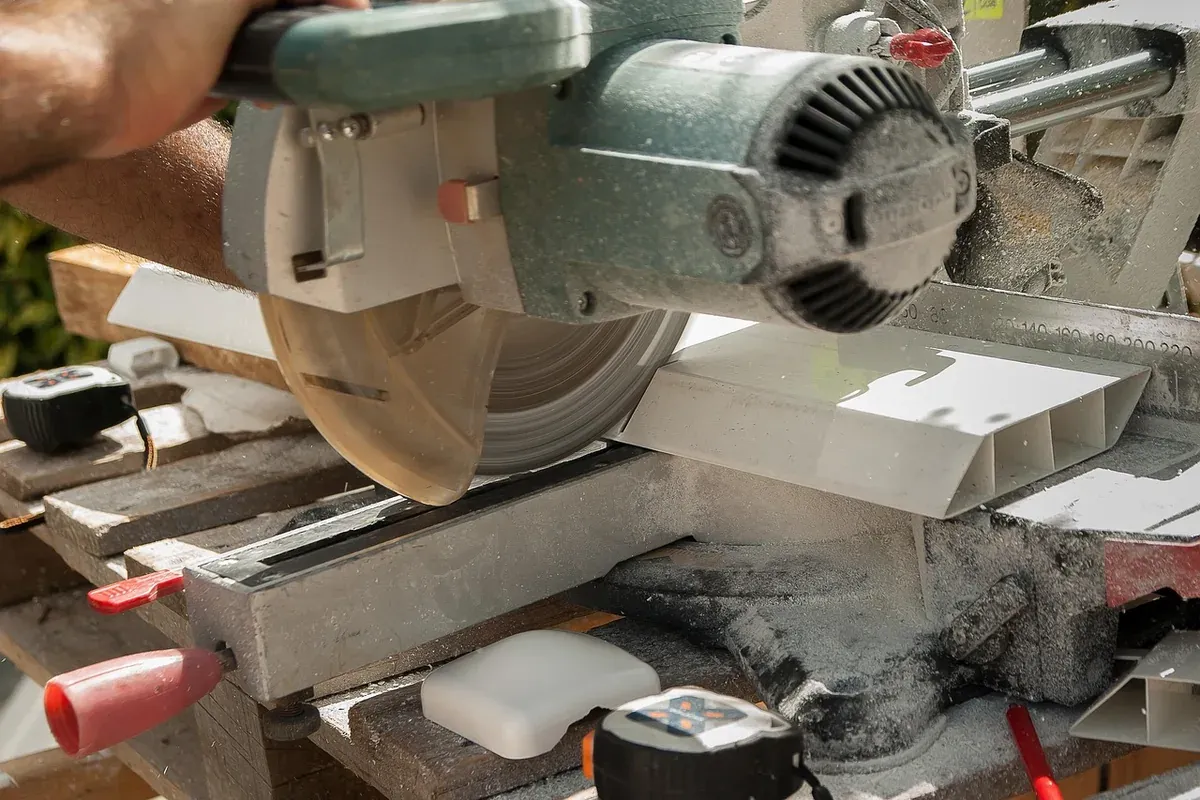
If you want to know how to cut straight with a circular saw, the reliable answer is to run the saw's base plate against a clamped straight edge, not to trust your hands. Set the blade about 1/4 inch deeper than the wood, clamp a factory-edge board or a shop-made guide parallel to your cut line, keep the shoe pressed flat against the guide, and feed the saw at a steady pace. Done this way, a circular saw and a couple of clamps give you a clean, straight edge for shelves and cabinet panels, with no table saw needed. Below is the full method, the honest accuracy limits, and the safety steps that matter most.
Why a circular saw wants to cut straight (and when it drifts)
A circular saw blade has a lot of surface area, and once several teeth are buried in the wood the blade is effectively trapped in its own kerf. That is why the tool naturally tracks forward in a line. Drift comes from three things: the saw not being supported flat, you steering it by eye instead of against a reference, and the offcut sagging so the blade pinches. Fix those and the saw does the hard part for you.
This is also the honest case for buying a circular saw before anything bigger. If you are weighing the two, our breakdown of the circular saw versus a table saw for beginners walks through what each tool actually earns its keep on. For breaking down sheet goods in a small space, the circular saw wins on cost, storage, and portability.
How to cut straight with a circular saw, step by step
The method that works every time uses a straight edge as a fence for the saw's shoe:
- Mark your cut line on the good face of the board with a sharp pencil and a square.
- Measure the distance from the blade to the outer edge of the base plate. This is your offset.
- Clamp a straight guide (a board with a known factory edge, or a shop-made track) that offset distance away from your line, on the keep side.
- Set blade depth so the teeth clear the underside by about 1/4 inch and no more. A shallow set means less exposed blade and a cleaner cut.
- Rest the shoe against the guide, start the saw before the blade touches wood, and push at a steady, unhurried pace with the shoe held firmly to the fence.
Cut on the correct side of the line: if you measured from the left, cut on the right of your mark, so the blade removes the pencil line and leaves your dimension intact.
Build a shop-made guide once, use it forever
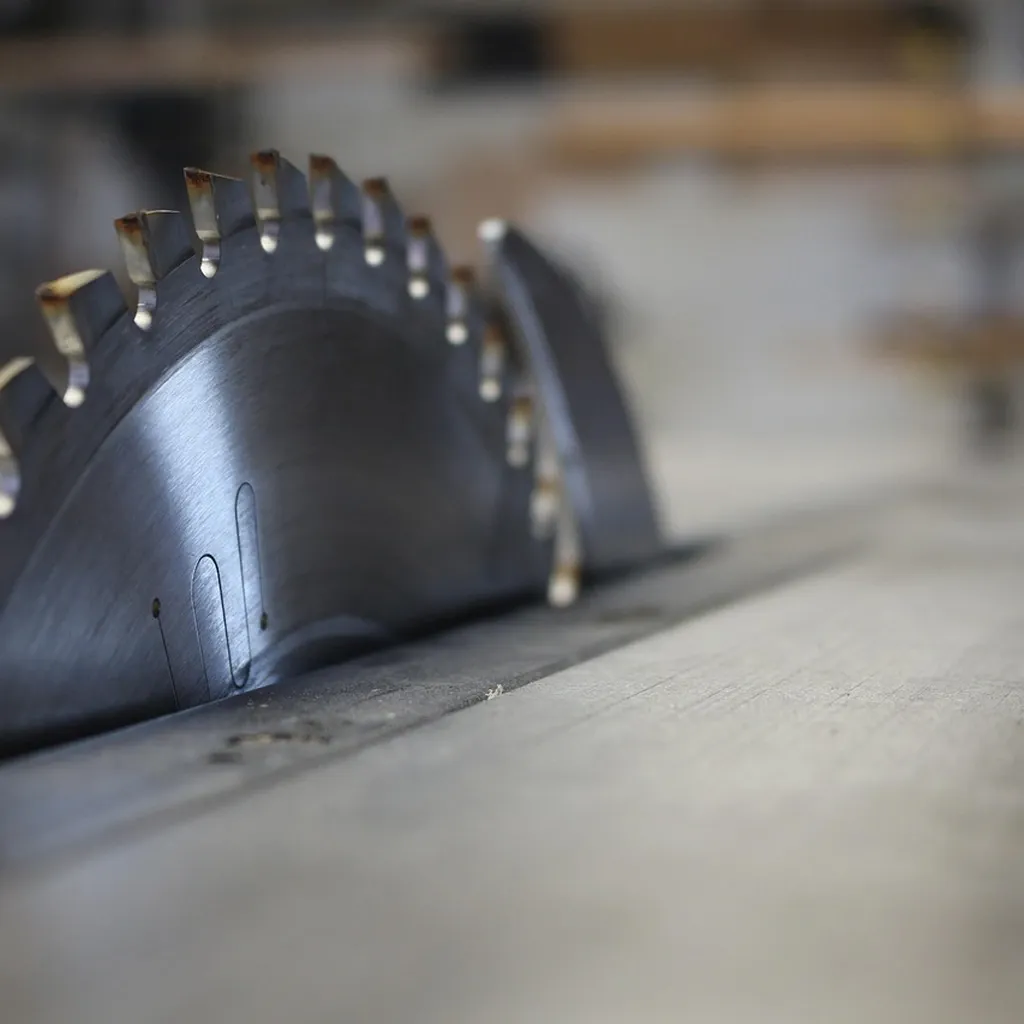
A dedicated guide is the single biggest upgrade for repeatable cuts. Glue and screw a straight, narrow strip on top of a wider piece of thin plywood or hardboard. Then run your saw down the wide base once to trim it. From that moment the trimmed edge sits exactly where your blade cuts, so you line that edge up to your mark with no offset math at all. It works even if the strip was not perfectly square to the base, because both edges end up parallel to the blade path.
This shop-made track is how you get close to track-saw results on a beginner budget. It stores flat against a wall, which matters when you do not have a dedicated shop.
How straight is "straight"? The honest accuracy limits
Here is what the tool-store blogs skip. A clamped guide or a shop-made track will hold a line to within roughly 1/32 inch across a full sheet, which is clean enough for shelves, cabinet carcasses, and most furniture panels. It is not, however, a joinery-grade edge. For hand-cut dovetails, tight miters, or a visible glue line that has to disappear, you finish the edge with a hand plane or cut it with a finer-toothed saw.
A well-tuned table saw still beats a circular saw for narrow, repeated rip cuts, because the fence references the workpiece the same way every time. So the trade is real: the circular saw setup costs a fraction of the price and stores in a closet, and you give up a little repeatability on thin strips. For most beginners cutting plywood to size, that is a trade worth making.
Supporting the board is half the battle

If your material can move, sag, or fall as you cut, a straight cut is nearly impossible no matter how steady your hands are. You want three things at once: the keeper piece stays put, the offcut does not pinch the blade, and both your hands are free for the saw.
For dimensional lumber, a compact clamping bench earns its place fast. Our guide to portable workbenches for small spaces covers the folding options that hold work without a garage. For full sheets of plywood, the cheapest reliable trick is to lay the sheet on top of a piece of rigid foam insulation board on the floor, then set the blade just deep enough to score into the foam. The whole sheet is supported on both sides of the cut, so nothing sags and nothing pinches.
Cutting cleanly in a rental or a small apartment
Renters have three extra constraints, and none of them stop you. Noise: a circular saw is loud, so cut during daytime hours your building allows and keep sessions short. Dust: a circular saw throws a surprising amount of fine dust, so cut near a window or outdoors when you can and read our steps on how to contain sawdust in a small apartment before you make a single cut indoors. Deposit: never cut on carpet or a bare finished floor. The foam-board-on-the-floor method protects the floor and supports the sheet at the same time, which is why it is the default for apartment woodworkers.
Safety before you pull the trigger
A circular saw is a beginner-friendly tool, but it is still a spinning blade close to your hands, so treat every cut as a real hazard. Three exposures matter every time:
- Eyes: the blade throws chips, splinters, and occasionally a broken tooth. Wear safety glasses or goggles with side protection.
- Ears: the motor and blade are loud enough to damage hearing over time. Wear earmuffs or plugs.
- Lungs: fine wood dust is a respiratory hazard, so wear a dust mask or respirator, especially with plywood and MDF.
OSHA's standard for guarding portable powered tools, standard 1910.243 (reviewed September 12, 2026), requires that a circular saw over 2 inches in diameter have an upper guard and a self-closing lower guard that returns to cover the blade the instant the saw leaves the work. Never tie, wedge, or pin that lower guard open, however often you see it done: it is the part that covers the blade the moment you lift the saw.
Kickback is the injury to plan for. It happens when the blade binds and the saw jumps back toward you. Keep the blade sharp, support the offcut so it cannot pinch, stand slightly to the side rather than directly behind the saw, and release the trigger the instant a cut binds. Kreg Tool's beginner guide to straight circular-saw cuts (read September 12, 2026) makes the same point that most binding traces back to poor support, not a bad saw.
When a circular saw is not the right tool
Know where this method stops. For fine joinery cuts, thin trim, or a shoulder that has to be dead clean, a hand saw gives you more control and a finer kerf. If that is the work you are moving toward, our guide to a Japanese pull saw for beginners covers the one hand tool that punches far above its price for accuracy. Use the circular saw for what it is best at: fast, straight, accurate-enough cuts in sheet goods and boards, without a table saw and without a workshop.
FAQ
Can you cut a perfectly straight line with a circular saw freehand? Not reliably. Freehand is fine for rough cuts where the edge will be hidden or trimmed later, but for a straight, finished edge you need a clamped guide or a shop-made track. The guide, not your hand, is what keeps the cut true.
What blade depth gives the straightest cut? Set the blade so the teeth clear the bottom of the material by about 1/4 inch. A shallow setting keeps more of the blade buried in the kerf, which helps it track straight, exposes less blade, and produces less tearout.
Do I need a special guide, or can I use any straight board? Any board with a true, straight factory edge works as a guide if you account for the offset between the blade and the shoe. A shop-made track removes that offset math, because you trim its base to the exact blade line the first time you use it.
How do I stop the wood from splintering on top? Cut with the good face down, since a circular saw's teeth cut upward and any tearout lands on the top face. A sharp, higher-tooth-count blade and a steady feed rate also reduce splintering.
Is a circular saw accurate enough for furniture? For panels, shelves, and cabinet parts, yes, especially with a shop-made track that holds a line to roughly 1/32 inch. For visible joinery like dovetails or tight miters, finish the edge with a hand plane or a fine hand saw rather than relying on the circular saw alone.