How to Cut Wood Square Without a Table or Workbench
How to cut wood square without a table: mark, support, guide and check each cut with basic tools, and what each method costs you in accuracy.


Here is how to cut wood square without a table: start from a straight edge, knife or pencil a line square across the face and down both edges, support the board flat on both sides of the cut, clamp a guide (a speed square, a scrap block, or a straight edge) right on the line, and let the saw ride that guide. Then check the cut with the same square and correct it with a sanding block if needed. No table saw, miter saw, or workbench required.
The honest trade: this is slower than a miter saw and less repeatable, and each method has its own accuracy ceiling. For shelves, boxes, and frames it is enough. For furniture joints that must close tight, expect to trim.
What "Square" Actually Means (It Is Two Things)
Most guides to cutting without a table saw talk about keeping the saw on the line. That only solves half of it. A cut can be out of square in two directions:
- Square to the edge. Looking down on the board, the cut sits at 90 degrees to the long edge. This is what your marked line controls.
- Square to the face. Looking at the end grain, the cut sits at 90 degrees to the top face. This is what your saw blade (or your wrist) controls.
A cut can pass one test and fail the other. A line drawn perfectly with a speed square does nothing if the circular saw's base is set a degree off 0, or if a hand saw leans as your arm tires. That is why the method below checks both.
There is a third hidden requirement: the edge you register the square against has to be straight. Home center boards and plywood factory edges are often straight enough, but a bowed or dinged edge means your "square" line is square to a bad reference. Sight down the edge before you mark, and use the best one.
How to Cut Wood Square Without a Table: Where It Goes Wrong First
This table is ordered by where to look first, starting with the problems that are cheapest to fix. It is a checklist, not a measured study.
| Problem | What you see | The fix | Cost |
|---|---|---|---|
| Board shifts or sags mid-cut | Cut drifts, blade binds, end splinters | Support both sides of the cut, clamp the board | A pair of clamps |
| Line only on one face | Top looks right, bottom is off | Carry the line around all four faces | Time |
| Saw base or blade not at 90 degrees | End looks beveled when you check it | Check blade against a square, unplugged | Nothing |
| Guide not held firmly | Kink or step in the cut | Clamp the guide, never hold it near the blade | One more clamp |
| Square itself is off | Every cut is off by the same amount | Flip-test the square | Nothing, or a new square |
| Bad reference edge | Line is square to a crooked edge | Pick or straighten the best edge | Time |
Notice the pattern: the cheap fixes are about holding the work still. That is also where most of the safety risk sits, which is not a coincidence.
Step 1: Check Your Square Before You Trust It
A square that is out will make every cut wrong in exactly the same way, and you will blame the saw. Check it with the flip test:
- Hold the square's stock against a straight edge and draw a line along the blade.
- Flip the square over, keep the stock on the same edge, and bring the blade up to your line.
- If the blade sits exactly on the line, the square is true. If the two lines form a narrow V, the square is out by half the gap.
Speed squares, combination squares and framing squares can all be checked this way. If yours fails, keep it for rough work only. Our guide to measuring and marking tools for accurate cuts covers which types hold square best for the money.
Step 2: Mark the Line on More Than One Face
Mark the cut on the face, then carry it down both edges with the square, and across the back if the board is thick enough to matter. A marking knife or a sharp utility knife gives a finer, more exact line than a carpenter's pencil, and the knife line also severs surface fibers so the cut splinters less.
Put an X on the waste side. Every saw blade removes a strip of wood (the kerf), so the blade runs on the waste side of the line, not down its middle. Cut on the wrong side and the part comes out short by a full kerf.
For a hand saw, the lines on the edges are your early warning. If the saw starts leaving the edge line on one side, the cut is leaning, and you can correct it before it goes too far.
Step 3: Set Up a Cutting Surface When You Have No Table
No bench does not mean cutting on your lap. Pick one of these:
- Two sawhorses with two straight 2x4s across them. Lay the board over the 2x4s so there is support on both sides of the cut.
- The floor, on a sheet of rigid foam insulation board. The foam supports the board everywhere, including both halves after the cut, and a circular saw set just deep enough to clear the board scores the foam instead of your floor. It suits plywood especially well.
- A folding workbench or a solid-core door on trestles, if you have storage for it. Our list of cheap workbench alternatives that actually work walks through the options by footprint.
Every option aims at the same thing circular saw manuals ask for with large panels: support under the work on both sides, near the line of cut and near the edges, so neither piece sags and pinches the blade. If you rent or share space, protect the floor and any furniture you work on. Our piece on how to cut wood without damaging your table covers padding and scrap layers that help protect a deposit.
Step 4: Guide the Cut (Three Methods, Honestly Compared)
| Method | Square to edge | Square to face | Noise and dust | Best for |
|---|---|---|---|---|
| Circular saw + speed square | Very good with a firmly held square | Good, if the base is checked | High | 2x lumber, shelving, plywood crosscuts |
| Hand saw + clamped guide block | Good | Good with a tall block | Low | Small stock, apartments, quiet hours |
| Jigsaw + clamped straight edge | Fair | Weakest, blades flex | Medium | Only when nothing else is available |
Circular saw with a speed square as the fence
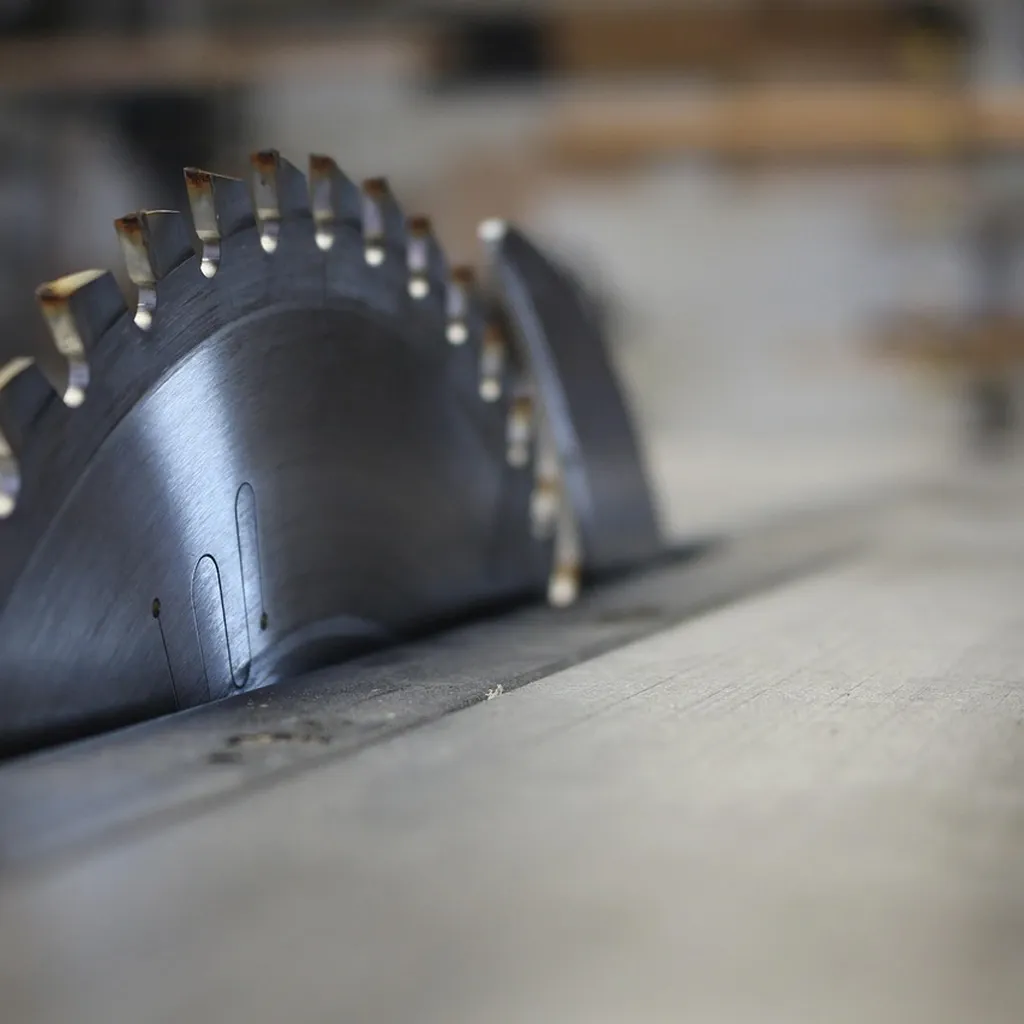
A speed square's lip hooks over the board's edge, and its side becomes a short fence for the saw's base. For a crosscut on a 2x4 or a 1x board, this is the fastest square method available without a miter saw.
- Unplug the saw or remove the battery. Set the bevel to 0, then hold a square against the base and the side of the blade (between teeth) to confirm 90 degrees. Tighten the depth and bevel levers. DeWalt's manual warns that a blade adjustment that shifts mid-cut "may cause binding and KICKBACK."
- Set blade depth so the teeth just clear the underside of the board. Less exposed blade means less blade to bind.
- Clamp the board to the sawhorses or support. Do not hold it by hand or across your knee.
- Line up the blade with the waste side of your mark, then slide the speed square against the base and press its lip tight to the board's edge with your other hand, behind the saw and well clear of the blade path. For wider stock, clamp a straight scrap as the guide instead.
- Stand to the side of the saw, not directly behind it, let the blade reach full speed, and push steadily. If the blade binds, release the trigger and hold the saw still until the blade stops.
For long cuts in plywood, a clamped straight edge or a rail system does the same job over a longer distance. Whether that step up is worth it is covered in track saw vs circular saw.
Hand saw with a clamped guide block
This is the quiet option and the one that suits apartments. Take a thick scrap with a factory-square corner and clamp it on the keep side, its face lined up exactly with your mark, so the saw runs on the waste side against it. Keep the saw plate flat against the block for the first strokes, and the block holds the saw square to both the edge and the face until the cut is established. A taller block guides the blade for longer. A fine-toothed pull saw or a crosscut panel saw both work; a sharp blade matters more than the style.
Jigsaw: last resort for square
Jigsaws are built for curves. The narrow blade can flex, so a cut that looks square on top can be beveled underneath, especially in thick stock. If a jigsaw is all you have, clamp a straight edge as a guide, fit a new blade suited to the material, feed slowly, and plan to sand the end square afterward.
Safety Without a Bench: The Part Not to Rush
Cutting with no bench puts the saw lower and closer to your body, so the setup steps above are also the safety steps. We checked these points against DeWalt's DW367/DW369 circular saw instruction manual (read on September 23, 2026). Your own saw's manual is the one to follow, and most carry similar wording:
- Eye protection, always. The manual adds a dust mask and hearing protection "for appropriate conditions."
- Secure the work. "Use clamps or other practical way to secure and support the workpiece to a stable platform," and never hold the piece "in your hands or across your leg."
- The lower guard must work. Check that it moves freely and closes instantly before each use. If it sticks or drags, stop here and have the saw serviced before cutting. Never pin, tie or wedge a guard open.
- Kickback. When the kerf closes and pinches the blade, the manual explains, the motor drives the saw "rapidly back toward the operator." Support the work so neither side sags, and keep your body to the side of the blade line.
- Never reach under the work. The guard cannot protect you below the board.
On hearing, the CDC's NIOSH page on occupational hearing loss (read on September 23, 2026) treats noise at 85 dBA or higher as hazardous. Power saws are loud enough that earplugs or earmuffs belong in the kit, and if you share walls, keep power-tool work inside your building's quiet-hour rules.
Step 5: Check the Cut, Then Fix It
Hold the square's stock against the long edge and slide the blade up to the fresh end. Look for light between the blade and the end grain. Then check the other direction: stock on the face, blade against the end. Checking both catches both kinds of error.
Small misses are normal and fixable:
- Sanding block: Wrap coarse sandpaper around a squared block, lay the board flat, and sand the high corner down, checking often.
- Shooting board and hand plane: If you own a plane, a simple shooting board trims end grain square in thin shavings. It is the most accurate fix on this list and the slowest to set up.
- Recut: If the miss is large, mark a new line just past the old cut and repeat. It costs a sliver of length, so leave a little extra when you plan parts.
What This Costs You in Accuracy
A miter saw or a table saw sled cuts the same angle every time without you thinking about it. The methods here depend on your setup being right for every single cut, so errors vary from cut to cut. That matters most when four parts must meet at the corners of a frame or box, because small misses add up. Plan to check every piece, not just the first.
For shelves, boxes, planters, and most first projects, a checked square, a clamped guide and a clean line get you cuts that fit. That is the real point: square is a process you can learn with modest tools, not a machine you have to own.
FAQ
Can you cut wood square without any saw guide?
You can, but staying square to the face freehand is harder. Marking the line on all faces helps you catch drift early. A clamped scrap block is a cheap guide worth using every time.
What is the best square for guiding a circular saw?
A speed square is the common choice for crosscuts on narrower boards because its lip hooks the edge. For wider boards and plywood, a clamped straight edge gives a longer guide. Whatever you use, flip-test it first.
Why is my cut square on top but not underneath?
The blade was not at 90 degrees to the face. On a circular saw, check the bevel setting against a square with the saw unplugged. With a hand saw, use a taller guide block. With a jigsaw, the blade may be flexing.
Is it safe to cut wood on the floor?
It can be, on rigid foam board with the blade depth set so it barely clears the wood, the work supported and clamped where possible, eye and hearing protection on, and your body kept to the side of the blade. Never cut across your leg or hold the piece by hand.
How do I make several pieces the same length without a miter saw?
Cut the first piece and check it, then clamp a stop block to your guide so each board butts against it, or mark every piece from the same end with the same tape. Marking each piece from the first one can pass small errors along.