How to Drill Straight Holes Without a Drill Press
How to drill straight holes without a drill press: six hand-drill methods, what each fixes, and how much accuracy you give up at each hole depth.

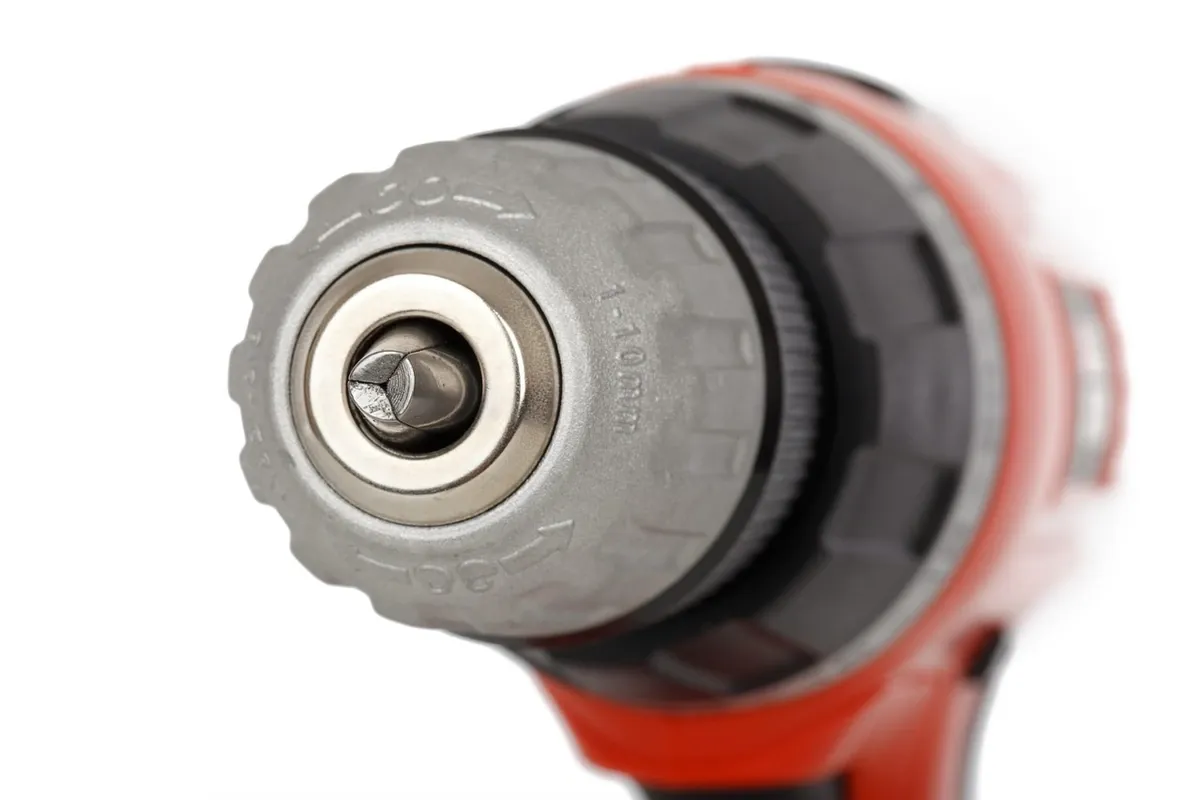
Short answer: To learn how to drill straight holes without a drill press, fix three separate errors. Clamp the work and start the bit in an awl dent so it cannot wander. Give your eye a vertical reference, such as a square standing beside the bit or a drilled guide block clamped over the mark, so the drill cannot tilt. Put scrap underneath so the exit does not tear out. A guide block is the most dependable free option.
That is the whole method. The rest of this guide is about the part most tutorials skip: which error each trick actually fixes, and how much accuracy you still give up with a hand drill, because a hand drill never fully equals a drill press.
Why Hand-Drilled Holes Go Crooked
"Crooked" is really three different problems, and each one has its own fix. Mixing them up is why people buy a guide and still get bad holes.
| Error | What you see | What causes it | What fixes it |
|---|---|---|---|
| Wander | The hole starts off the mark | The bit skates before it bites | Awl dent, brad point bit, slow start |
| Tilt | The hole is on the mark at the top, off at the bottom | The drill leans as you push | Square, mirror, guide block, drill guide |
| Blowout | Splintered, ragged exit | Wood fibers break away as the bit exits | Backer board clamped underneath |
There is a fourth cause that looks like tilt but is not: the workpiece moving. A board held down by one hand shifts slightly every time the bit grabs. Clamping fixes that before any other method starts to matter.
How Much Accuracy You Actually Give Up
Tilt is the error a hand drill struggles with most, and its cost depends on depth. The offset at the bottom of a hole equals the hole's depth multiplied by the tangent of the tilt angle. That is plain geometry, so you can check these numbers yourself.
| Hole depth | 1 degree of tilt | 2 degrees of tilt | 5 degrees of tilt |
|---|---|---|---|
| 3/4 inch (typical shelf stock) | 0.013 in (under 1/64) | 0.026 in (under 1/32) | 0.066 in (about 1/16) |
| 1 1/2 inch (the real thickness of a 2x4) | 0.026 in (under 1/32) | 0.052 in (a bit over 3/64) | 0.131 in (about 1/8) |
| 3 inches | 0.052 in (a bit over 3/64) | 0.105 in (a bit over 3/32) | 0.262 in (about 1/4) |
The takeaway: in 3/4 inch stock, a small tilt barely shows. In anything thick, the same tilt becomes a hole that misses its partner. A shelf pin hole forgives you. A through-bolt in a doubled 2x4, or a dowel that has to meet a matching hole, does not. Match the effort to the depth.
Before You Drill: Safety and Setup
A drill has no blade guard. The guard on this job is your clamp, your grip and your eyes, so none of these steps is optional.
Clamp the work. OSHA's Hand and Power Tools booklet (OSHA 3080), which we read on September 23, 2026, puts it plainly: "Secure work with clamps or a vise, freeing both hands to operate the tool." Two clamps stop a board from pivoting, one usually does not. If you are still deciding what to buy, our guide to which clamp types you actually need first covers the ones that work for drilling.
Protect your eyes and dress for a spinning tool. The same OSHA booklet says people exposed to "falling, flying, abrasive, and splashing objects," or harmful dust, need appropriate protective equipment. Chips leave a drill bit fast, so wear safety glasses. OSHA also warns that "loose clothing, ties, or jewelry can become caught in moving parts." Roll sleeves up and tie back long hair before the chuck turns.
Know what bind feels like. Large bits, especially spade bits, Forstner bits and hole saws, can catch in the wood and twist the drill hard toward your wrist. Hold the drill with both hands, keep your wrist in line with the bit, run a lower speed for big bits, and use the side handle if your drill came with one. If the bit stalls, release the trigger rather than fighting it.
Hearing and bits. Drilling wood is quieter than sawing it, but if your drill has a hammer setting, switch it off: that mode is for masonry and adds noise and vibration you do not need. Check your drill's manual for its own hearing protection guidance. Remove the battery or unplug the drill before changing bits, which OSHA 3080 also lists among its general precautions.
Stop if you are drilling into the building. Everything here assumes a loose board clamped to a work surface. If the hole goes into a wall, floor, ceiling, or cabinet already fixed in place, that is a different job. Scan with a stud and wire detector first, avoid the areas directly above and below outlets and switches where cables often run, and hold the drill by its insulated grip, as drill manufacturers' manuals instruct, in case the bit meets hidden wiring. In a rental, check your lease before drilling anything attached to the unit, and if you hit metal, stop.
Set up in a small space. You need a flat, stable surface that will not rock when you push down. A cheap workbench alternative such as a solid door on sawhorses or a folding bench works, provided you can clamp to it. Drilling is short and relatively quiet compared with sawing, but it still carries through floors, so keep it inside your building's quiet-hours rules.
How to Drill Straight Holes Without a Drill Press: Six Methods
These run from the basics every hole needs to the methods that give you the most control over tilt.
1. Clamp, mark and dent the start point
Mark the center with a sharp pencil cross, then press an awl or a nail into the crossing point to make a dimple. The dent gives the bit tip something to sit in, which removes most wander before the motor turns. Precise marks matter here, and a fine pencil or marking knife from our list of measuring and marking tools for accurate cuts will give you a tighter starting point than a carpenter's pencil. Start the drill slowly for the first turns, then bring it up to speed once the bit has seated.
2. Sight the bit from two directions
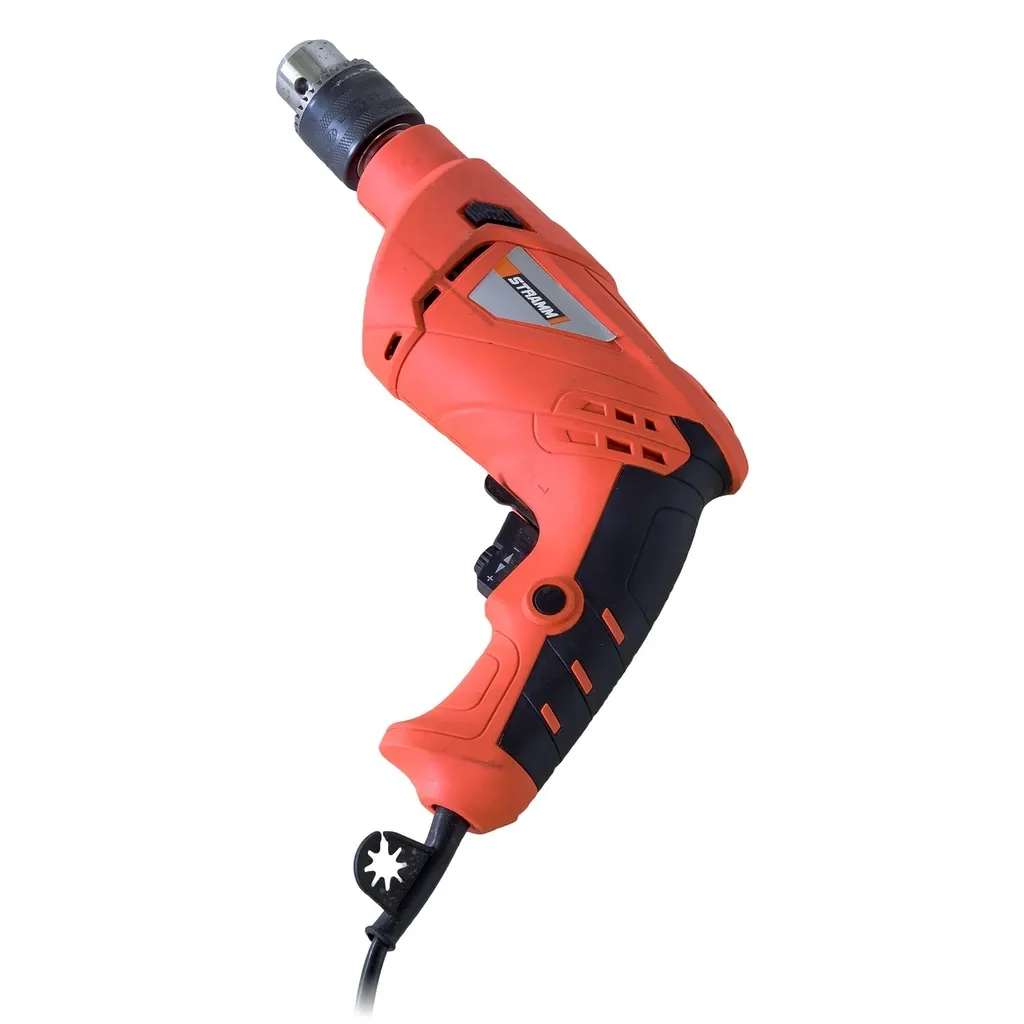
Your eye judges vertical well from the front and poorly from the side you cannot see. Line the bit up looking from the front, then either move your head 90 degrees or have a helper watch from the side. Two views at right angles catch tilt in both directions. This costs nothing, but it relies on judgment, so treat it as the fallback for shallow holes.
3. Stand a square beside the bit
Set a speed square or combination square on the workpiece so its upright edge sits right next to the bit. Keep the bit parallel to that edge while you drill, then turn the square 90 degrees and check again. A homemade version works too: glue two squared scraps into an L to make an inside corner, and nest the bit against it. This gives your eye a true vertical reference instead of asking it to imagine one.
4. Check with a mirror
Lay a small flat mirror on the workpiece next to the mark. When the bit is vertical, the bit and its reflection form one continuous straight line. If the line kinks, the drill is leaning. The mirror checks both directions at once, which the square does not, but the drill body can block your view on small bits, so it works best as a check before you start rather than during the cut.
5. Clamp a drilled guide block over the mark
This is the most dependable free method. Take a thick block of hardwood, drill one hole through it at the bit size you need, and check that hole by pushing the bit through and standing a square against it on two sides. If it is off, drill another block. Once you have a true one, label it with the bit size, clamp it over your mark, and drill through it into the workpiece.
The block works because it turns your judgment into a physical constraint: the bit cannot tilt more than the hole allows. A thicker block guides better than a thin one. Its limits are honest ones: each block fits one bit size, the spinning bit slowly enlarges the hole over repeated use, and it cannot help with bits wider than the block can hold.
6. Use a portable drill guide
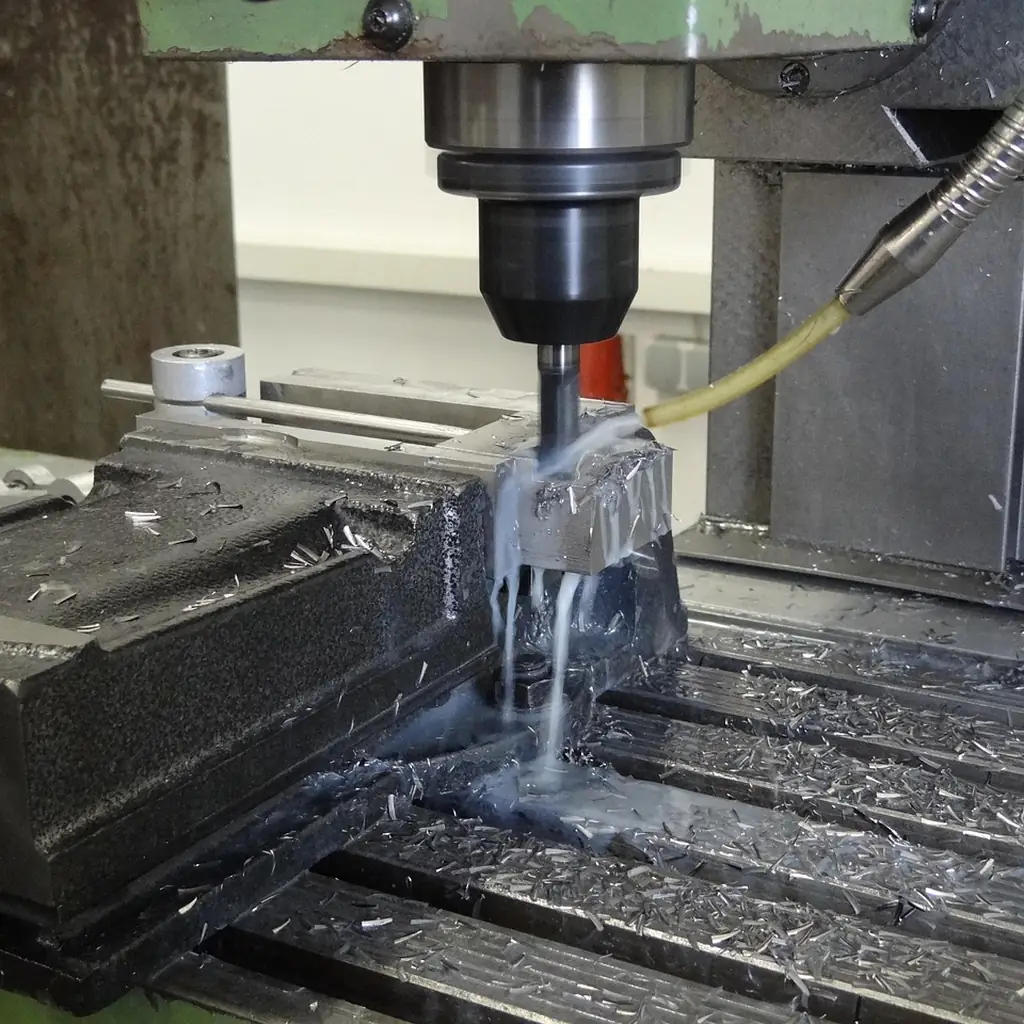
A portable drill guide is a base with two rods that the drill rides on, so the bit moves straight down. It controls tilt without any sighting, and some models also offer depth stops. The trade-off is play: if the rods or bushings are loose, the guide can hold the drill at a consistent wrong angle. Check any guide against a square before trusting it, and keep the base clamped or held firmly flat.
Choose a Bit That Starts Where You Aim
The bit decides a lot of the result before technique does.
- Brad point bits have a sharp center spur and cutting spurs at the rim. They start on the dent, resist wander, and cut a clean entry in wood. They are the best choice for straight holes.
- Twist bits are general-purpose and tend to skate on wood unless you dent the mark first.
- Spade bits drill large holes cheaply but wander and grab, so pair them with a guide block and a firm two-handed grip.
- Forstner bits leave flat-bottomed, clean holes but take a lot of torque, which makes clamping and bracing essential.
Whatever the bit, let it cut. Pushing hard bends small bits and makes tilt worse. On deeper holes, back the bit out every so often to clear chips, because packed chips can push the bit sideways.
Getting Clean Through-Holes
Clamp a piece of scrap under the workpiece where the bit will exit. The scrap supports the fibers so they are cut instead of torn. It also keeps the bit away from whatever is underneath, which matters if your work surface is a dining table: see our guide on how to cut wood without damaging your table for the same protection logic applied to saws.
Some guides suggest drilling halfway from each side instead. That gives a clean exit on both faces, but the two halves only meet if both starts are exactly aligned and both are drilled straight, so any tilt shows up as a step in the middle. With a hand drill, a backer board is usually the more reliable choice.
When You Really Do Need a Drill Press
The honest limit: every method above improves a single hole. A drill press is better when you need many identical holes, the same depth every time, deep holes through thick stock, large Forstner bits in hardwood, or holes in round stock. Hand methods can get close on one hole; they are much harder to repeat exactly across dozens.
For two common jobs there is a cheaper middle path. A dowel jig and a shelf-pin jig are both built around fixed guide holes, often lined with metal bushings, so they handle the repeatability problem for their specific task without a drill press.
Frequently Asked Questions
Is the bubble level built into my drill accurate enough?
Only if the workpiece itself is level. The bubble reads the drill's position relative to gravity, not relative to the board. Check your work surface with a level first; if it is not flat and level, the bubble will lead you to a hole that is square to the floor but not to the wood.
Can I make a guide block without a drill press?
Yes. Drill it carefully with a square beside the bit, then test it by pushing the bit through and checking it with a square on two sides. If it leans, drill another. The advantage is that the block's accuracy can be checked once, before it touches your project.
Why does my hole come out crooked when the drill looked straight?
Usually one of three things: the board shifted because it was not clamped, the bit deflected because you pushed too hard, or the bit followed a change in the grain or a knot. Clamping, lighter pressure and a sharp brad point bit address all three.
What bit should I use for straight holes in wood?
A brad point bit for most holes. Its center spur locates on your mark and its rim spurs cut a clean entry. For larger holes, use a Forstner bit with the work firmly clamped and a guide block if you can.