How to Fix Blotchy Wood Stain: Options by Stage
How to fix blotchy wood stain at any stage: rewipe it wet, even it with gel stain or tinted poly, or strip it, with the apartment trade-offs of each.

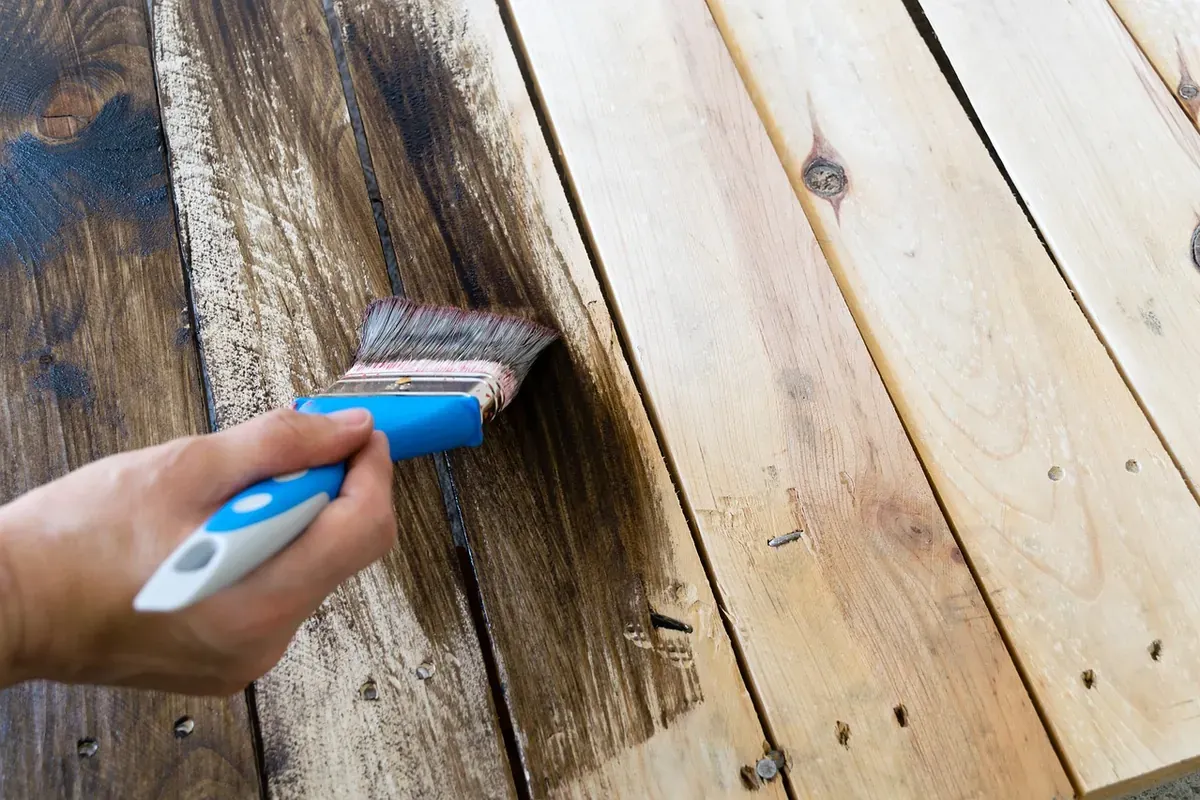
Short answer: how to fix blotchy wood stain depends on when you catch it. While the stain is still wet, rewet the surface with more stain and wipe it again to blend the light and dark areas. Once it has dried, you can usually only go darker: a coat of gel stain or a tinted polyurethane evens the color by laying more of it near the surface, at the cost of hiding some grain. If you want the piece lighter, or the grain fully clear again, the honest fix is stripping or sanding back to bare wood and restaining with a conditioner. Test every fix on a hidden spot first.
Blotching means pale and dark patches on the same board, where some areas soaked up far more stain than others. Minwax's woodworking FAQ (read on October 2, 2026) explains that "many soft or porous woods, like pine, fir, spruce (soft) and maple, alder and aspen (porous) have a tendency to absorb stain unevenly." That one fact shapes every fix below: if you sand back and restain the same wood the same way, it will blotch the same way again.
First, work out what kind of uneven you have
Not every uneven finish is true blotching, and the fix depends on the cause. Look at the piece in good daylight before you reach for sandpaper.
| What you see | Likely cause | Fix family |
|---|---|---|
| Random cloud-shaped dark patches on pine, maple or birch | Uneven absorption in the wood itself (true blotching) | Add color at the surface, or restart with conditioner |
| A darker band or stripe across a board | A lap mark, where wet stain overlapped stain that had started to dry | Rewipe if still wet; otherwise add color at the surface |
| Tacky, shiny or streaky areas | Excess stain left on the surface instead of wiped off | Lift the excess (see Fix 2) |
| A pale spot near a joint that will not take color | Dried glue sealing the wood | Remove the glue, then restain that area |
| Board ends much darker than faces | End grain absorbs more than face grain | Add color to the faces, or accept it |
| The whole piece is simply too dark | Color choice or wipe timing | Strip and restart |
If you are not sure which you have, touch a dark patch lightly with a gloved finger. Tacky means excess stain on top. Dry and smooth means the color is in the wood, which narrows your options.
How to fix blotchy wood stain: pick the fix by stage
The single most useful rule is that stain gets harder to correct the further along you are. Here is what still works at each point.
| Stage | What still works | What makes it worse |
|---|---|---|
| Still wet, within the stain's working time | Rewet the whole face with stain and rewipe | Leaving extra stain on the pale spots only |
| Dry, no topcoat yet | A second coat, gel stain, or tinted polyurethane over the whole face; full sanding back to bare wood | Spot-sanding the dark patches; scuffing before tinted poly |
| Already under a clear topcoat | Tinted polyurethane over the cured finish, if compatible; stripping | Wiping ordinary stain over the topcoat, which has no bare wood to soak into |
| Too dark overall, any stage | Stripping, then restaining lighter | Trying to cover dark with a lighter color |
The rest of this guide walks through each fix in order, from least to most work.
Fix 1: Still wet? Rewet and rewipe the whole face
If you see blotches or a lap line while the stain is still wet, do not try to touch up just the bad spot. Apply more stain across the entire face, end to end, so the surface is evenly wet again, then wipe the whole face along the grain in the same order you applied it. This gives the dark and light areas a second chance to blend before anything sets.
Two things matter here. First, stay within the working time your stain's label gives, because once an area has started to dry, fresh stain on top can create a new lap mark. Second, use a clean part of the rag for the final wipe. Minwax's Wood Staining Tips page (read on October 2, 2026) warns that "swirl marks left by a stain-saturated cloth will become even more obvious under a coat of clear finish."
Fix 2: Tacky or streaky? Lift the excess first
Sometimes what looks like blotching is stain that was never fully wiped off and is sitting on the surface. Minwax's FAQ addresses exactly this: if the stain is still tacky, "take a cloth dampened with mineral spirits and use that to scrub down the piece." That advice is for oil-based stain; for a water-based product, follow its own label for cleanup.
This step can be enough on its own. Once the surface excess is gone, the remaining color is often far more even than it looked. Let it dry, then judge it again in daylight before doing anything more. Work with a window open, and treat the mineral spirits rag as a fire risk, as covered below.
Fix 3: Dry blotches you can live with darker: gel stain
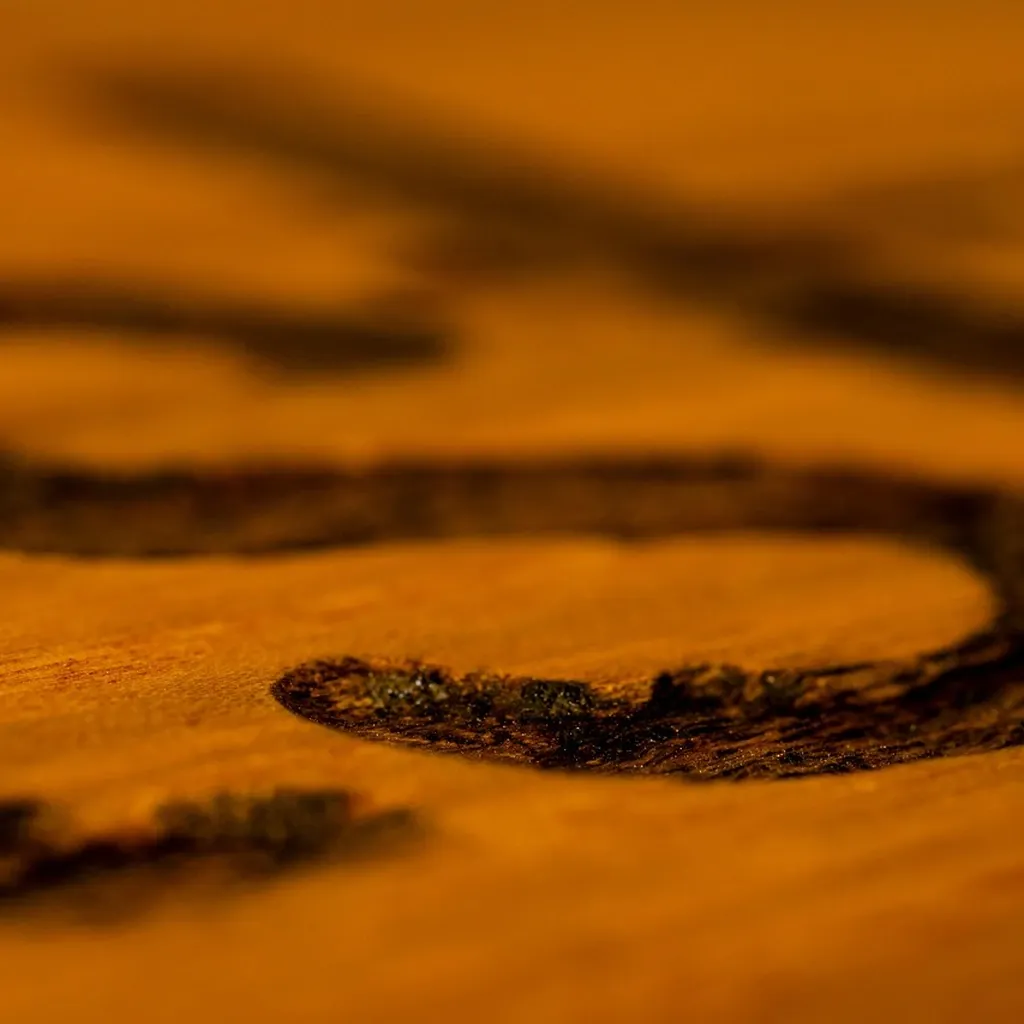
For dried blotching on blotch-prone wood, the most common fix that avoids stripping is to go a little darker with a thicker product. Minwax's Staining Interior Wood guide (read on October 2, 2026) says pine and similar softwoods "are less likely to exhibit blotchiness if stained and finished with Minwax PolyShades or Minwax Gel Stain."
The directions on the Minwax Gel Stain product page (read on October 2, 2026) are specific:
- "Apply stain with a brush or clean cloth. Wait 3 minutes and remove the excess stain."
- "To darken the color, recoat after 8-10 hours."
- "DO NOT sand between coats."
- "Allow to dry for 24 hours before topcoating."
One honest caveat: those directions begin with bare, clean, dry wood. Putting gel stain over an existing, dried stain is a workaround, not what the label describes, which is exactly why a test spot comes first. Pick a gel stain color at or slightly darker than your darkest blotch, test it on an inconspicuous area, and only then do the whole face. Expect the grain to look a little more muted afterward.
Fix 4: Even the color with a tinted polyurethane
A tinted polyurethane combines color and clear coat in one product, so it lays color on top of the wood rather than relying on the wood to absorb it evenly. Minwax's guide to changing your stain color with PolyShades (read on October 2, 2026) says that over an existing finish, "there's no stripping or heavy sanding necessary," and describes a light sanding with fine-grit paper, removing the dust, then brushing on a coat.
The same page includes a warning that matters for blotch repairs specifically: "If the wood has been stained but not finished, DO NOT scuff or sand. Doing so will remove the color from the edges, leaving the project looking uneven." It also notes that the product "is not recommended for use over lacquer," so if your piece already has a clear coat and you do not know what it is, find out before you start.
Tinted finishes are less forgiving to brush than plain stain is to wipe. Thin coats, brushed out evenly and then left alone, give you a better chance than one heavy coat. Each extra coat also darkens the color, so stop when it looks even, then build the rest of the protection with a clear finish.
Fix 5: Too dark or too far gone? Strip or sand back
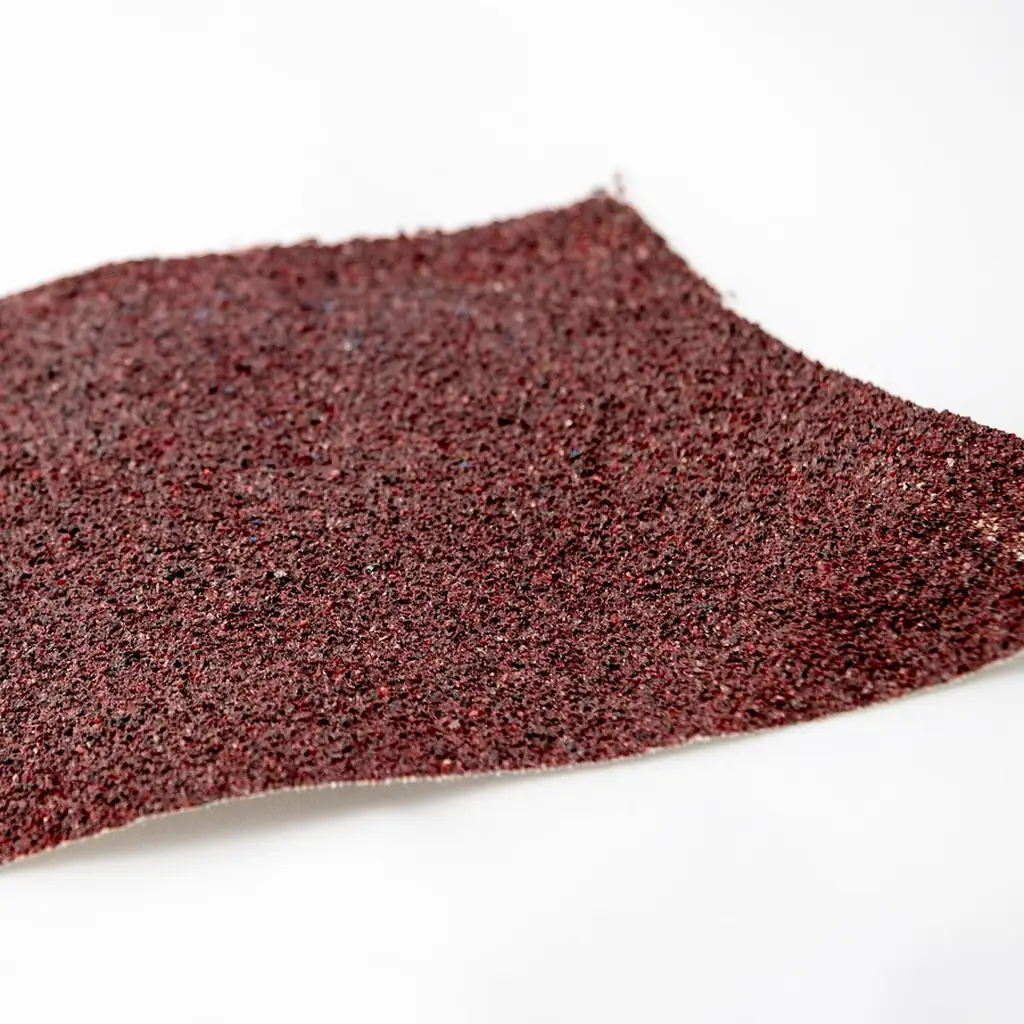
If the piece is too dark overall, or the blotching is severe and you want the grain to show clearly, there is no shortcut. Minwax's PolyShades guide says lightening a color "is not as simple as applying a light color of PolyShades" over it, and that "you will need to strip the existing finish first." Covering dark with a lighter color does not work, because stain and tinted finishes are translucent.
You have two routes back to bare wood:
- Sanding back. Sand the whole surface evenly, not just the dark patches, because a half-sanded area becomes a new pale patch. On a small project this can be done by hand with a block. If you use a power sander, follow the safety instructions in that sander's own manual, and see our guide to choosing a random orbital sander for a small space for what to check first. Stained dust spreads easily, so our guide to containing sawdust in a small apartment is worth reading before you start.
- Chemical stripping. Strippers vary widely in strength and fumes. Read the whole label before buying, and if it calls for ventilation you cannot provide indoors, do the job somewhere you can, or choose sanding instead. Follow the label for gloves, eye protection, application, removal and disposal.
Once you are back to bare wood, change something before you restain, or the same blotching returns. Minwax's FAQ recommends its conditioner for blotch-prone woods because "it penetrates the grain of the wood to promote uniform acceptance of stain." Test the conditioner and stain together on a scrap of the same board.
Oily rags from these fixes are a fire risk
Every fix above produces rags soaked in stain, mineral spirits or finish. The Minwax Gel Stain page carries this warning: "Rags, steel wool, other waste soaked with this product, and sanding residue may spontaneously catch fire if improperly discarded. Immediately place rags, steel wool, other waste soaked with this product, and sanding residue in a sealed, water-filled, metal container." Do not leave used rags in a pile, a plastic bag or the kitchen trash, and check your local rules for final disposal. The same page also says to "use only with adequate ventilation."
What fixing blotchy stain costs you
Being straight about the trade-offs:
- You almost always end up darker. Gel stain and tinted polyurethane both fix blotching by adding color. If you loved the light shade you were aiming for, only a restart gets you there.
- Grain clarity drops. Color sitting near the surface mutes figure. On plain pine that is often fine. On a board you chose for its grain, it may not be.
- Sanding back is slow and dusty. In an apartment that means working within noise hours, controlling dust and cleaning up properly. Our guide to beginner woodworking mistakes sorted by what they cost puts that time cost in context.
- Some blotching is the wood, not you. Even with conditioner, some species stain unevenly. A test board tells you that before it costs you a finished piece.
The cheapest fix is still the test scrap. Next time, run your stain on an offcut from the same board first; a small project such as a simple wooden box is a low-stakes place to learn how your wood takes color.
FAQ
Can you fix blotchy stain without sanding?
Often, yes. If the stain is still wet, rewet and rewipe the whole face. If it is dry, a gel stain or tinted polyurethane can even the color without sanding back, as long as you are happy with a slightly darker result. Test on a hidden area first.
Can you put more stain over blotchy stain?
A second coat of the same stain deepens the color and can blend mild blotching, but it rarely fixes strong blotching on its own, because the wood is still absorbing unevenly. A thicker gel stain or a tinted finish evens color more reliably.
How do you lighten stain that went on too dark?
You cannot lighten it by adding a lighter color on top. Minwax says you will need to strip the existing finish first. Sanding back to bare wood is the other route.
Why does pine blotch even after I sand it carefully?
Pine is a soft wood that absorbs stain unevenly by nature, which Minwax lists alongside fir, spruce, maple, alder and aspen. Careful sanding helps, but a pre-stain conditioner, a gel stain or a tinted finish addresses the absorption itself.
Should I sand between coats of gel stain?
No. Minwax's Gel Stain directions say "DO NOT sand between coats," and give 8 to 10 hours before recoating to darken the color.