Rabbet Joint Without a Router: Hand-Tool Methods That Work
Yes, you can cut a rabbet joint without a router. Learn the saw, chisel and plane methods, what each costs you in accuracy, and how to keep it quiet.


Yes. You can cut a rabbet joint without a router, and a dado too, using a handsaw, a chisel and, if you want cleaner results, a hand plane. Woodworkers cut both joints by hand long before routers existed. The method is simple: knife the layout lines, saw the shoulder to depth, remove the waste with a chisel, then level the bottom. What you give up is speed and some consistency across many parts. What you gain is a quiet, low-dust process that works on a folding table in an apartment.
If you only need a few rabbets for a box, a bookcase back or a drawer, the hand method is realistic. If you need dozens of identical grooves, that is when a router starts to earn its place.
What a rabbet and a dado actually are
A rabbet is a step cut along the edge or end of a board. It is open on two sides: the face and the edge. You see rabbets where a cabinet back sits inside the sides, where a box bottom is let in, and at the corners of simple drawers.
A dado is a groove cut across the grain, in the middle of a board. It is open on the face only and has two walls. The classic use is a shelf sitting in a dado cut into a bookcase side.
(A groove that runs with the grain is usually just called a groove. The hand method is the same.)
Both joints add strength the same way. They give the mating piece a ledge to sit on, and they add glue surface that a plain butt joint does not have. Family Handyman's guide to rabbet joints describes a rabbet as stronger than a butt joint, and describes assembling one with glue plus nails, screws or dowels. That matches what most beginners need: a joint that locates the parts and carries a light, steady load, with fasteners doing some of the holding.
If you are still deciding whether to buy a router at all, our guide on whether a beginner needs a router, and what for walks through the jobs where it really does save time.
What you need for a rabbet joint without a router
You do not need a specialist kit. The minimum:
- A backsaw or a Japanese pull saw. A saw with a stiff back or a thin kerf makes it easier to stop at an exact depth. Our Japanese pull saw guide for beginners covers what to look for.
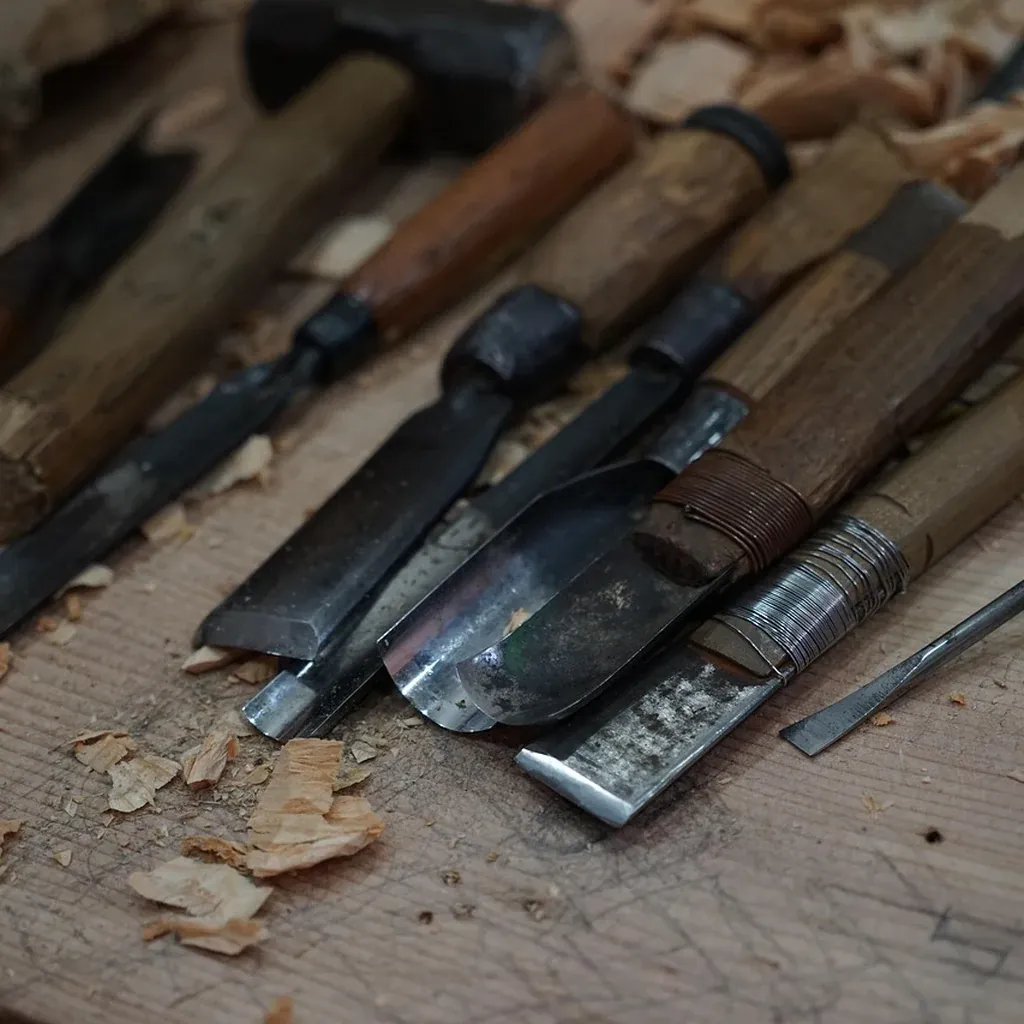
- One or two bench chisels close to the width of your rabbet or a little narrower.
- A marking knife or a sharp utility knife, plus a square and a marking gauge or a combination square to set depth.
- Clamps to hold the board still. This matters for accuracy and for safety.
- Optional, for cleaner bottoms: a router plane (a hand plane with a blade that hangs at a set depth below its sole) or a rabbet plane or shoulder plane for trimming the walls.
A router plane sounds like a power tool but is not. It has no motor. It simply shaves the bottom of a rabbet or dado down to one consistent depth, which is the hardest part to get right with a chisel alone.
Method 1: Saw and chisel (the basic hand method)
This is the method to learn first, because every other method builds on it.
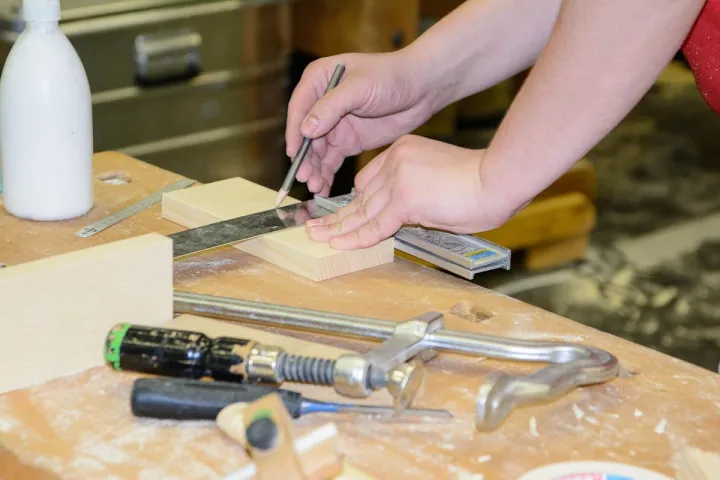
- Mark with a knife, not a pencil. Set a marking gauge or combination square to the rabbet's width and depth. Knife the shoulder line across the face, then gauge the depth line on the edge and end. A knife line gives the saw and chisel a crisp edge to register against; a pencil line is too wide to follow closely.
- Deepen the shoulder line. Put the chisel's flat back in the knife line and press straight down with hand pressure, then pare a small V-groove on the waste side. This groove guides the saw's first strokes.
- Saw the shoulder to depth. Start the saw in the V-groove and saw down until you reach the depth line on both edges. Stop exactly on the line. Going past it leaves a visible kerf on the finished joint.
- Remove the waste. For a rabbet on the end of a board, you can often saw the cheek too, working down from the end grain along the depth line. For a long rabbet along an edge, chop and pare the waste with the chisel in stages, bevel down for rough removal, then bevel up for the final paring.
- Level the bottom. Pare to the gauge line from both edges toward the middle so you do not split out the far edge.
What it costs you in accuracy: the shoulder is usually crisp because it came from a knife line. The bottom is where hand work shows. Expect some variation in depth along a long rabbet unless you check it often. For a cabinet back or a box bottom, that variation is hidden. For a visible joint on a fine piece, you will want the router plane step below.
Method 2: Multiple saw kerfs for a dado
A dado is two shoulders with waste between them, so the saw does more of the work.
- Knife both walls of the dado across the face, and gauge the depth on both edges.
- Saw down both walls to the depth line. A strip of wood clamped along the knife line gives the saw a straight fence to rub against, which helps keep the cut square.
- Make a few extra saw cuts in the waste between the walls, stopping at the same depth. These break the waste into short sections that come out more easily.
- Chisel out the waste, working in from both edges toward the center.
- Level the bottom with the chisel or, better, a router plane.
This is the method most people use for shelf dados in a bookcase side. It is slow on a long dado across a wide board, but it is steady, predictable work.
Method 3: Add a router plane for a flat, even bottom
A router plane is the tool that closes most of the accuracy gap between hand work and a powered router for these joints. You set its blade to the final depth, rest the sole on the board's face, and shave down every high spot until the blade no longer cuts. Because the sole references the face of the board, the bottom ends up parallel to the face and at one depth from end to end.
The practical order is to saw and chisel to just above the line, then take the last shavings with the router plane. If a router plane is not in your budget yet, a wide chisel held bevel-up and flat, paring from both sides, gets you close on short joints.
Rabbet planes and shoulder planes are the other trimming option. They are good for cleaning up the wall of a rabbet or fine-tuning a fit, but they are generally better at refining an existing rabbet than at creating one from scratch.
Method 4: Build the rabbet instead of cutting it
This is the method most guides skip, and it can be the most useful one in a small space. If what you need is a step for a panel to sit in, you can glue two pieces together to make one.
- Built-up rabbet: glue a narrower strip to the face of a wider board, flush on one edge. The exposed strip of the wider board is your rabbet. It works well for cabinet backs and picture frame rebates.
- Cleats instead of a dado: a shelf can sit on two glued and screwed wooden cleats instead of in a dado. You lose the tidy look of a let-in shelf, but you gain solid support with no chiseling at all.
What it costs you: a built-up rabbet adds a visible glue line and a little thickness. Glue two pieces of the same species with the grain running the same way so they move together with the seasons. If you want to see simple joinery like this on a real first project, our guide to building a wooden box as a first project shows where a bottom panel and simple joints do the work together.
Rabbets and dados in plywood
Plywood is common in small-space projects, and it behaves differently. The thin face veneer tears out easily at the shoulder, and the alternating plies make it hard to pare cleanly to a line. Two things help:
- Knife the shoulder line deeply, through the face veneer, before you saw. This severs the surface fibers so they cannot lift.
- Rely on the router plane for depth, because paring across plies with a chisel tends to follow the soft layers.
For intricate plywood joinery, such as locking drawer joints, hand-cutting gets frustrating. A simple rabbet or dado is realistic; complex interlocking cuts in plywood are where a powered tool becomes worth considering.
Safety when cutting a rabbet joint without a router
Hand tools are quieter and slower than a router, but a sharp chisel still causes serious cuts. The Canadian Centre for Occupational Health and Safety, in its safety tips for wood chisels (read September 27, 2026), gives guidance that applies directly here:
- "Keep your hands and body behind the cutting edge."
- "Chip or cut with the blade pointing away from yourself."
- "Clamp the stock so it cannot move."
- "Make finishing or paring cuts with hand pressure alone."
- Use "a wooden or plastic mallet with a large striking face" when you do strike a chisel.
- Keep the edge sharp, because "dull chisels can be difficult to control and require more effort to do the job."
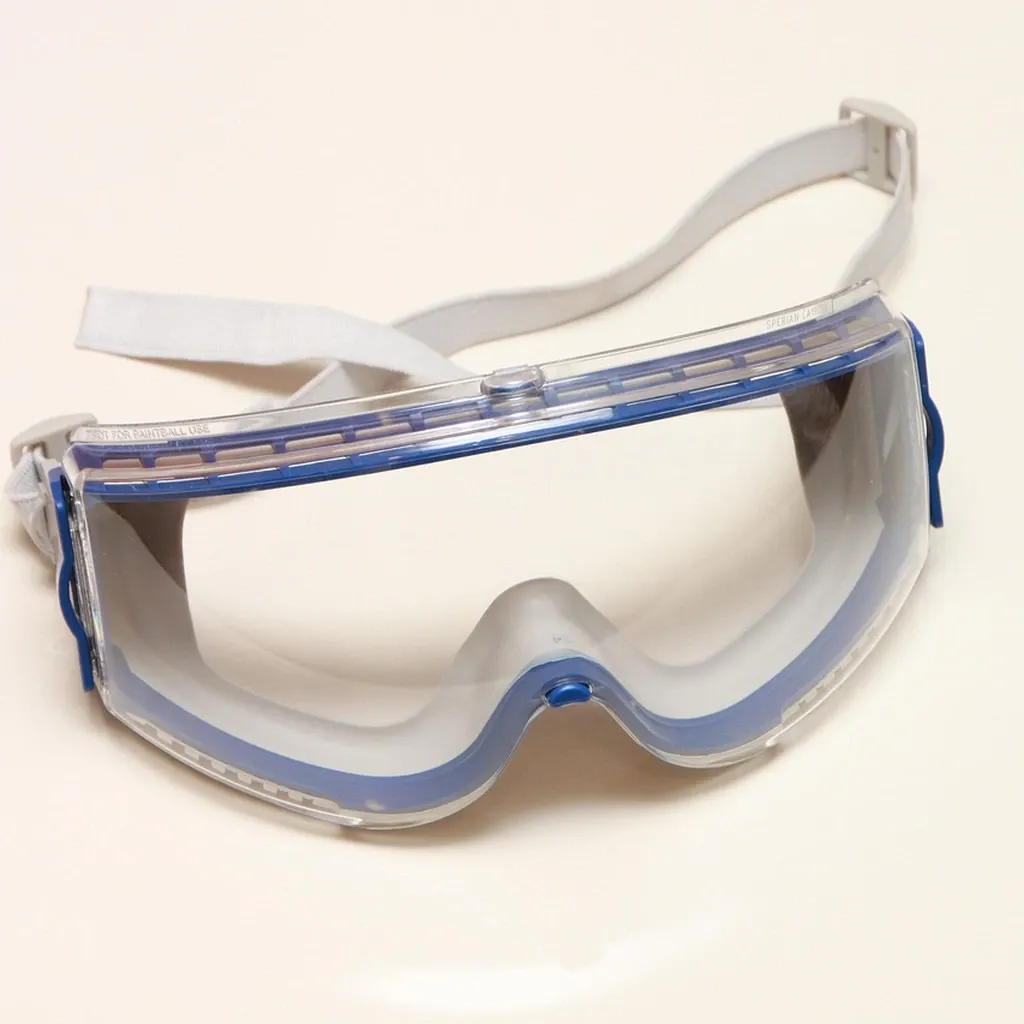
CCOHS also advises eye protection if particles could come off the workpiece or while sharpening. In practice that means safety glasses whenever you chop with a mallet.
The rule most beginners break is holding the board with one hand while chiseling with the other. Clamp it to the table, and keep the hand that is not guiding the chisel on the tool or well away from the cutting path. If you have no bench, our guide to clamping and work-holding without a workbench covers ways to hold a board firmly on an ordinary table.
The apartment advantage: noise, dust and neighbors
A powered router is loud and throws fine dust. A saw, a chisel and a router plane make much less noise, and their waste is mostly shavings and chips that sweep up rather than float.
Two limits to be honest about:
- Mallet work is not silent. Chopping with a mallet thuds through a floor, especially on a table that sits directly on it. A folded towel or rubber mat under the work helps. Save heavy chopping for daytime hours.
- Speed is the real cost. A hand-cut dado across a wide bookcase side takes far longer than a router pass. If you are building one bookcase, that is fine. If you are building a set, weigh the time against the tool.
When a router is worth it anyway
Hand methods are fully capable for the joint itself. A router starts to make sense when:
- You need many identical rabbets or dados, where repeatability matters more than the cost of the tool.
- You work mostly in plywood and want clean shoulders without careful knife work each time.
- You are comfortable with the noise and dust that come with it, which in a shared building is a real consideration.
If none of those apply, start with the saw and chisel. You will learn layout and chisel control along the way, and that carries into every other joint.
FAQ
Can I cut a rabbet joint without a router or a table saw? Yes. Knife the layout, saw the shoulder to depth, remove the waste with a chisel, and level the bottom with a chisel or router plane. It is slower than a power tool but needs no machine.
What is the difference between a rabbet and a dado? A rabbet is a step cut along the edge or end of a board, open on two sides. A dado is a groove cut across the grain in the middle of a board, open on the face only.
Do I need a rabbet plane to cut rabbets by hand? No. A saw and chisel can cut a rabbet on their own. A rabbet plane, shoulder plane or router plane mainly helps you refine the joint and get a flatter, more consistent bottom.
Is a hand-cut rabbet joint strong enough for furniture? A well-fitted hand-cut rabbet holds the same way a machine-cut one of the same size does. It is stronger than a plain butt joint, and glue plus nails, screws or dowels is the usual way to assemble it for cabinet backs, boxes and drawers.
Can I make a dado in plywood by hand? Yes, for simple dados. Knife through the face veneer first to prevent tear-out, and use a router plane to set the depth, because paring across the plies with a chisel can be uneven.