How to Stain Wood Evenly by Hand (No Sprayer Needed)
How to stain wood evenly by hand with a rag or brush: prep, conditioner, timing and wiping steps that prevent blotches, lap marks and streaks indoors.

Short answer: how to stain wood evenly by hand comes down to two things: every part of the wood should absorb stain at the same rate, and every part should sit wet for the same amount of time before you wipe it. In practice that means sanding every surface to the same final grit, using a pre-stain conditioner on blotch-prone woods like pine and maple, testing on a scrap first, working one whole face at a time, and wiping the excess along the grain in the same order you applied it. A rag does this job well. A sprayer is not required.
Most uneven stain jobs are not caused by the wrong product or a cheap brush. They come from uneven absorption or uneven timing, and both can be controlled at a kitchen table. Here is how, step by step, with the trade-offs stated plainly.
Why stain goes on unevenly
Stain colors wood by soaking into it, so anything that changes how much soaks in, or for how long, changes the color. The usual culprits:
| What you see | Usual cause | What prevents it |
|---|---|---|
| Dark patches on pine, maple or birch | Some areas of the wood absorb far more than others | Pre-stain conditioner, or a test-and-adjust approach |
| One face darker than another | Different final sanding grit on different faces | Sand every surface to the same final grit |
| A darker stripe across a board | A lap line: stain overlapped onto an area that had already started to dry | Work one complete face at a time, end to end |
| Streaks along the grain | Excess stain left on the surface, or uneven wiping | Wipe all excess, finishing with long strokes along the grain |
| Light spots that will not take color | Something sealing the wood, such as dried glue | Find and remove it before staining (see the prep step) |
| Dark, blotchy board ends | End grain absorbs more than face grain | Test first; consider conditioner on the ends |
Every step below targets one of these.
Step 1: Sand every surface to the same final grit
This is the step that quietly decides your color. Minwax's woodworking FAQ (read on October 2, 2026) says that "to achieve a darker stain color, use coarser grit of sandpaper (#150-#180) on the last sanding you do prior to staining." The flip side is the important part for evenness: if you finish one face at a coarser grit and another at a finer one, they will stain to different shades.
So pick one final grit for the whole piece and stick to it. Sand by hand with a firm block, always with the grain, and do not skip grits on the way up. Then remove every bit of dust before staining, since dust left in the grain can show as specks. If sanding indoors is the bottleneck, our guide to containing sawdust in a small apartment covers keeping it off everything else.
While you sand, look for dried glue near joints. Glue seals the wood and blocks stain, leaving a pale patch that is hard to fix afterward. Sand or scrape it off now.
Step 2: Make a test board from the same wood
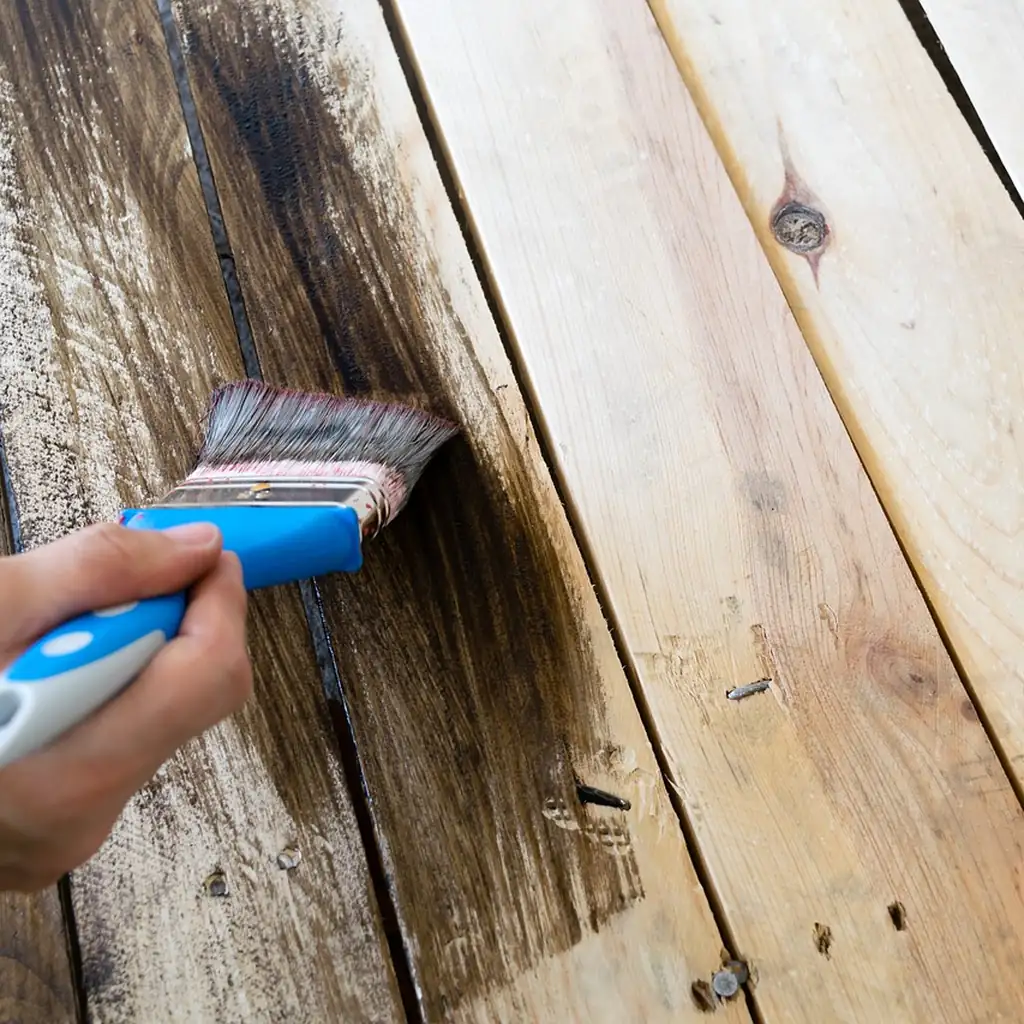
Use an offcut of the same board, sanded to the same final grit. Minwax's FAQ says to try the stain "either on an inconspicuous area of the piece or else on some sample wood." A test board tells you three things you cannot guess: the real color on your wood, whether it blotches, and how long to leave the stain on before wiping.
A useful test: divide the scrap into strips and wipe each strip at a different point within the label's stated penetration time. The strip you like gives you your timing for the real piece. Write it down, because you will rely on it in Step 5.
Step 3: Use conditioner on blotch-prone woods
Some species absorb stain unevenly no matter how well you sand. Minwax's Pre-Stain Wood Conditioner page (read on October 2, 2026) says the product helps "promote uniform acceptance of oil-based wood stain" and is "especially necessary when working with soft or porous woods like pine, alder, birch, and maple."
Its directions, for that oil-based product:
- Sand with "#220-grit sandpaper in direction of the wood grain."
- "Allow product to penetrate for 5 to 15 minutes."
- "Wipe away excess conditioner with a clean, dry cloth."
- "Apply stain within 2 hours of Pre-Stain Wood Conditioner."
Match the conditioner to the stain type: an oil-based conditioner goes under an oil-based stain, and water-based stains need a water-based conditioner with its own directions. Conditioner usually lightens the final color a little, which is another reason to run it on your test board too.
Step 4: Set up so you can reach every face
Even staining needs room to move around the piece without stopping halfway. Raise it on blocks or painter's pyramids so you can wipe the edges and the bottom, and cover the surface underneath with a drop cloth or cardboard. If you do not have a bench, our guide to woodworking without a workbench covers stable work-holding on a table or floor, and how to cut wood without damaging your table covers protecting the furniture you are working on.
Before you open the can:
- Open a window and keep air moving. The conditioner and stain pages both say: "Use only with adequate ventilation."
- Set out a sealed, water-filled metal container for rags. More on this below.
- Stir the stain thoroughly. Pigment settles at the bottom, and unstirred stain is a common cause of a color shift partway through a job.
Step 5: Apply one whole face at a time, then wipe in the same order
This is where hand staining earns its evenness.
- Choose your section by geometry, not by size. Do a whole face, such as one tabletop, one side or one drawer front, from end to end. Stopping in the middle of a board is how lap lines happen.
- Apply generously with a rag or foam brush, along the grain. Work the stain in so the whole face is evenly wet. Do not leave puddles.
- Start your timer when you finish applying that face. Use the time you chose on your test board.
- Wipe the excess in the order you applied it, so every area sits for the same time. Minwax's Wood Finish page (read on October 2, 2026) says to "wipe away excess stain, working with wood grain to blend lighter/darker areas together," and notes that "the longer you wait, the darker/richer the color."
- Finish with long, light strokes along the full length of the board using a clean part of the rag. Change rags as they load up, since a saturated rag puts stain back on instead of lifting it.
- Move to the next face. If two faces meet at a corner, wipe the corner area last so stain from the second face does not darken the first.
Water-based stains generally dry much faster than oil-based ones, so with those, work in smaller sections and wipe sooner, following that product's label.
Step 6: Darken with a second coat, not a longer wait
If the color is too light after drying, a second coat is the controlled way to go darker. Minwax's Wood Finish directions say: "To darken color, recoat. Do NOT sand between coats." Let the first coat dry fully as the label directs, then repeat Step 5 with the same timing.
Resist the urge to leave stain on longer on just the pale spots. That is how you trade a light area for a dark ring.
Step 7: Let it dry before the topcoat
Stain alone does not protect the wood. Minwax's FAQ says you "should not apply your clear topcoat until the stain is no longer tacky and has been allowed to dry at least as long as the label recommends." Applying a topcoat too early can smear or lift color, which undoes the evenness you just worked for. Choosing and curing that topcoat is its own job; give it the same attention you gave the stain.
Oily rags are a fire risk, not a cleanup chore

This is the safety step that cannot wait until tomorrow. The Minwax Wood Finish page warns: "DANGER: Rags, steel wool, other waste soaked with this product, and sanding residue may spontaneously catch fire if improperly discarded. Immediately place rags, steel wool, other waste soaked with this product, and sanding residue in a sealed, water-filled, metal container." The Pre-Stain Wood Conditioner page carries the same warning. Do not leave used rags balled up on the table, in a plastic bag, or in a kitchen trash can, and check your local rules for final disposal.
What hand staining costs you
Being honest about the limits:
- Some woods still blotch. Conditioner reduces blotching on pine and maple; it does not make them stain like oak. If your test board still looks patchy, consider a darker or more opaque product, or embrace a lighter color where blotching shows less.
- Large flat panels are harder. Keeping one whole tabletop evenly wet and wiped by hand takes speed and planning. A helper or a smaller project makes the first attempt easier.
- It takes time. Conditioner, test boards and drying between coats turn staining into a multi-day job. That is the trade for doing it without a spray setup.
- Fumes still matter indoors. Hand application avoids overspray, but oil-based stains still give off vapor. Ventilate throughout, and if anyone in your home is pregnant or has a breathing condition, check with a doctor before finishing indoors.
A small project is the best place to learn your timing. A simple wooden box has flat faces, corners and end grain, which is every staining challenge in one piece.
FAQ
How do you stain wood without it getting blotchy?
Sand all surfaces to the same final grit, use a pre-stain conditioner on blotch-prone woods such as pine, alder, birch and maple, and test on scrap first. Minwax says its conditioner helps "prevent streaking and blotching" on soft or porous woods.
Is a rag or a brush better for staining by hand?
A clean, lint-free rag gives good control on flat surfaces and makes wiping easy. A foam brush helps in corners and on carved or molded edges. Many people apply with a brush in tight spots and wipe with a rag everywhere.
How long should stain sit before wiping?
Follow the label's stated penetration range, then use a test board to pick your exact time. Minwax notes that "the longer you wait, the darker/richer the color." Keep the same timing across every face for an even result.
Why is my stain darker on the ends of the board?
End grain absorbs more stain than face grain. Test on the end of your scrap board, and consider conditioner on the ends or a shorter wipe time there.
Should I sand between coats of stain?
Not according to Minwax's Wood Finish directions, which say: "To darken color, recoat. Do NOT sand between coats." Let each coat dry fully as the label directs before the next.