DIY Wood Coasters Beginner One-Evening Project
A diy wood coasters beginner project using scrap wood, a hand saw or jigsaw, and a food-safe, heat-tolerant finish, cut and sanded in one evening.


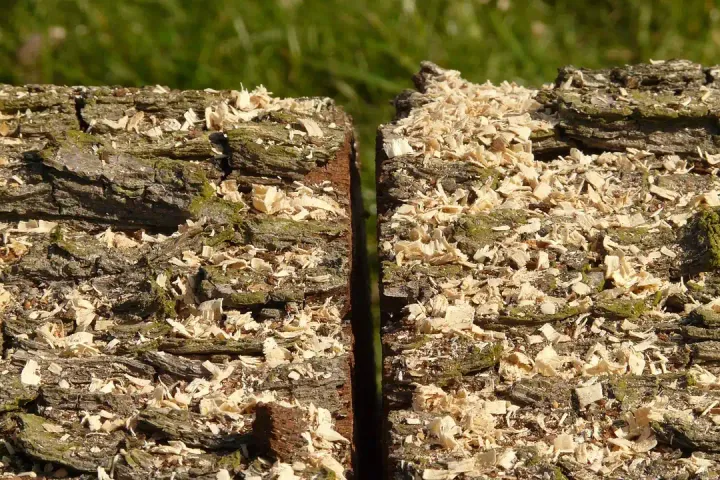
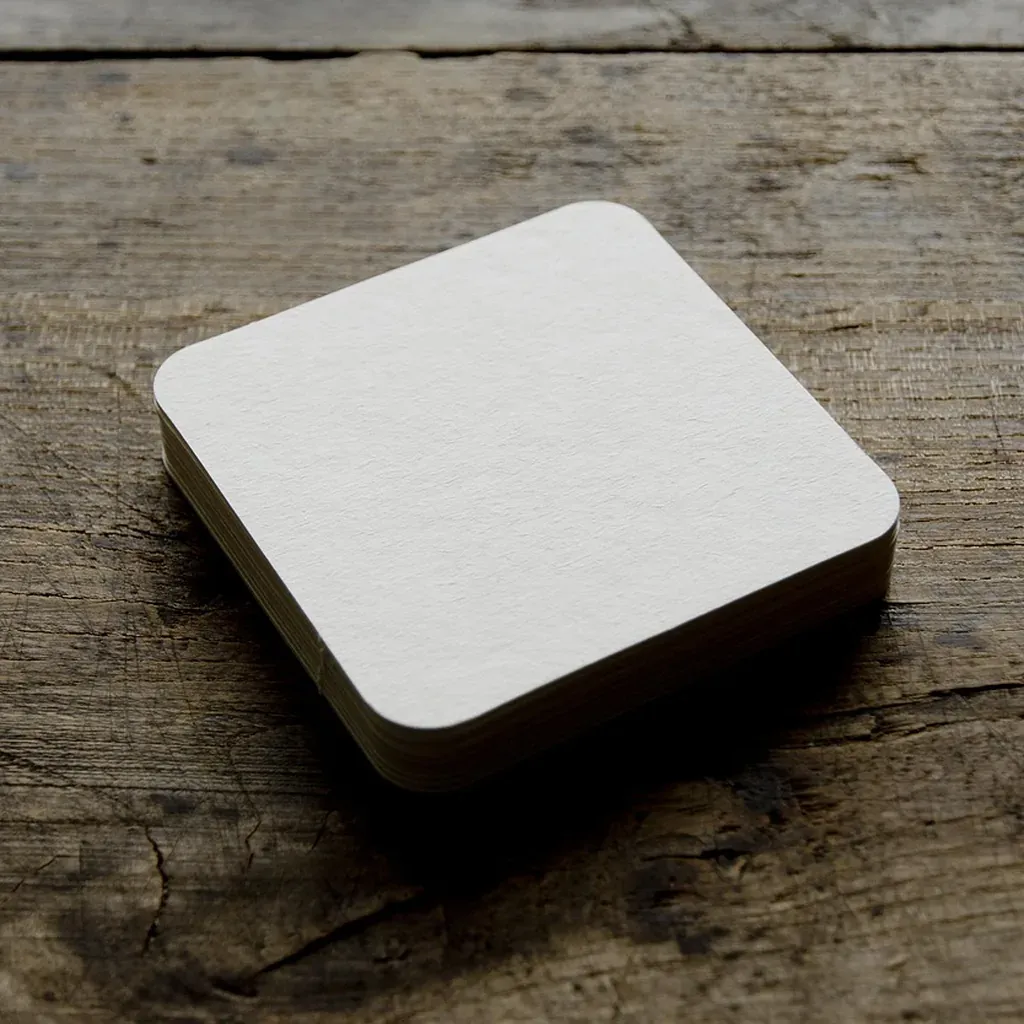
A simple wooden coaster set can be cut from scrap wood into small squares or circles, sanded smooth with rounded edges, and finished with a food-safe, heat-tolerant wood finish. A hand saw or jigsaw and sandpaper are the only tools this build genuinely needs. The whole set can realistically be cut and sanded in a single evening, with the finish curing overnight before the coasters go under a mug for the first time.
Small pieces of wood are exactly what a lot of "quick project" tutorials get wrong: the piece is small, but the cutting risk to your fingers is real, and a coaster meeting a hot mug repeatedly makes finish choice a functional question, not a decorative one. This guide treats both of those honestly instead of skipping past them.
Why coasters are the perfect one-evening scrap-wood project
A coaster set stays small on purpose. Each piece is tiny, the joinery is nonexistent (there is nothing to join), and the whole set can be sized to whatever scrap you already have rather than requiring a trip to buy new stock. That makes it one of the few beginner projects that genuinely fits in a single evening once cutting, sanding, and a quick coat of finish are counted honestly, rather than a "quick" project that turns out to need a full weekend once finish cure time is factored in.
It is also a low-stakes way to practice the exact skill most other small builds in this cluster warn about: cutting small pieces of wood safely. Get comfortable with that here, on scrap, before it shows up again on a larger project.
Choosing your scrap wood

Not every offcut lying around is a good candidate for a coaster. A few things to check before you cut:
Size relative to your cutting setup. Choose scrap that is large enough to hold securely in whatever clamping or bench-hook setup you have, even after it is cut down toward final coaster size. A piece that starts out too small to grip safely stays too small to grip safely; size your coasters to what you can cut without ever holding a sliver near a moving blade.
Species and finish history. Skip anything you cannot vouch for as clean: reclaimed wood of unknown origin, anything previously treated with a preservative, stain, or finish not meant for food-adjacent contact, and anything showing rot, insect damage, or heavy checking (splitting along the grain). A coaster meets drinks and, eventually, a coffee ring on a table, so it deserves the same "when in doubt, skip it" standard as any other project that will sit near food and drink.
Flatness. A board with an obvious cup or twist is harder to cut consistently and will rock slightly once finished. Flat, straight offcuts from a previous project's waste pile are ideal.
If you do not already have scrap on hand, a small offcut purchased or given away at a lumber counter works just as well; the point is keeping the project small and low-cost, not that the wood has to be literally leftover.
Tools and materials you need
- A hand saw for straight-sided (square or hexagonal) coasters, or a coping saw if you want curved edges without a jigsaw
- A jigsaw, as an acceptable alternative for circular coasters, which are genuinely awkward to cut accurately by hand
- A miter box or a clamped straightedge guide, to keep small cuts controlled
- Sandpaper in a grit progression, roughly 120 through 220
- A sanding block
- A food-safe, heat-tolerant wood finish (criteria covered below; no specific product named)
- A pencil, ruler, and for circular coasters, something round to trace, such as a jar lid or a compass
Nothing here requires a table saw, a router, or a lathe. This stays a small, hand-tool-scale project by design.
Cutting small coaster blanks safely
[SAFETY] This is the cluster's clearest small-piece-cutting risk, and it deserves to be treated as the central technique to get right, not a side note before the "fun" sanding step.
A coaster blank is, by definition, small, and it only gets smaller as you trim it toward its final size. A small piece held only by fingers, with no clamp or guide, puts those fingers directly in line with the saw's path, and there is very little material to grip once the piece nears its final size.
Use a bench hook, a miter box, or a clamped guide for every cut, never freehand a piece this small near your hands. Cut coaster blanks from a larger piece of scrap first, while there is still enough material to hold securely in a clamp or bench hook, and only trim down to final size once the piece is clamped, never held loose in your hand. For circular coasters cut with a jigsaw, clamp the workpiece to a stable surface and keep both hands on the saw rather than steadying the workpiece with one hand near the blade.
If a blank ever starts to slip, shift, or feels too small to hold securely in your clamping setup, stop and reassess before making another pass. Reclamp it, cut it from a larger piece of stock instead, or accept a slightly larger coaster size that is easier to hold safely. A coaster an inch larger than planned is a fine outcome; a slipped cut near your fingers is not a trade worth making for a decorative object.
Sanding smooth, rounding the edges and corners
Work through a grit progression rather than jumping straight to fine paper: roughly 120 grit to remove saw marks and even out the shape, 150 grit to smooth the 120-grit scratches, and 220 grit for a final smooth surface that feels finished rather than merely sanded. Sand with the grain where the shape allows it, and wipe each blank down between grits so leftover coarse grit does not scratch the finer pass.
Round every edge and corner deliberately. A sharp edge on a small coaster is uncomfortable to pick up repeatedly and chips more easily than a softly rounded one. A few passes with 150 and then 220 grit along each edge, enough to take the sharpness off without turning it into a full bullnose, gives a coaster that holds up to daily handling.
Choosing a finish that can handle a hot mug
A coaster's finish is not decorative the way it might be on a shelf or a box; it is the one thing standing between the wood and a hot, wet mug set down on it repeatedly. General finishing guidance describes finishes as varying meaningfully in both heat tolerance and moisture resistance, and a finish chosen without checking either can haze, soften, or fail to protect the wood from a ring left by a warm cup.
Look for a finish labeled by its own manufacturer for the kind of exposure a coaster actually sees: repeated contact with warmth and moisture, not just occasional handling. As with the food-contact-safety framing already covered in this site's cutting board guide, a finish should be labeled food-safe if there is any chance of the coaster contacting food or drink directly, and it should be allowed to fully cure, not just dry to the touch, before it goes under a mug for the first time. Cure time is typically longer than the surface simply feeling dry, so follow the specific product's own label and directions rather than guessing.
No specific finish product is named here; read the label of whatever finish you choose for its stated heat and moisture tolerance and its cure time before trusting a coaster with a hot drink.
What could go wrong, and the safer fix
A chipped edge. Usually a sign of sanding across the grain too aggressively, or cutting the corner too tight without support underneath. Sand it out with progressively finer grits if the chip is shallow; for a deeper chip, a small amount of wood filler that matches your finish plan can work, though a fresh blank is often just as fast for a piece this small.
An uneven size across the set. A mismatched set is more noticeable than an oversized single piece, since coasters are almost always seen together. If one blank came out noticeably smaller while cutting, the simplest fix is trimming the rest of the set down to match rather than trying to build the small one back up.
A finish that hazes under heat. This usually means the chosen finish was not actually rated for the heat exposure a mug delivers, or it was used before it had fully cured. If a set already shows haze, light sanding back to bare wood in that spot followed by a properly rated, fully cured finish is the fix; there is no shortcut that restores a hazed film-forming finish without addressing the surface underneath it.
A blank slipping while you cut. Treat this as a stop signal, not something to push through. Reassess your clamping setup, reclamp more securely, or size the piece larger so there is more material to grip, before making another cutting pass.
FAQ
Do I need a jigsaw to make wood coasters? No, not for square or hexagonal coasters, which a hand saw and miter box handle well. A jigsaw is a genuinely useful alternative specifically for circular coasters, which are harder to cut accurately by hand, but the hand-tool path comes first for every other shape.
What wood should I avoid for coasters? Avoid reclaimed wood of unknown origin, anything previously treated with a preservative or a finish not meant for food-adjacent contact, and any piece showing rot, insect damage, or heavy splitting. When in doubt about a scrap piece's history, skip it and use a different one.
How long does the finish need to cure before I use the coasters? This depends on the specific product, and curing takes noticeably longer than the surface simply feeling dry to the touch. Follow the finish's own label and directions rather than a general rule, and plan for the finish to cure overnight at minimum before the coasters see a mug.
Can I really finish a whole coaster set in one evening? The cutting and sanding genuinely fit in one evening for a small set. The finish then needs to cure, commonly overnight or longer depending on the product, before the coasters are ready for actual use, so plan on using them starting the next day rather than the same night.
Is scrap wood actually safe to use for something that touches drinks? Only if you can vouch for its history. Clean offcuts from a previous project, or scrap picked up fresh from a lumber counter, are fine. Wood of unknown origin, or anything treated with a finish not meant for food-adjacent contact, should not go into a coaster.
If you have not built a beginner project yet, a few good starting projects are ranked here, and this guide to cutting and clamping without a workbench covers holding small pieces steady and safe in more depth. This build is fully portable and gift-worthy, in the same spirit as this site's guide to renter-friendly projects, and if you are starting completely from zero without a garage or shop, begin here.