How to Build a Floating Shelf Without Power Tools
How to build a floating shelf without power tools: hand saw, cleat, and stud mounting, no drill needed, plus a renter-safe wall-anchor option.

A floating shelf can be built entirely with hand tools: a hand saw and miter box (or a lumber counter's cut-to-length service) for the board, sandpaper for smoothing the edges, and a hand screwdriver or manual hand drill for the mounting hardware. No power saw, power drill, or power sander is required at any step below. What actually decides whether the shelf holds anything is not the woodworking, it is the wall. A hidden cleat screwed into at least one wall stud carries real, ongoing weight; a rated drywall anchor is a lighter-duty, more reversible option when a stud isn't available. Read the mounting section before buying anything, especially if the wall type is unknown or the lease restricts wall fixings.
What "no power tools" means for this build
This is not a hand-tool footnote bolted onto a power-tool tutorial. Every step in this guide has a genuine hand-tool method as the default: a hand saw and miter box for cutting the board to length, sandpaper worked by hand for smoothing, and a hand screwdriver or manual hand drill for driving screws and boring pilot holes. A cordless drill or a power miter saw will do the same jobs faster, and either can be mentioned as a faster option later, but neither is assumed here. This project is one answer to the broader question this site keeps coming back to: starting woodworking without a garage or shop at all, and a floating shelf is one of the more renter-relevant projects in that roadmap because of the wall-mounting step below.
The main reason to go this route isn't just the absence of tools to buy or store. It's noise. A circular saw or a power sander running in an apartment during the day is one thing; running one at 9pm is a different conversation with a neighbor. A hand saw and sandpaper are quiet enough to work around normal apartment hours without much planning. If timing the noisier steps of any project (even fully hand-tool ones, since sanding still carries through thin walls) is a live concern, the workspace and timing routine in the apartment workshop setup guide covers it directly.
Tools and materials checklist
Nothing here needs a dedicated workshop or a power outlet run to it.
Tools:
- Hand saw (a basic panel or backsaw is enough for a single shelf board)
- Miter box, to keep the cut square without a power saw
- Sandpaper, medium and fine grit
- Tape measure, pencil, combination square or a small level
- Hand screwdriver, or a manual (non-cordless) hand drill for pilot holes
- Stud finder (a small handheld device, not a power tool)
- Clamps, or a stable surface the board can be held against without shifting
Materials:
- A shelf board, cut to final length (many lumber counters will cut it for a small fee or for free, which removes the longest cut from this project entirely)
- A hidden cleat kit or a pair of visible shelf brackets
- Wood screws sized to the hardware
- Wall anchors, sized and rated for the mounting method chosen in the next section
- Sandpaper and, optionally, a wipe-on finish
None of this needs a brand recommendation to work. What matters is that the wall hardware's own packaging states a rated capacity and that it's matched to the wall type, which the next section covers. Anyone still deciding which hand tools are worth owning beyond this one project can start with the minimal tool kit guide.
Choosing your wall-mounting method
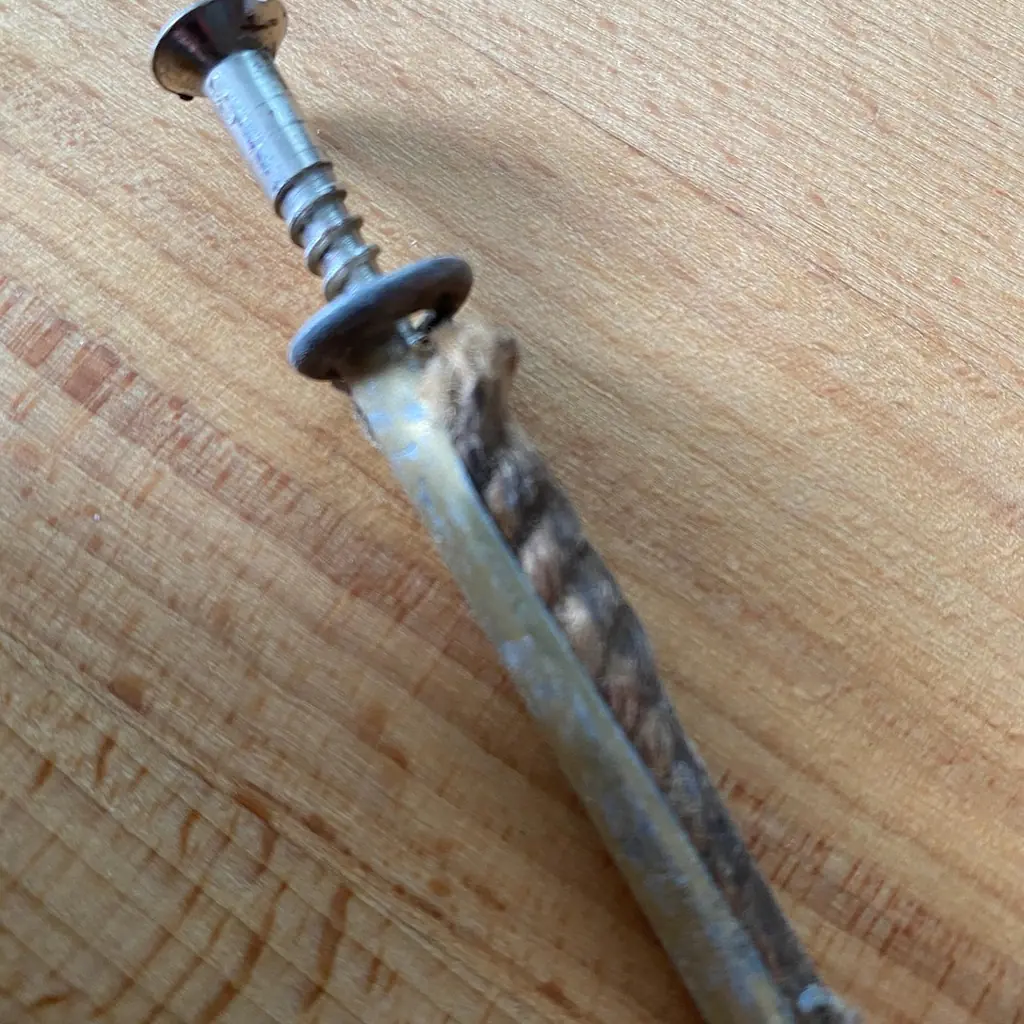
Two realistic options exist, and they trade off differently for a renter than they do for a homeowner.
A hidden cleat is a pair of interlocking angled strips, one screwed to the wall, one screwed to the underside of the shelf, so the shelf slides on and no bracket is visible. It looks cleaner and generally needs fewer, better-placed fixing points, usually two to four screws into the wall, but those fixings should land in a wall stud to carry real weight over time.
Visible brackets are simpler to install correctly (there's less alignment to get right) and don't require the shelf to slide on over a hidden lip, but they show, and they typically still need a solid anchor point behind each bracket to be worth mounting at all.
For a renter, the honest framing is this: both methods put permanent holes in the wall, and neither is undoable without spackle and a repaint. A hidden cleat generally leaves a smaller, more patchable footprint than a full bracket set, but "smaller" is not "invisible." Before drilling anything, check the actual tenancy terms, not just general assumption, since some leases explicitly restrict wall fixings and some don't mention it at all. If wall fixings aren't permitted or the wall type is unknown and can't be resolved, a freestanding shelf unit or a leaning ladder-style shelf is the safer substitute; it gets the same storage without touching the wall. The renter-focused project guide covers this reversibility question across other small builds, not just this one.
Step-by-step: cutting and sanding the shelf board by hand
- Mark the cut line. Measure twice, mark once with a pencil and a square, and double-check the length against the wall space before cutting anything.
- Secure the board. Clamp it to a stable surface, or set it firmly into a miter box that is itself clamped or braced against something solid. The no-workbench guide covers a few low-cost ways to get a board held steady without an actual bench.
- Cut with the hand saw. Let the saw's own weight and full-length strokes do the work rather than forcing it; a slower, controlled cut is a straighter cut.
- Sand the cut edge and faces. Work through medium grit, then fine grit, by hand, checking for splinters along the freshly cut edge in particular.
[SAFETY] The real risk in this step is not the saw itself, it's an unstable board. Freehanding a long board on an unclamped surface, a coffee table, a stack of boxes, or held only by hand, lets the board shift mid-cut and the saw skate sideways, which is where most hand-saw injuries on a project like this actually happen. If a stable, clamped work surface genuinely isn't available, don't improvise one under time pressure. Use a miter box against a solid, braced surface, or skip the cut entirely and have the board cut to length at the lumber counter, which is often free and removes this risk altogether.
Mounting the shelf safely
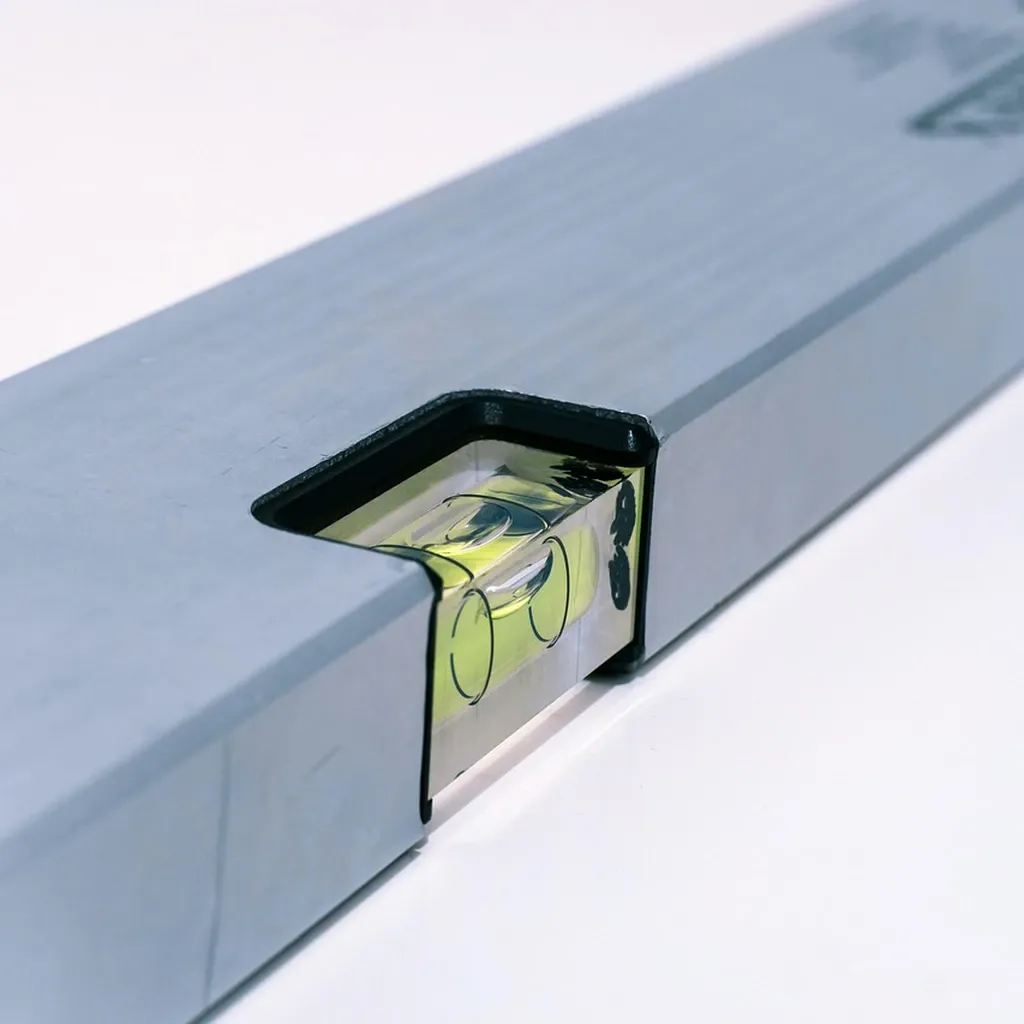
This is the section that matters most, because a floating shelf's failure mode isn't a bad cut, it's a wall fixing that lets go under load.
Find the stud first. A stud finder run along the intended shelf line will locate the nearest wall stud; North American residential framing commonly places studs 16 inches on center, though this is a general convention, not a guarantee for every building, and should be confirmed with the stud finder rather than assumed. A fixing driven into solid framing is the single strongest anchor point available in a typical wall.
When a stud isn't available, a rated drywall anchor, ideally a toggle-style anchor rather than a basic plastic sleeve, is the fallback, matched to the shelf's expected load as stated on the anchor's own packaging.
| Mounting method | Relative holding capacity | Hole size / reversibility |
|---|---|---|
| Cleat or bracket screwed into a wall stud | Highest available in a typical wall; framing lumber is the strongest anchor point present | Larger, deeper fixings; least reversible |
| Rated drywall or toggle-style anchor, no stud | A noticeable step down from a stud fixing; suited to lighter loads | Smaller holes; more reversible with patching |
| Adhesive or pressure-mount, no drilling | Lowest of the three; suited to display items, not storage weight | No permanent holes; fully reversible |
Treat this table as a relative comparison, not a promise of a specific number of pounds. Any weight figure printed on a piece of mounting hardware is the manufacturer's own rating for that hardware in a typical wall, not a guarantee for a particular wall, and it's the number worth reading before buying rather than any figure quoted secondhand, including here.
If the wall's construction is uncertain, plaster over old lath, concrete, tile backing, or anything other than a standard stud-and-drywall wall, stop before drilling. A stud finder is built for typical drywall-over-stud walls and can read unreliably on anything else. That's a case for either the hardware's own installation guidance for that wall type, or a professional, not a guess made with a drill already in hand.
Finishing the shelf
Finishing a hand-tool-built shelf doesn't need anything specialized. Once the cut edges are sanded smooth through medium and then fine grit, a light wipe-on finish (applied by hand, no sprayer needed) protects the wood and evens out the color, though an unfinished, sanded board is a perfectly reasonable choice for a utility shelf. Whatever finish is used, thin coats dry faster and more evenly than one heavy coat, and the shelf should sit somewhere ventilated and undisturbed while it cures, not loaded with anything, before it's mounted.
What could go wrong, and the safer fix
The shelf isn't level. Fix this during mounting, not after. Hold a level against the cleat or brackets before fully driving the final screws, and adjust the fixing points rather than trying to shim a shelf that's already carrying weight.
The pilot hole misses the stud. Studs run vertically, so a missed hole at one height usually means trying again an inch or so to either side at the same height, using the stud finder to re-confirm, rather than assuming the stud simply isn't there. Don't drive the fixing into open drywall and call it done; that's exactly the scenario the mounting section above is warning against.
The shelf wobbles once mounted. This is usually a cleat that isn't seated fully flush, or screws that aren't fully tightened into the anchor. Recheck both before loading anything onto the shelf.
The wall type is still uncertain after trying to identify it. This is the point to stop rather than push forward. Get a proper stud finder reading, ask the hardware's manufacturer guidance for that wall type, or bring in a professional. A shelf that lets go under load doesn't just damage the wall, it drops whatever was sitting on it.
FAQ
Can I really build a floating shelf with absolutely no power tools? Yes. A hand saw and miter box (or a store cut-to-length service) handle the board, sandpaper handles the finish, and a hand screwdriver or manual hand drill handles the mounting. No step in this guide requires a power tool as its only method.
Do I have to hit a wall stud to mount a floating shelf? Not always, but it's the strongest option available in a typical wall. A rated drywall or toggle-style anchor is a workable fallback for lighter loads when a stud isn't available in the right spot, matched to the anchor's own stated rating.
Is a floating shelf a reversible project for a renter? No, not fully. It's the one project in this category that leaves permanent holes, even with the smaller footprint of a hidden cleat. Check the lease before drilling, and consider a freestanding or leaning shelf instead if wall fixings aren't permitted.
What if I don't have a miter box for cutting the shelf board? Ask the lumber counter to cut the board to final length when it's purchased. Many stores do this for free or a small fee, and it removes the longest, least stable hand-saw cut from the project entirely.
How do I know if my wall can safely hold a floating shelf? Start with a stud finder to identify what's actually behind the wall. If the wall is standard drywall over studs, the guidance above applies directly. If it's plaster over lath, concrete, tile, or anything unfamiliar, treat that as a stop-and-verify situation rather than a guess, using the hardware manufacturer's specific guidance or professional advice.