DIY Wood Projects for Renters (No-Damage Starter Guide)
DIY wood projects for renters: four reversible, no-damage builds plus a quick guide to picking your first one without risking your deposit.

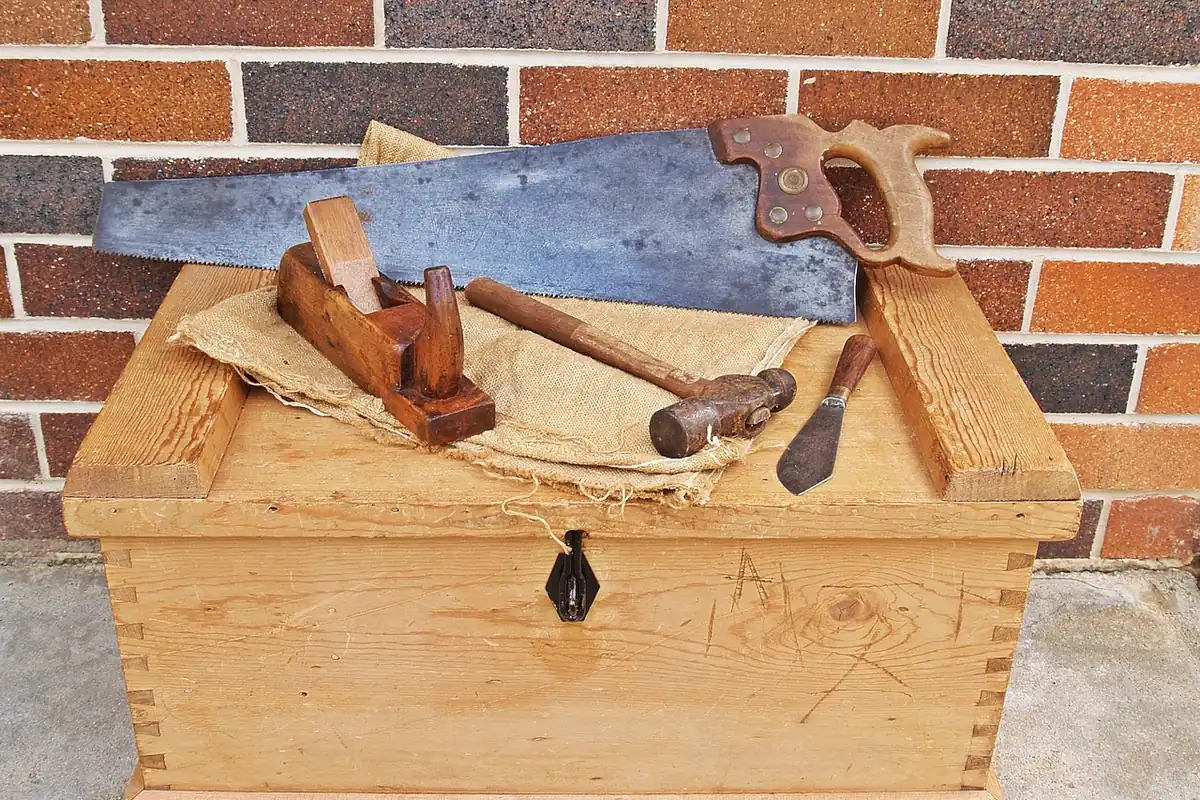
A wood project counts as renter-friendly when it skips permanent wall or floor damage: no drilled anchors unless a reversible-hardware option exists, no adhesive applied directly to the wall or floor, and a build that disassembles or moves out with you in a single trip. The beginner builds on this site, a simple box, a floating shelf hung with reversible hardware, and a cutting board, all meet that bar. The four projects below are the fastest way to start.
This isn't a list of project ideas pulled from a mood board. It's a working starting point for diy wood projects for renters: every build linked here is a full guide that already exists on this site, with a real cut list, a real tool list, and its own safety notes, not a one-paragraph teaser. It also doesn't pretend to cover more than it does: this hub links out to what this site has actually published so far, plus the two pillar guides that anchor it.
Why renters need a different project list
Most beginner project roundups sort by skill level or by room: "easy projects," "living room projects," "kitchen projects." That filter skips the one constraint that actually governs a renter's choices, which is what happens when the lease ends.
Most leases treat a drilled structural hole, an anchor set into drywall, or anything glued to a wall or floor as damage to be repaired or deducted from a deposit. That's a general pattern across residential leases, not a specific law in any one place, and it's worth checking the actual terms of your own lease rather than assuming. What it means for a project list is that the sorting question isn't "is this easy" or "does this fit my living room." It's "can I take this with me, and does it leave the walls and floor exactly as I found them."
That single filter changes which projects belong on a renter's list before difficulty ever enters the conversation. A wall-mounted shelf that needs a masonry anchor and construction adhesive is a harder problem for a renter than a free-standing shelf, even if the wall-mounted version is the simpler build on paper. Portability matters for the same reason: a project that has to be broken down, boxed, or at minimum carried out in one trip on move-out day is worth more to a renter than a project that's technically nicer but bolted into place.
What actually makes a project "renter-friendly"
Before picking a project, run it against a short checklist. If a build fails any row, either find the reversible version of that step or skip it.
| Check | What it means | Why it matters |
|---|---|---|
| No structural holes without a reversible option | Any wall mount uses reversible hardware (removable picture-hanging strips, tension-mounted brackets) instead of a drilled anchor, or is designed free-standing instead | Drilled anchors are one of the most common sources of move-out deposit disputes |
| No adhesive to the wall or floor itself | Glue, construction adhesive, or permanent tape never touches the wall or floor surface directly, even if it's used inside the project | Adhesive residue and pulled paint are treated as damage in most leases |
| Disassembles or moves in one trip | The finished piece either breaks down into parts that fit in a normal move, or is small and light enough to carry as-is | A project you have to abandon at move-out is a project you paid for twice |
| No lingering finish smell or fume risk | Finishing happens with ventilation and low-fume products, so the piece and the apartment are livable again quickly | A slow-curing, strong-smelling finish is both a safety issue and something a landlord notices |
A project that clears all four rows is safe to build without a conversation with your landlord first. A project that fails one is still buildable, it just needs the reversible version of that one step before you start.
Four DIY Wood Projects for Renters to Start With
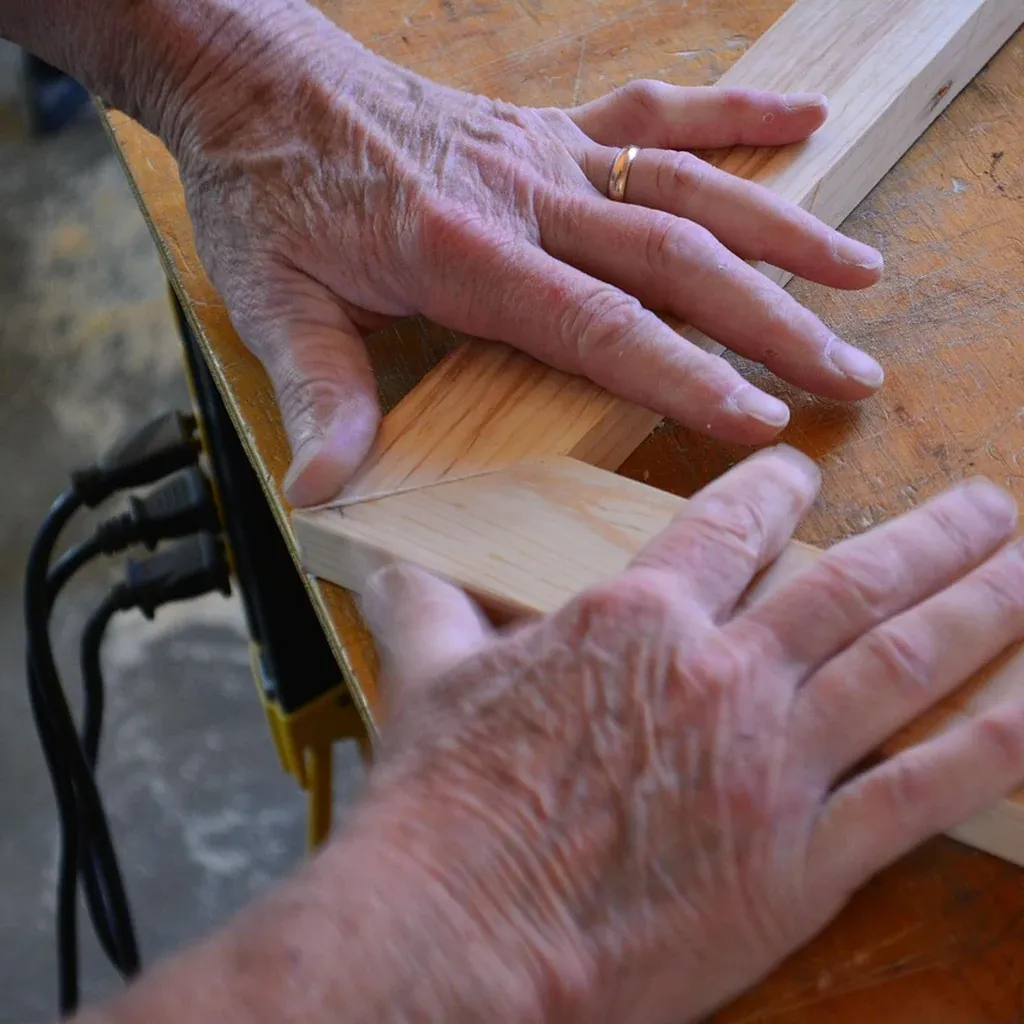
These four builds are where this site's beginner project list actually stands right now. Each is a complete guide with its own cut list, tool list, and safety notes, not a summary.
A simple wooden box. This is the lowest-stakes first build on the site: no wall mounting, no structural joinery under load, and small enough to finish on a kitchen table or a cleared corner of a room. It teaches straight cuts and basic assembly, and because it's a stand-alone object rather than something mounted to anything, there's nothing to reverse at move-out. It goes with you as-is. The full beginner box guide covers the cut list, the tool list, and where to stop and clamp a piece down rather than free-hand a small cut.
A floating shelf mounted with reversible hardware. This is the project that tests the renter-friendly checklist directly: the shelf itself is a straightforward build, but the mounting method decides whether it's actually safe for a rental wall. The floating shelf guide covers building the shelf without power tools and mounting it with a reversible-hardware option instead of a drilled structural anchor, so a full-size shelf is possible without betting the deposit on it.
A cutting board. Like the box, this is a free-standing object with nothing to mount and nothing to reverse. It's also the most gift-worthy of the four: a well-finished cutting board doesn't read as a beginner's first attempt the way an uneven shelf can. The cutting board guide covers food-safe finishing and the grain and glue-up decisions that separate a board that lasts from one that warps.
The first-weekend three-project guide. If you don't want to pick just one, this is the starting point built for exactly that. The first weekend projects guide ranks three builds by difficulty and walks through all three, so a first weekend produces a finished result instead of a half-started pile of cut lumber.
All four assume no garage and no dedicated workshop. The pillar guide to woodworking without a garage is the place to start if you haven't set up a workspace yet. It covers where to physically work, what a missing table saw and workbench actually rule out, and what a realistic first month looks like.
What this site covers beyond these four
Four projects don't cover everything a renter eventually needs to know, and it's worth naming what's ahead honestly rather than pretending the site stops here.
Tool decisions come first for most people: which one or two tools actually unlock a first project, and which ones are safe to skip until later. The minimal tool kit guide covers that buy order directly, and it's worth reading before spending on anything beyond what a first project needs.
Beyond tools, this site also covers cutting and joinery technique for someone working without a table saw or a bench, finishing without fumes, a spray booth, or a wall that smells like solvent for a week, and buying lumber without wasting material or hauling home a warped board. Those are real gaps in most beginner-project content, and they're the natural next questions once a first build is done. They aren't linked here because the guides for them haven't been published on this site yet, but they're the direction this site is building toward.
How to pick your first build if you don't know where to start
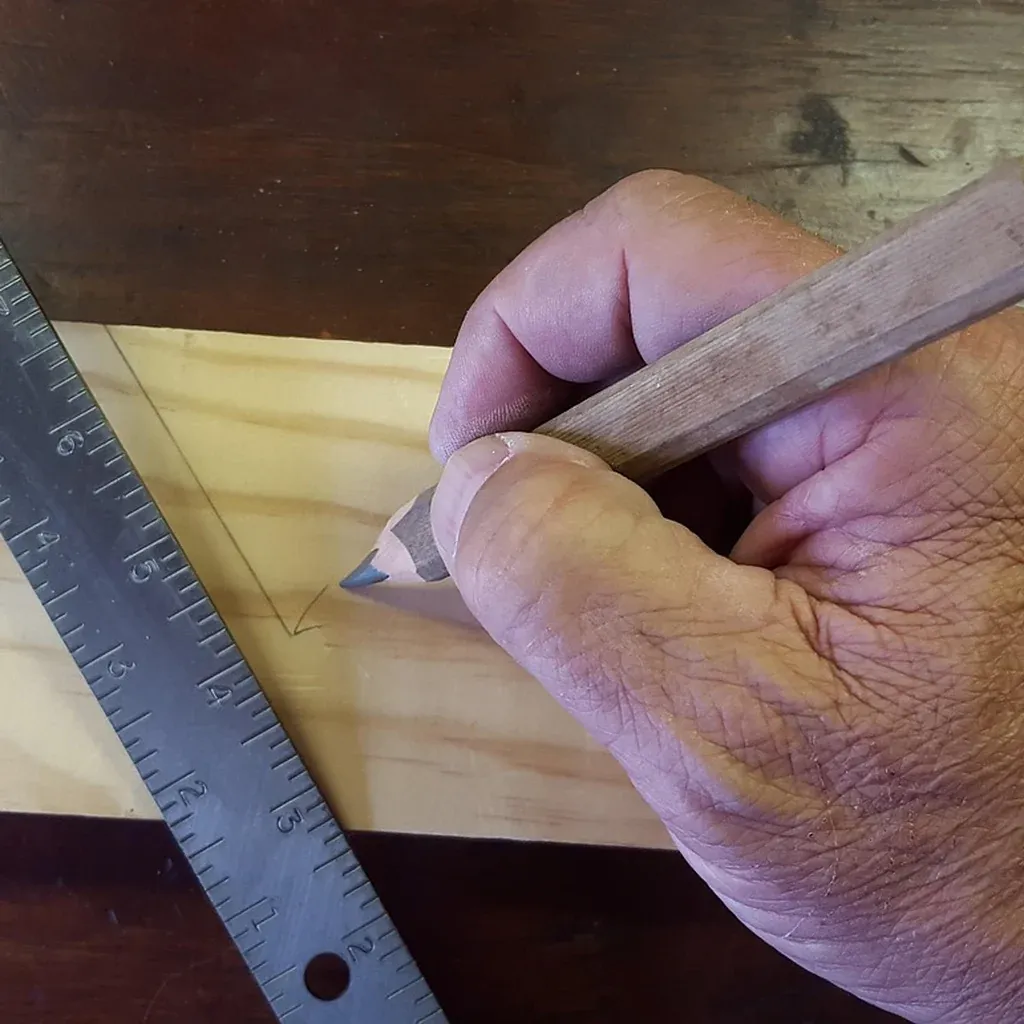
If the four options above still feel like a coin flip, three questions usually settle it.
| Question | If the answer points one way | Start here |
|---|---|---|
| What's your budget for this weekend? | Near zero, mostly scrap or one board | The box or the cutting board |
| Do you have power tools, or hand tools only? | Hand tools only, or unsure | The box (least joinery pressure) |
| Comfortable with a drill and a saw | The floating shelf or the first-weekend guide | |
| Is this a gift, or something you'll keep? | Gift | The cutting board (most polished finished look) |
| Something you'll actually use and move with you | The floating shelf or the box |
If none of those questions clearly wins, the first-weekend guide is the safest default. It's built for exactly the reader who wants to try more than one project before committing to a favorite.
FAQ
Can I do these projects without any power tools? Yes, for all four. The box and the cutting board are both realistic hand-tool builds, and the floating shelf guide specifically covers building without power tools. A cordless drill speeds up the floating shelf's mounting step, but it isn't required.
Will any of these actually get my deposit back? Following the checklist above, no structural holes without reversible hardware, no adhesive to the wall or floor, and a build that moves with you, removes the most common sources of move-out disputes. No project can promise a specific landlord's decision, since lease terms and inspections vary, but these four are built to leave nothing behind that needs repair.
What if I don't have a workspace at all yet? Start with the pillar guide to woodworking without a garage, linked above. It covers realistic no-garage workspaces (a spare room, a balcony, even a cleared kitchen table) before you pick a project, since the workspace decision affects which of the four builds is realistic first.
Do I need to buy a full tool kit before starting? No. Each of the four projects lists exactly what it needs, and none require a full kit. The minimal tool kit guide linked above is worth reading once you're past a first project and deciding what to buy next, not before.
What's the actual difference between these four and a general "beginner projects" list? The organizing principle. A general beginner list sorts by difficulty or room. This one sorts by deposit risk and portability first, difficulty second, because that's the constraint that actually decides what a renter can safely build.