DIY Plant Stand Beginner Woodworking Guide
A diy plant stand beginner woodworking build with four legs, a top, glue and screws, hand tools only, plus a wobble test before it holds a pot.

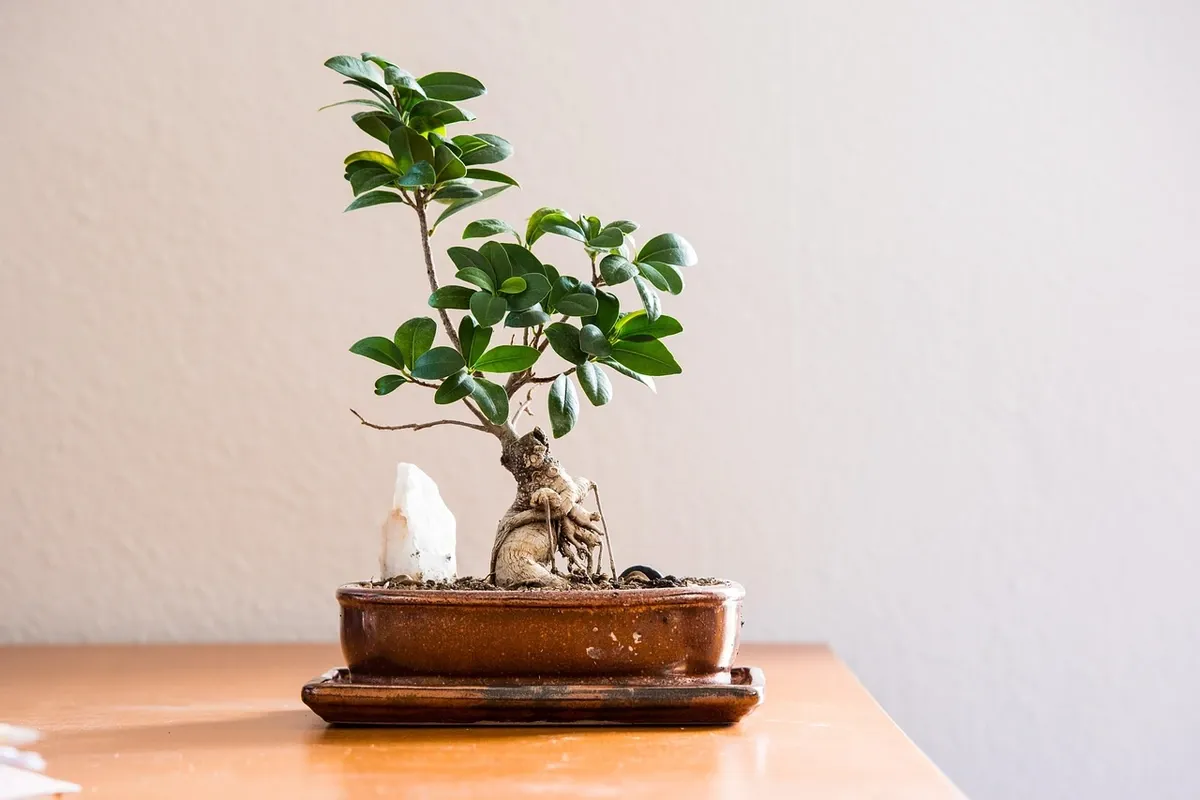
A small plant stand can be built from four legs and a top, cut from a beginner-forgiving softwood and joined with glue reinforced by screws, not glue alone. A hand saw and miter box handle the cuts, or a basic circular saw guide if you have one, and no power tools are required at all if the legs are cut to length at the lumber counter. Before it ever holds a full pot, the finished stand needs to pass a simple wobble test on a level floor.
This is a decorative small build, not an investment piece, but a wobbly one carrying a pot of wet soil is a real problem, not just a cosmetic flaw. The rest of this guide treats stability as a design requirement from the first cut, not an afterthought fixed with a folded napkin under one leg.
Why a plant stand is a good next project after your first box or shelf
A plant stand sits in a useful spot in the beginner project sequence. If you have already built a simple box, you already know how to cut a piece square and join two faces with glue and fasteners. A plant stand asks you to repeat that skill four times, on thinner leg stock, and then hold all four legs level with each other at the same time, which is a genuinely different and slightly harder problem than a box's four walls meeting at the same height.
It is also a project sized right for an apartment or a rented space. The finished piece is small, it does not need to be bolted to anything, and it can move with you if you relocate, matching the framing in this site's guide to renter-friendly builds. Unlike a shelf, nothing about it touches a wall.
Design overview: legs, top, and a simple joinery option
The design below is a starting point to adapt, not a plan that has been built and confirmed to these exact dimensions. Treat every measurement as something to check against the pot you actually own and the softwood you actually have on hand.
| Part | Design dimensions (starting point) | Quantity |
|---|---|---|
| Legs | Roughly 10 to 14 inches long, 1.5 by 1.5 inch square stock | 4 |
| Top | Roughly 8 by 8 inches, three-quarter-inch stock | 1 |
| Stretchers (optional, for extra stability) | Roughly 6 to 7 inches, cut to fit between legs | 2 to 4 |
The simplest joinery option is a butt joint at each corner, where the top of each leg meets the underside of the top piece, reinforced with wood glue and a screw driven up through the leg into the top from below (or down through the top into the leg, if you would rather hide the screw head under a plug). Glue alone is not enough here: a plant stand gets knocked, nudged, and occasionally lifted and set back down, and a butt joint held only by glue can work loose from that repeated small stress over time. The screw is what keeps the joint tight while the glue does the rest of the work holding the faces together.
If you want a more stable base without adding real joinery complexity, a pair of stretchers running between opposite legs, glued and screwed in place a few inches up from the floor, meaningfully reduces side-to-side rock. This is optional for a stand this light, but worth doing if your floor is uneven, such as a balcony.
Tools and materials you actually need
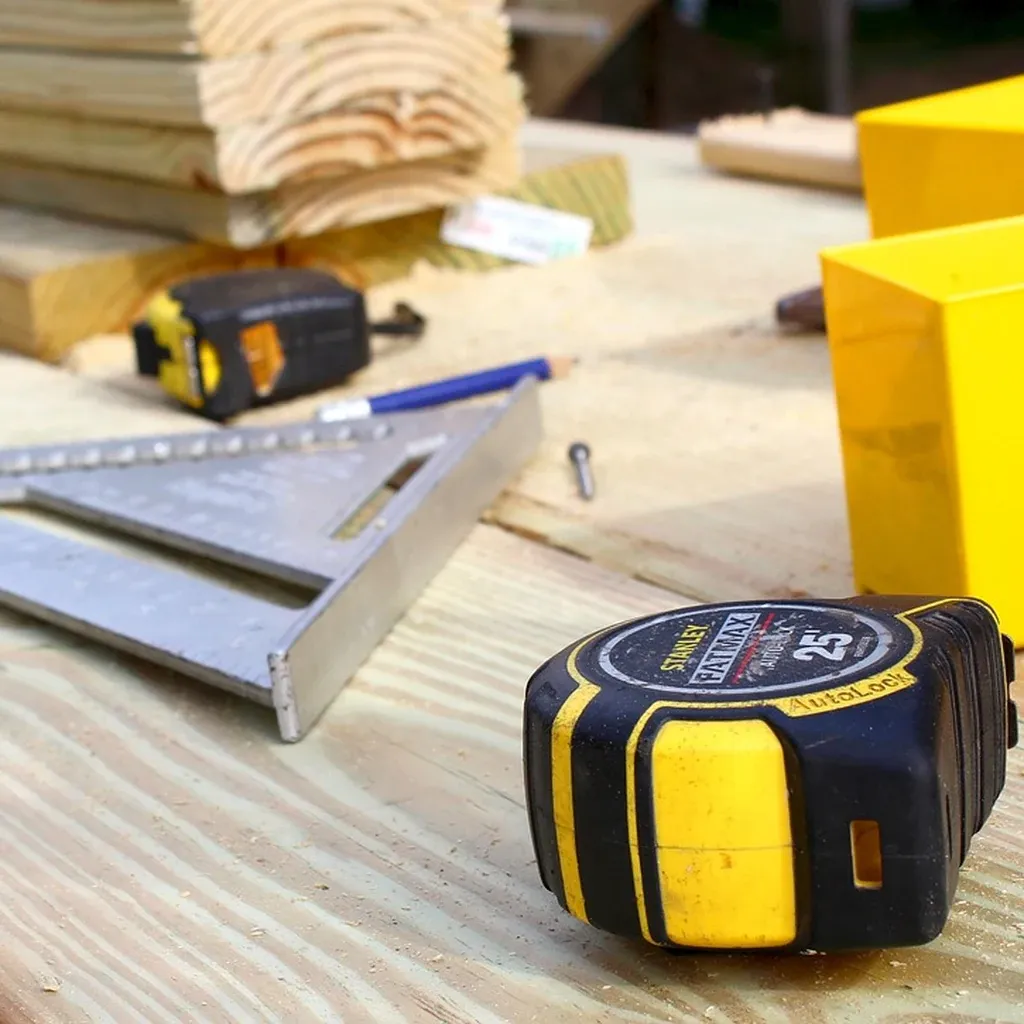
The hand-tool path works for the entire build and is the default here.
- A hand saw suited to crosscuts, plus a miter box to keep each leg the same length and square
- Wood glue
- Screws (short enough not to poke through the far side of thin leg stock)
- A drill or a hand screwdriver, and a small drill bit to pre-drill screw holes so thin stock does not split
- Clamps, or a stack of heavy books, to hold pieces together while the glue sets
- A pencil, a combination square or speed square, and a tape measure
A basic circular saw with a straightedge guide will cut the top piece faster if you already own one, but it is optional. Nothing in this project requires a table saw, a router, or a dedicated bench.
Cutting the legs and top
[SAFETY] Leg stock for a plant stand is short and thin, which is exactly the size and shape of piece that is hardest to hold safely by hand while sawing. A short offcut braced only against your palm or a knee gives a hand saw very little to register against, and a slip sends the blade toward the hand holding the piece, not away from it.
Use a miter box for every leg cut. Set the leg firmly against the back and base of the box, hold it with your fingers well clear of the cutting slot, and let the box guide the saw rather than trying to steer the cut by eye. If a leg blank is too short to grip securely once it is down to its final length, cut it from a longer piece of stock first and trim to length last, so your hand is never gripping a piece too small to control.
If your setup genuinely cannot hold a short blank steady, an easier fix is to have the leg stock cut to rough length at the lumber counter when you buy it, then only trim the final small amount yourself with the piece still long enough to grip safely.
Mark and cut the top piece the same way, supporting it fully on a stable surface with the waste side overhanging any clamp or table edge, following the setup described in this guide to cutting and clamping without a workbench.
Assembling and checking for square and level
Dry-fit all four legs against the top before any glue goes on, and check that the top sits level across all four corners. This step matters more here than it does on a decorative box, because a plant stand carries its load off-center and up high: a pot is not evenly spread weight resting flat on a shelf, it is a tall, top-heavy object balanced on a small footprint, and any lean in the legs gets magnified by the pot's height above the floor.
Once you are satisfied with the dry fit, glue and screw each leg in place, checking square with a combination square as you go, and let the glue cure fully before moving the stand. General woodworking guidance on wood glue typically distinguishes between the time it takes to set (often within an hour, enough to handle carefully) and the time it takes to fully cure (commonly closer to 24 hours), and a stand should not carry real weight until it has had the full cure time, not just the set time.
Before anything goes on top, place the empty stand on the actual floor where it will live, and rock it gently by hand at each corner. Any stand that rocks needs adjustment before it ever holds a pot, not after.
Finishing for indoor or balcony use
A light coat of a wood finish protects the surface and makes the stand easier to wipe clean, but the finish choice matters more if the stand will live outside on a balcony than if it stays indoors. Outdoor and balcony exposure means occasional moisture, whether from rain, watering overspill, or humidity, and an interior-only finish will not hold up the same way over time. Check that whatever finish you choose is described by its own label as suitable for the level of moisture exposure your stand will actually see, rather than assuming any wood finish works everywhere. No specific finish product is named here; read the label for the moisture rating that matches your situation.
What could go wrong, and the safer fix
A leg that's short by a fraction of an inch. This is the most common way a first plant stand ends up wobbling. The instinct is to slip something under the short leg and call it done, but a shim under a leg that will carry a pot and water is not a stable long-term fix, it is a temporary patch that can shift or compress over time. The safer fix is to stop, unglue or cut a matching amount off the other three legs to bring them all level, or rebuild the short leg entirely if the joint has already been glued.
A stand that rocks on an uneven balcony floor. Sometimes every leg is genuinely the same length and the stand still rocks, because the floor itself is not flat. Test on the actual spot the stand will live, not just on a flat workbench or kitchen floor, since a balcony surface can be pitched slightly for drainage. If the stand rocks only in its intended spot, a stable, non-slip pad under the whole base, not a shim under one leg, is the safer adjustment.
A joint that feels loose after the first few weeks. If a corner starts to flex slightly, stop using that spot to hold a pot until you have added a screw if you originally used glue alone, or re-glued and re-clamped the joint if a screw is already there but has worked loose in soft wood.
FAQ
Do I need power tools to build a plant stand? No. A hand saw and a miter box will cut every piece this project needs. A circular saw with a straightedge guide speeds up cutting the top piece if you already own one, but nothing here requires it.
Is glue alone strong enough to hold the legs on? Not reliably for a piece that gets bumped and moved regularly. Glue reinforced with a screw at each joint holds up much better over time than glue by itself, which is why the design above pairs the two rather than relying on either one alone.
How do I know if my plant stand is stable enough to use? Set it on the actual floor it will live on, empty, and rock it gently by hand at each corner before anything goes on top. If it rocks or any corner flexes, fix that before adding a pot, water, and weight to the equation.
Can I use this design for a bigger or heavier plant? The dimensions above are a starting point for a small stand, not a tested plan, so scale the leg thickness and joinery up for a larger or heavier pot rather than assuming the same thin stock will hold. When in doubt, oversize the leg stock and add stretchers for extra stability.
What if my balcony floor is sloped? Test the stand on the actual spot it will sit in, not on a flat indoor floor, since balconies are often pitched slightly for drainage. A non-slip pad sized to the whole base is a more stable fix than shimming a single leg.
If this is your first time cutting and joining wood without a dedicated shop, the full case for starting woodworking without a garage is worth reading first, and the minimal tool kit guide covers what is actually worth buying before your next project.