How to Make a Wooden Cutting Board (Beginner Guide)
Learn how to make a wooden cutting board as a beginner: safe wood choices, hand tools, sanding steps, and food-safe finishing criteria explained.

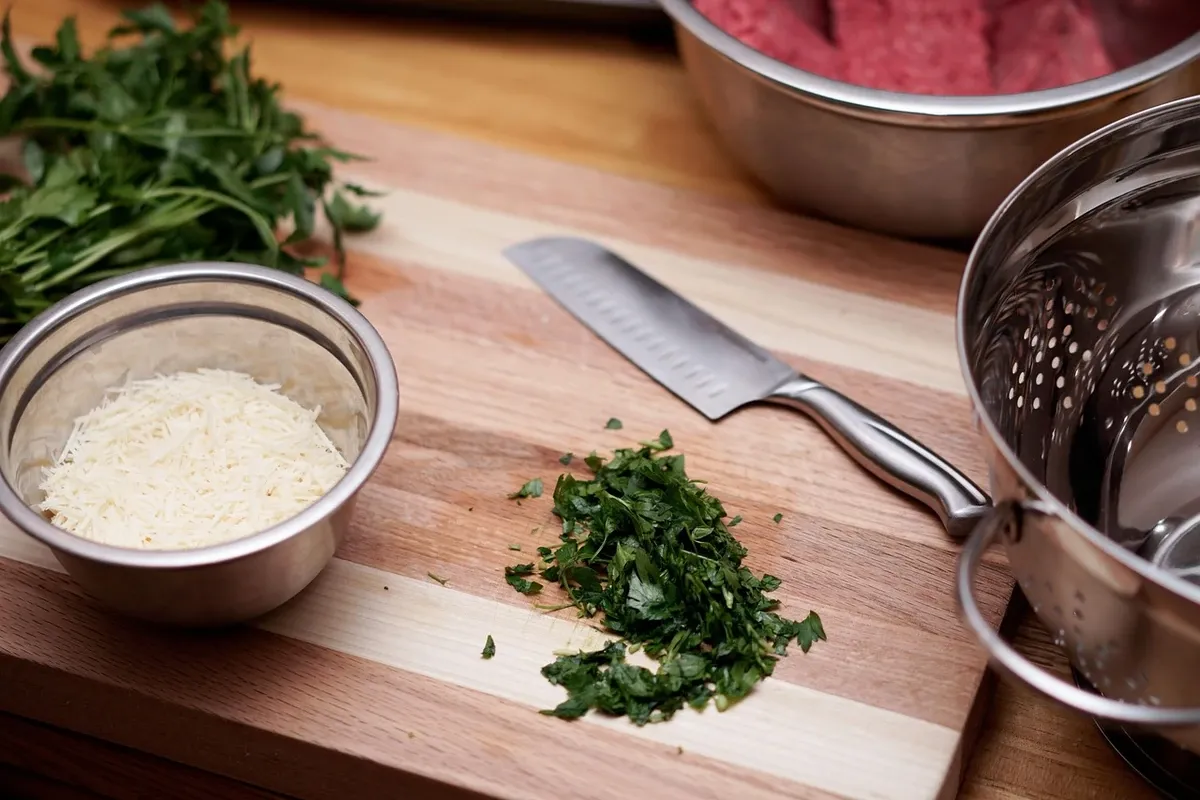
A beginner's first cutting board can be a single board of a close-grained hardwood, such as maple, cut to size and sanded smooth, then finished with a food-safe mineral oil or a labeled food-contact-safe board finish. No power tools are required beyond what it takes to cut the board to size, which makes this one of the few projects that teaches straight cuts and finishing in a single weekend, with no workshop and no clamping jig more complicated than what a kitchen table can hold.
That simplicity is also why food safety matters more here than on almost any other beginner project: the finished piece touches food directly, so the wood and the finish both have to earn that job, not just look good doing it.
Why a cutting board is a great first project
Most "first project" lists default to a box or a shelf, and those are good choices too, but a cutting board earns its own slot for a specific reason: it is one of the only beginner builds that forces you to practice a real straight cut, a full sanding progression, and a proper finish, all in one small piece of wood. A box teaches joinery. A shelf teaches mounting. A cutting board teaches the two skills almost every later project depends on: cutting a line accurately, and finishing a surface so it feels done rather than merely stopped.
It is also genuinely gift-worthy. A single board, cut clean and sanded to a soft edge, reads as a finished object rather than a beginner's first attempt, which is not something you can say about most first projects.
The trade-off is that a cutting board carries a responsibility a decorative box does not: it will be cut on, washed, and used to prepare food. That raises the bar on wood choice and finish, covered below.
Choosing food-safe wood

Two things matter when picking wood for a cutting board: whether the grain structure is appropriate for a food-contact surface, and whether the specific piece of wood was ever intended for food use in the first place.
Grain structure. Close-grained hardwoods, maple being the classic example, have tight, dense pores that resist absorbing moisture and food residue and are easier to keep genuinely clean. Open-grain woods, oak and ash are common examples, have larger, more porous grain that can trap moisture and bacteria more readily, which is why they are more commonly recommended for furniture and flooring than for cutting surfaces.
Origin. Never use wood you cannot vouch for as clean and untreated: reclaimed pallet wood of unknown history, wood treated with preservatives or pesticides, or offcuts from a project that used a finish not meant for food contact. If you do not know what a piece of wood has been exposed to, it does not belong on a cutting board, regardless of species.
| Close-grained (e.g. maple) | Open-grained (e.g. oak, ash) | |
|---|---|---|
| Pore structure | Tight, dense | Larger, more porous |
| Moisture/bacteria resistance | Better suited to food contact | Harder to keep sanitary |
| Common beginner use | Cutting boards, butcher blocks | Furniture, flooring |
Single board vs. edge-glued. Most cutting board tutorials assume you are gluing several narrow strips edge to edge into a striped board. That looks great, but it adds a clamping step and a glue-up that has to cure flat, which is one more way a first attempt can go wrong. For an actual first project, a single solid board, cut to size and squared, is the more honest starting point. It skips the glue-up entirely and still teaches the cutting and finishing skills this project exists for. Save the edge-glued, multi-species version for the second board, once the basic cutting and sanding process feels familiar.
Tools and materials you need
The hand-tool path works for this entire project, and it is the one to default to if you do not already own a circular saw.
To cut the board:
- A hand saw suited to a straight crosscut, or a hand-guided crosscut technique
- A combination square or speed square, to mark and check the cut line
- A pencil and a straightedge or ruler
To sand the board:
- Sandpaper in a grit progression from roughly 120 up through 220 (more on this below)
- A sanding block, so pressure stays even instead of digging in with fingertips
To finish the board:
- A food-safe finish that meets the criteria in the section below
- A clean, lint-free cloth for application
A power sander or a circular saw with a straightedge guide will get you there faster, but neither is required. Nothing in this project needs a table saw, a router, or a dedicated bench.
A note on the cut list. A workable starting size for a first cutting board is roughly 12 by 8 inches, cut from stock about three quarters of an inch thick. That is a design starting point for planning your own board, not a claim that this specific board has been built and measured here; treat it as a place to start, then adjust to the size of stock you actually have.
Step-by-step: cutting and squaring the board
1. Mark your lines. Use the combination square to mark a true 90-degree line across the board at your chosen length, and double-check the mark before cutting. A mistake here compounds through every step that follows.
2. Support the board securely before cutting. This is the step where most first-project injuries happen, and it is worth slowing down for. A board that shifts, rocks, or is held only by hand while you saw across it is genuinely unsafe, both for the cut quality and for your fingers.
[SAFETY] If you do not have a stable, clamped setup, stop before you cut. A board balanced on a lap or a loose table edge, cut freehand with no guide, is how a hand saw skips off the line and into a hand holding the piece steady. Clamp the board to a table edge with the waste side overhanging, or use a clamped straightedge as a saw guide so the blade has something to ride against. If your setup genuinely cannot hold the board still, the safer move is to have the board cut to size at a hardware store or lumberyard, most will make a straight crosscut for a small fee, and finish the rest of the project from that pre-cut blank. There is no shame in outsourcing one cut you cannot safely make; it is a better outcome than a freehand cut on an unsecured board.
3. Cut just outside your line, leaving a hair of material, then true up the edge with light sanding rather than trying to hit the line exactly with the saw. This is far more forgiving for a first attempt than expecting a perfect cut on the first pass.
4. Check square after cutting. Lay the combination square against each edge. Small deviations are easy to sand out now; they get harder to fix once the piece is finished.
Sanding to a smooth, splinter-free, food-safe surface
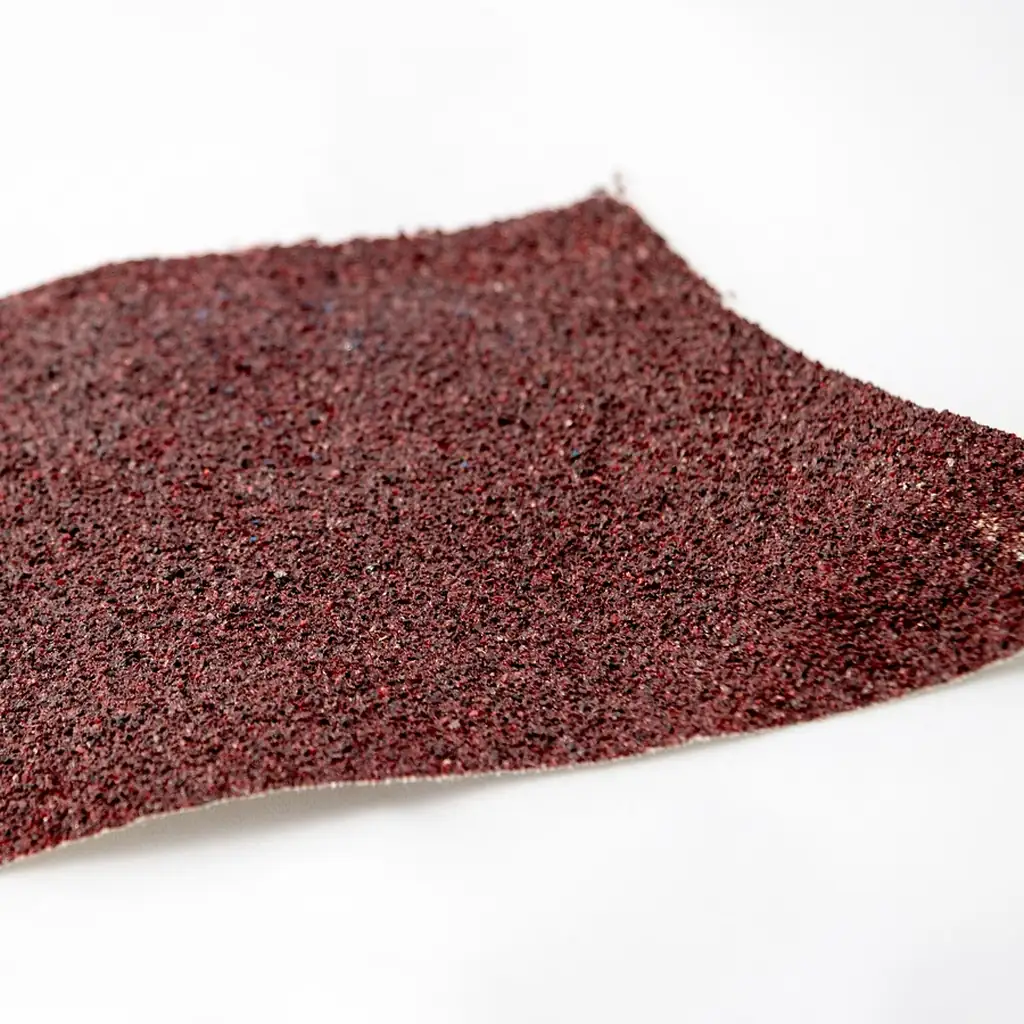
Sanding does two jobs on a cutting board that it does not do on a decorative piece: it makes the surface comfortable and safe to handle, and it removes the fibrous, splintery surface that would otherwise trap food residue and be genuinely unpleasant against a knife and a hand.
Work through a grit progression rather than jumping straight to fine paper:
- 120 grit to remove saw marks and true up the surface
- 150 grit to smooth out the 120-grit scratches
- 220 grit for a final, food-contact-ready smoothness
Sand with the grain, not across it, at each stage, and wipe the board down between grits so leftover grit from a coarser paper does not scratch the finer pass.
Round the edges and corners deliberately. A sharp 90-degree edge looks crisp but chips easily and is uncomfortable to hold. A few passes with 150 and then 220 grit along every edge and corner, enough to take the sharpness off without fully rounding it into a bullnose, gives a board that feels finished and holds up better to daily handling.
[SAFETY] Sanding indoors puts fine wood dust into the air of a living space, and that dust is worth taking seriously rather than treating as harmless mess. Work over a drop cloth or on a balcony if you have one, wear a dust mask rated for fine particulates, and open a window or run a fan to move air out of the room rather than letting it settle. If you notice dust drifting well beyond your work area, especially into a kitchen or a space with food or dishes stored openly, stop and improve your containment before continuing rather than pushing through.
Food-contact finish: what's actually safe, and how to check any product's label
This is the step where a cutting board differs from every other beginner project, and it deserves to be handled carefully rather than skipped past.
The criteria a finish needs to meet, not a product to buy. A finish is appropriate for a food-contact surface when it is labeled by its own manufacturer as food-safe or food-contact-safe, when it is allowed to fully cure before the board is used (not just dry to the touch, which happens much faster than curing), and when it does not contain additives, such as certain drying agents or solvents, that make some finishes unsuitable for contact with food even though they are fine for furniture. General woodworking and food-safety guidance describes two broad categories that commonly meet these criteria: penetrating oils that soak into the wood rather than forming a hard film on top (mineral oil is the most commonly cited example, because it does not oxidize or turn rancid), and beeswax-based board creams that are sometimes blended with a food-safe oil for extra water resistance. Film-forming finishes such as polyurethane are generally discouraged for cutting surfaces, because a knife eventually cuts through the film, and once that happens moisture can get underneath it in a way a penetrating oil never allows in the first place.
Verify the specific product, do not trust an article for it. "Food safe once cured" is a claim about a specific product, not a category, and the only authority on whether a specific bottle meets that claim is the manufacturer's own label and directions. Read the product's label before buying, look for an explicit food-contact-safe statement, and follow its instructions for cure time and reapplication exactly as written rather than assuming one finish's timeline applies to another. A product with no such statement on its label should not be assumed safe just because a similar-sounding product elsewhere is.
[SAFETY] Ventilation while you finish. Even a finish labeled food-safe can carry a noticeable smell while it is being applied and while it cures, and working in a closed apartment room concentrates that smell rather than dispersing it. Apply the finish with a window open and airflow moving through the room, and if the product's own label recommends a respirator or specific ventilation, follow that instruction rather than treating it as optional because the finish is food-safe.
[SAFETY] Oily rag disposal is a genuine fire risk, not a formality. Any cloth used to apply an oil-based finish, including finishes marketed as food-safe, should never be balled up and thrown in an indoor trash can. Oils that cure by reacting with air can generate heat as they do, and a bunched-up rag holds that heat in rather than letting it escape, which has caused real house fires. Lay the used rag flat outdoors to dry completely before disposing of it, or submerge it fully in a sealed metal container of water, and check the finish product's own label for its specific disposal instructions. This applies every time you finish anything with an oil-based product, not just this project.
Care and maintenance so the board doesn't warp or crack
A cutting board takes more daily punishment than almost anything else you will build in an apartment, which is why its maintenance routine matters more than a decorative piece's does.
Wash it by hand with mild soap and water, and dry it standing on edge rather than laid flat in a drying rack, so both faces get even airflow. A board that dries unevenly, one face against a countertop and one exposed to air, is the most common way a solid wood board warps over time. Never run it through a dishwasher: the sustained heat and moisture are exactly what causes solid wood to crack and separate.
Reapply your food-safe finish periodically, following the product's own label for how often, more often at first and less as the wood becomes saturated. A board that looks dry or feels rough again is telling you it needs another coat before it needs anything else.
FAQ
Do I need power tools to make a cutting board? No. A hand saw, a sanding block with a grit progression, and a food-safe finish are enough to complete this entire project. A circular saw with a straightedge guide or a power sander can speed up the process, but neither is required.
What wood should I avoid for a cutting board? Avoid open-grain woods like oak or ash, which are harder to keep sanitary than close-grained hardwoods such as maple, and avoid any wood you cannot vouch for, including reclaimed pallet wood of unknown history or offcuts treated with preservatives not meant for food contact.
Is mineral oil actually food safe? Food-grade mineral oil is commonly cited in food-safety guidance as a safe option because it does not oxidize or go rancid on the wood. Always confirm the specific bottle you buy is labeled food-grade, since mineral oil is also sold in non-food-grade formulations for other uses.
How long does a food-safe finish need to cure before I use the board? This varies by product, and curing takes noticeably longer than the surface simply feeling dry to the touch. Follow the specific finish's own label and directions rather than a general rule, since cure time depends on the product's formulation and your home's temperature and humidity.
Can I use a single board instead of gluing several strips together? Yes. A single solid board, cut to size and sanded, is a more forgiving first project than an edge-glued board, because it skips the clamping and glue-up step entirely. Save the edge-glued, multi-species version for a later build once the basic process feels familiar.
Once this build feels comfortable, the same cutting and sanding skills carry directly into other beginner-friendly builds and into renter-friendly project ideas that need nothing more permanent than what a cutting board required. If you are still working out how to hold a board steady without a dedicated bench, this guide to cutting and clamping without a workbench covers the setup in more depth, and the broader case for starting woodworking without a garage or shop is worth reading if you have not already. For the tools worth owning before your second or third project, see the minimal tool kit guide.